

A little coffee corner should make your morning easier, not leave you preparing breakfast around a collection of jars. The best place to begin is with the drinks you make and the counter space you can comfortably spare. A tray, a sign, and a new set of canisters can wait.
I love having coffee before heading to work, and a little counter café at home makes that everyday ritual feel special. You can create the same sense of welcome with a very simple setup: a place to brew, room to set down your cup, and a nearby home for the things you reach for.
This guide walks you through planning that space with your existing equipment. The scenes are concept illustrations for inspiration, not photographs of a measured or tested installation. Use the worksheet below to check your own counter and your appliance manual before you buy anything.
Start With the Drinks You Actually Make

Write down a normal weekday order for your household. One person might make drip coffee while another uses tea bags. Perhaps you make espresso every morning but only bring out a milk frother on weekends. That difference matters more than how many matching containers fit on a shelf.
Make three short lists: daily, occasional, and backup. Daily items earn the easiest places to reach. Occasional tools can live in a drawer or cupboard; unopened supplies do not need a permanent countertop display. Start with the mugs you genuinely use between washes, rather than putting every mug you own beside the machine.
For a simple coffee-and-tea corner, the daily list could be one brewer, the cups currently in rotation, your coffee or tea, and the spoon or scoop you need. Milk stays in its appropriate refrigerated storage rather than becoming part of the display. Extra filters, spare tea boxes, travel mugs, and entertaining supplies can live elsewhere.
Think through the whole drink, including the untidy steps. Where will a used tea bag go? Where can you put a damp spoon? Where will you empty the drip tray or carry the water reservoir? A corner that looks neat but leaves you crossing the kitchen with drips is not finished yet.
Your first decision: choose the smallest daily setup that supports your actual routine. If you are starting from scratch, choose a brewing method before buying furniture or organizers around it. For broader inspiration, explore our Coffee Corners page.
Measure the Space Your Equipment Uses
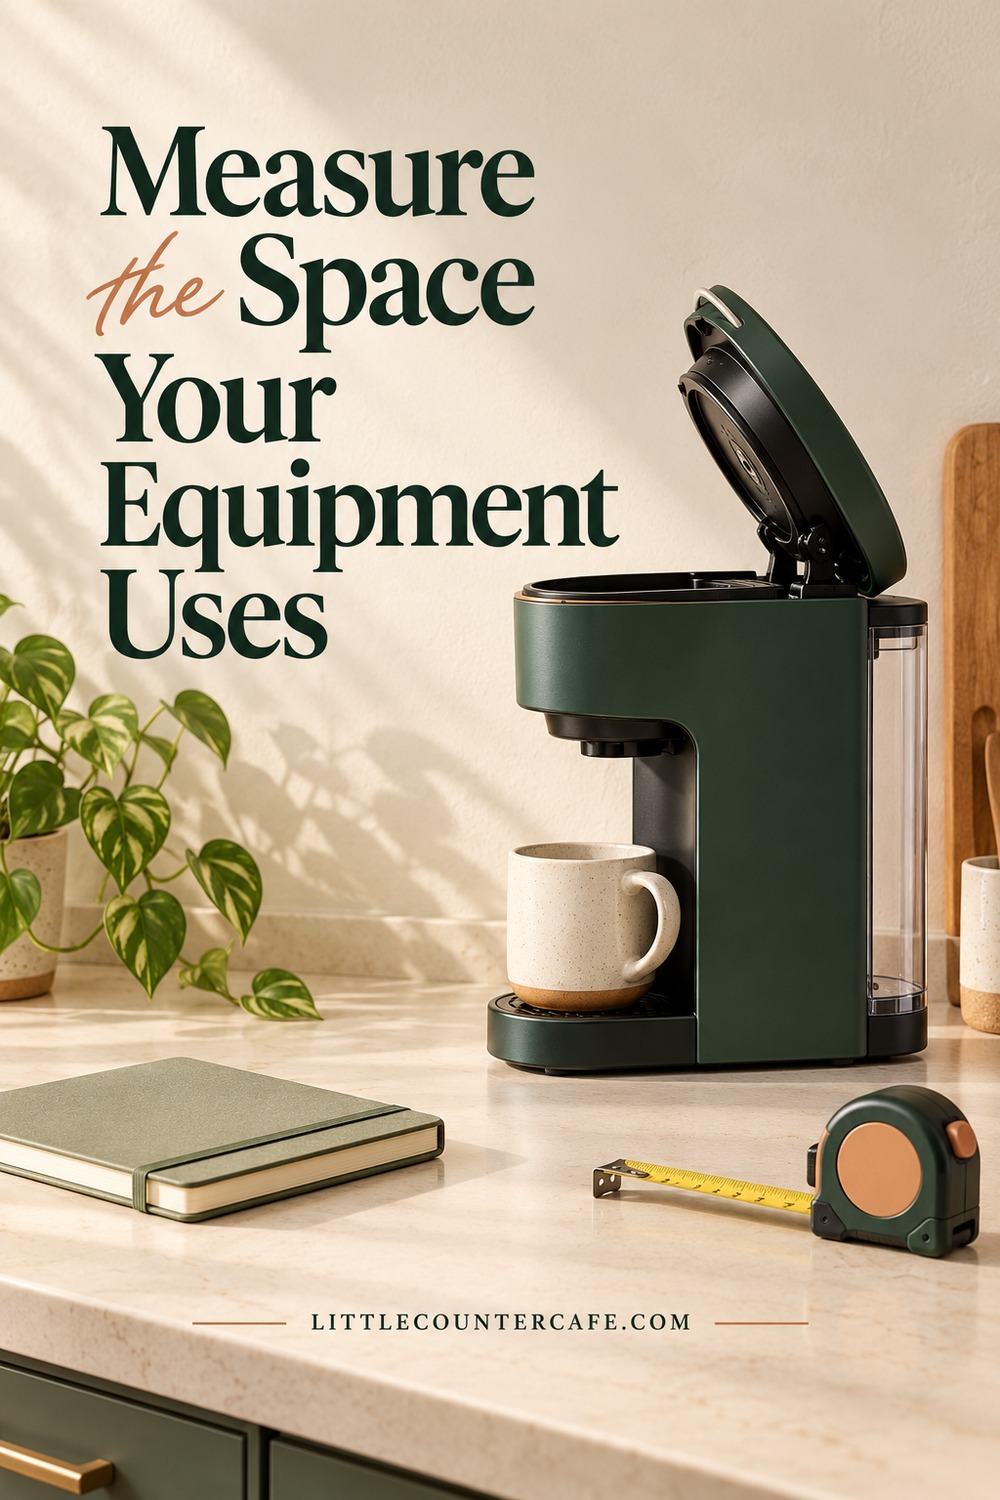
Measure the clear width, depth, and height of the proposed spot. Then measure your brewer and any second appliance, including protruding handles, plugs, and controls. The important question is whether you can use the equipment there, not simply whether its base fits.
Check the manufacturer’s instructions for placement, ventilation, and clearance requirements. Do not replace those instructions with a universal gap suggested by a photo or a generic coffee-station plan. Requirements vary by model and by the direction heat or steam leaves the appliance.
Add these movements to your check:
- Open a top lid fully, including any filter basket or bean hopper you need to fill.
- Remove and replace the water tank without bumping a cabinet or shelf.
- Pull out the drip tray and lift it clear without tilting it over other supplies.
- Move the steam wand and position the milk pitcher, if applicable.
- Fit your usual mug under the outlet and lift it out easily.
- Reach the controls and plug without moving a hot appliance.
For a manufacturer example, Breville’s Bambino manual identifies placement and handling precautions as well as removable parts; those tasks make clear why a machine’s resting outline is only part of the planning exercise. Use the manual for your exact model and region rather than borrowing another machine’s dimensions. This is an example of what to check, not a product test or a promise that the Bambino fits your kitchen.
Use paper shapes to represent equipment footprints while everything is unplugged and cool. Add separate paper shapes for the cup landing area and removable parts. Label these as your own measured templates. Remove all paper and temporary markers before operating any appliance; they are planning aids, not heat-resistant mats.
If a machine fits only when you tuck its cord awkwardly behind it or block a lid, the layout needs changing. Try a different counter position, relocate the occasional tool, or reconsider the equipment before buying storage to squeeze around the problem.
Choose a Safe, Convenient Counter Location
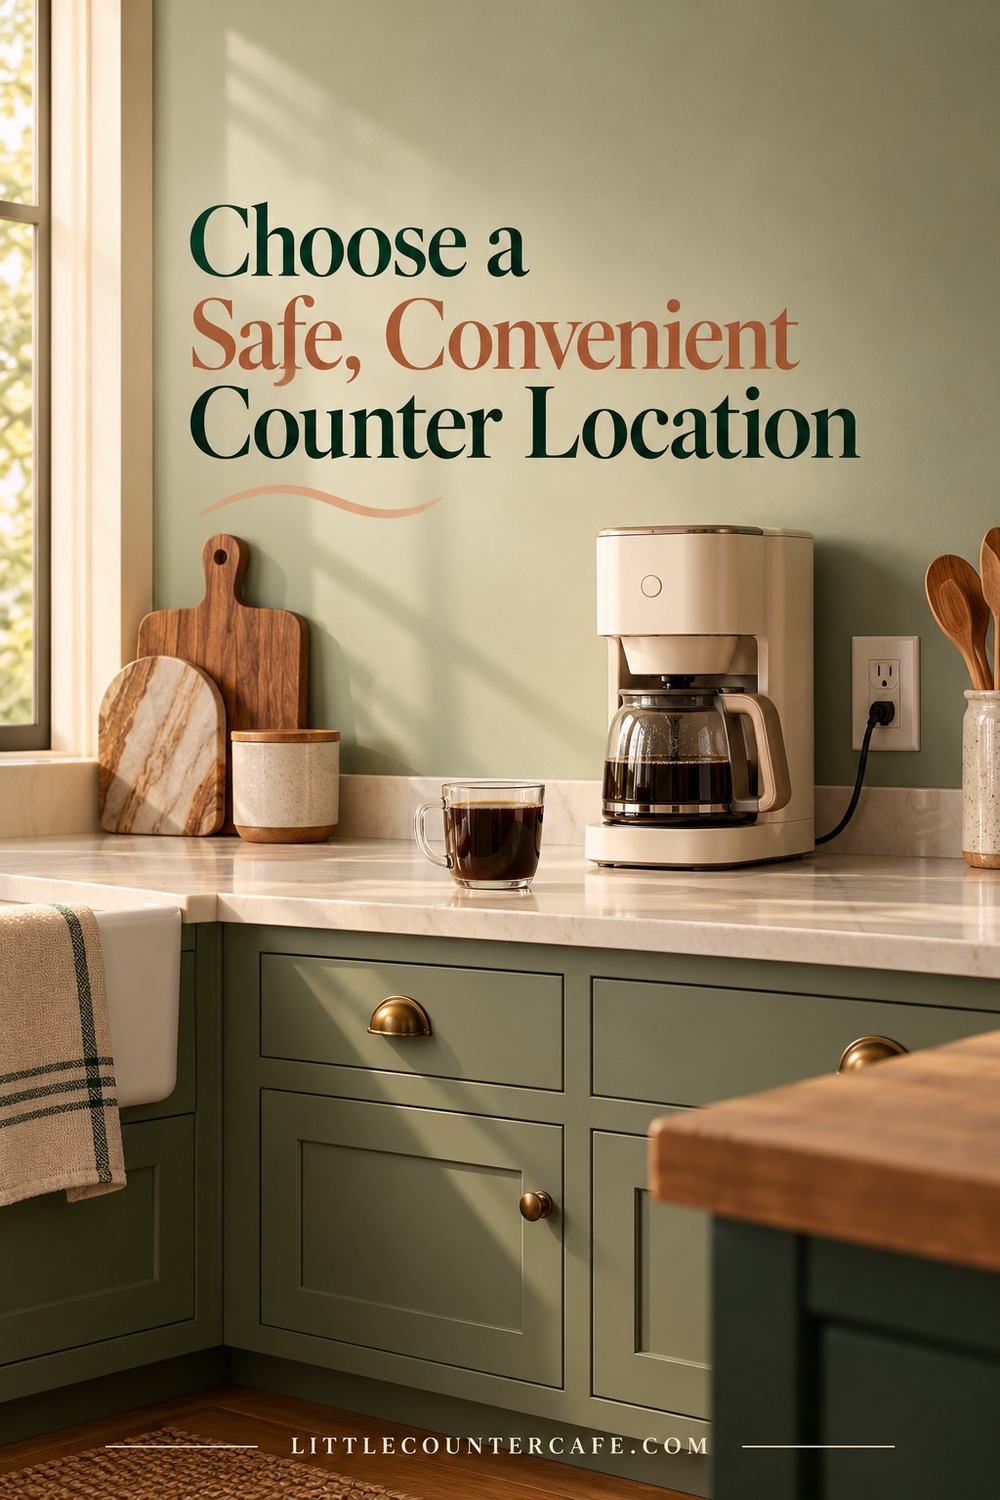
Look for a stable, level, dry surface suited to the appliance’s heat and moisture, with a suitable outlet and comfortable access. Keep the brewing area away from the counter edge, sink splashes, and the stove’s heat. The precise location should follow your equipment instructions and the way people move through your kitchen.
A wall-side counter can work well if it leaves room for food preparation. An inside corner can appear generous but become awkward when you reach behind the machine to refill it. A counter beside the refrigerator may be convenient for milk, but check that the refrigerator door still opens fully and nobody has to squeeze past a hot drink to use it.
Do not assume an appliance garage or closed cupboard is a suitable brewing location. For example, the Breville BES450 instruction book specifically prohibits using that machine inside a cabinet. Treat that as model-specific evidence, not as permission to use other machines in an enclosure. Check the manual for yours.
Plan power before styling. Avoid a location that requires a lead to cross a walkway, hang over the counter edge, or sit where spills collect. Follow the appliance’s electrical instructions; have a qualified electrician assess outlet or circuit changes. A decorative cable box does not resolve an unsuitable electrical setup. Do not hide a plug behind objects you cannot safely move.
Now consider the household traffic. Can someone make toast while you brew? Can a child reach a dangling cord or hot cup? Can you lift the water tank without leaning across a hot surface? A smaller setup in an easy-to-use spot is a better starting point than a larger display that interrupts the rest of the kitchen.
If no safe operating location works, store supplies together and bring out a suitable manual brewer or other equipment only when needed, following its instructions. A coffee station can be a nearby storage system rather than a permanent row of appliances.
Arrange Daily Supplies Without Crowding
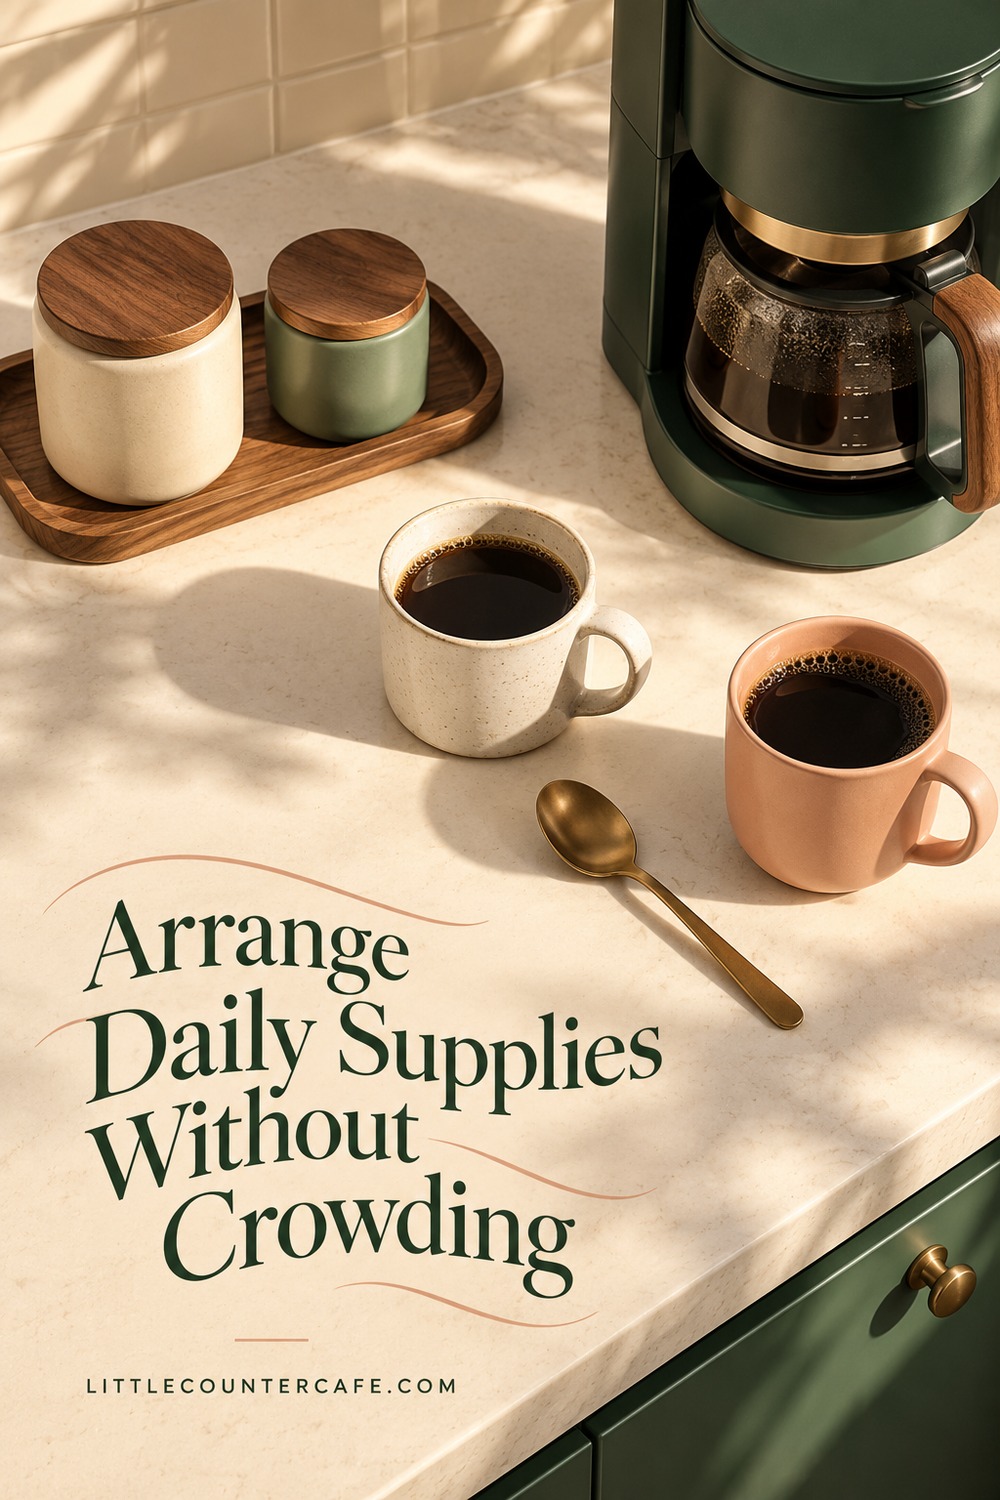
Give the space three simple jobs: prepare, brew, and finish. These do not need three separate trays. They are a way to keep the steps understandable.
The preparation space holds the coffee or tea and measuring tool. The brewing space holds the appliance with all its required working room. The finishing space gives you somewhere clear and stable to put the cup and stir the drink. For a left-handed user or a different counter shape, reverse the order if that makes movement easier.
Keep wet tasks and dry supplies apart. A damp spoon should not have to pass over open coffee, tea, or sugar. Keep packaging closed according to its storage instructions and give used items a washable resting place. Avoid setting dry supplies directly beneath the steam path.
A tray is optional. It can help gather a few small items, but its raised edge can make a heavy machine harder to reposition or catch spills underneath. Check the usable inside dimensions and surface suitability, not just the outside size listed online. Unless the appliance instructions and tray construction support it, keep the machine on its suitable counter surface and use a small tray for accessories beside it.
Use nearby storage before adding vertical storage. A drawer can hold spoons and filters; a cupboard can hold backup beans or tea. If you add a shelf, use the manufacturer’s load limits and fixings suitable for your wall. Do not add heavy mugs or loose decor above an appliance’s required clearance or where they could fall into the work area. Rental restrictions matter too.
For a cozy finish, choose one useful visual anchor: a favorite mug, a small framed print beside the station, or a coordinated container. Forest green and peach can make a lovely combination, but there is no need to replace perfectly usable equipment to achieve a color scheme. Keep plants and trailing stems out of heat, steam, vents, and the brewing workspace.
If you need measuring tools or compact organizers after checking the layout, our Small-Space Layouts Amazon list is a place to browse. Compare the actual dimensions and suitability yourself. As an Amazon Associate I earn from qualifying purchases.
LITTLE COUNTER CAFE · Small-Space Coffee Station Essentials
Make room for your daily coffee ritual.
Space-saving organizers, compact brewing tools, and simple measuring essentials for planning a practical coffee corner.
As an Amazon Associate I earn from qualifying purchases. This is a paid link.
Try Your Layout Before Buying Organizers
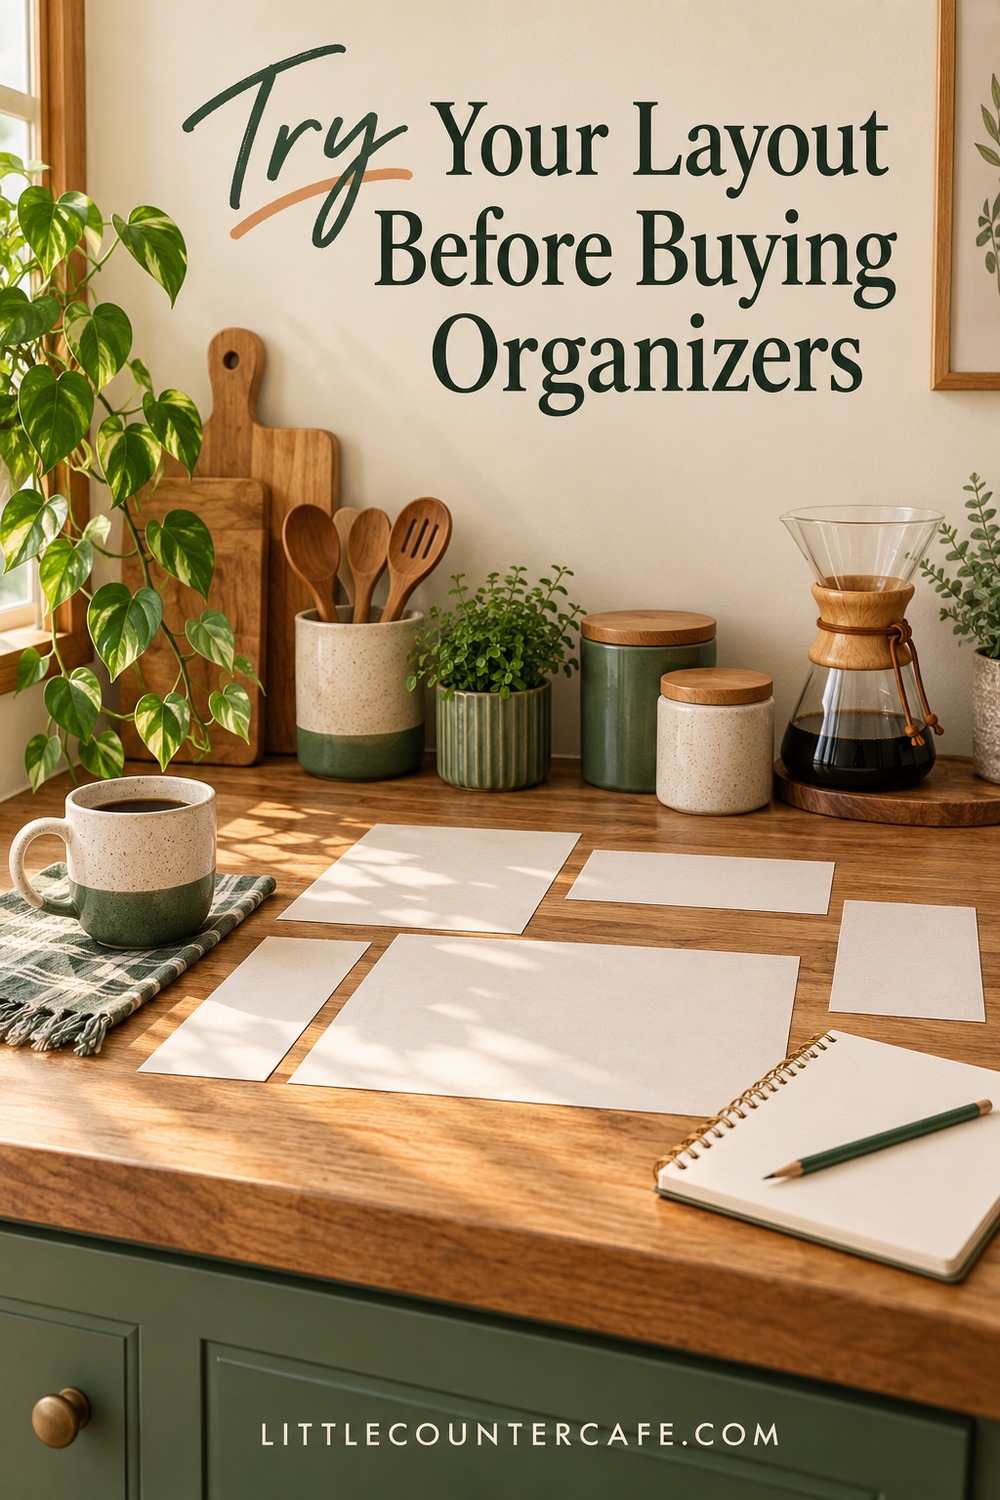
Set up the essentials you already own and use the proposed arrangement during your normal routine. This is your own trial, not a claim that a pictured setup has been tested. Keep an ordinary mug where you want the landing space, then notice whether you keep moving it to do something else.
Watch for repeated friction. If you move a canister every time you refill the tank, change the canister’s home. If the cups collect splashes, move them away from the wet zone. If everything spreads beyond the intended space, reduce the daily supplies before buying a bigger tray.
Use this copy-and-print worksheet to record the decisions. The numbers come from your kitchen and equipment; there is no universal minimum counter width here.
| Planning check | Your notes |
|---|---|
| Daily drinks and number of people | ____________________ |
| Exact appliance models and manual locations | ____________________ |
| Clear counter width × depth × height | ____________________ |
| Each appliance’s resting footprint | ____________________ |
| Manufacturer-required clearances | ____________________ |
| Lid, tank, tray, wand, and mug movements checked | ____________________ |
| Clear cup landing area | ____________________ |
| Suitable power location and safe cord route | ____________________ |
| Daily supplies staying here | ____________________ |
| Backups and occasional tools stored elsewhere | ____________________ |
| Other kitchen tasks and door swings still work | ____________________ |
| One change to make after your trial | ____________________ |
Before you call it finished: remove temporary paper templates; confirm the machine is stable and its instructions are met; check that doors, drawers, and the water reservoir work freely; keep the hot-drink landing space clear; and make sure cords and hot items are out of children’s reach.
You can begin without buying anything. Make the drinks easy to prepare, keep the supplies manageable, and leave room for the kitchen to be a kitchen. The cozy details can follow once the everyday layout feels right. For ideas across coffee and tea, visit Coffee & Tea.