
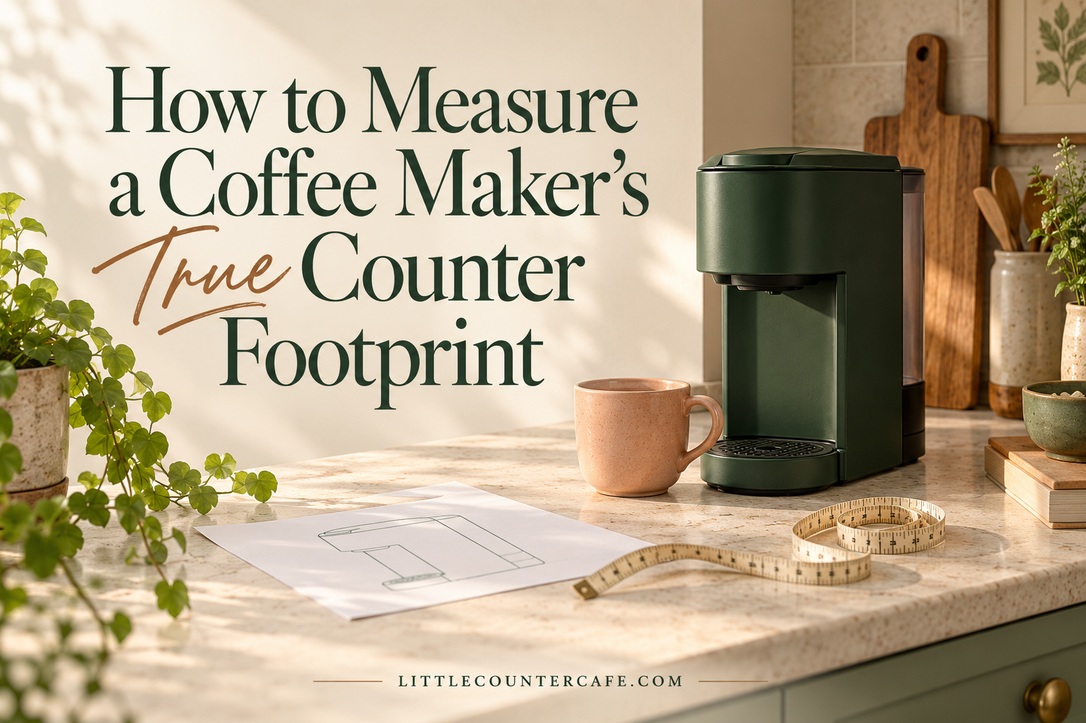
A coffee maker can look tiny in a product photo and still be awkward beneath your kitchen cabinets. The lid needs to open, the tank needs to come out, and your favorite mug needs a clear path to the drip tray. Those everyday movements are part of the space it needs.
My approach is to measure two things: the machine’s closed size and its working space. The first tells you whether it can sit on the counter. The second helps you decide whether you will enjoy using it there.
This guide walks you through a practical fit check before you buy. Keep a tape measure, pencil and scrap paper nearby, then use the included worksheet to compare your space with the exact model you are considering. The styled images are concept illustrations for inspiration; the product example below uses manufacturer specifications rather than hands-on testing.
Measure the Space You Actually Have
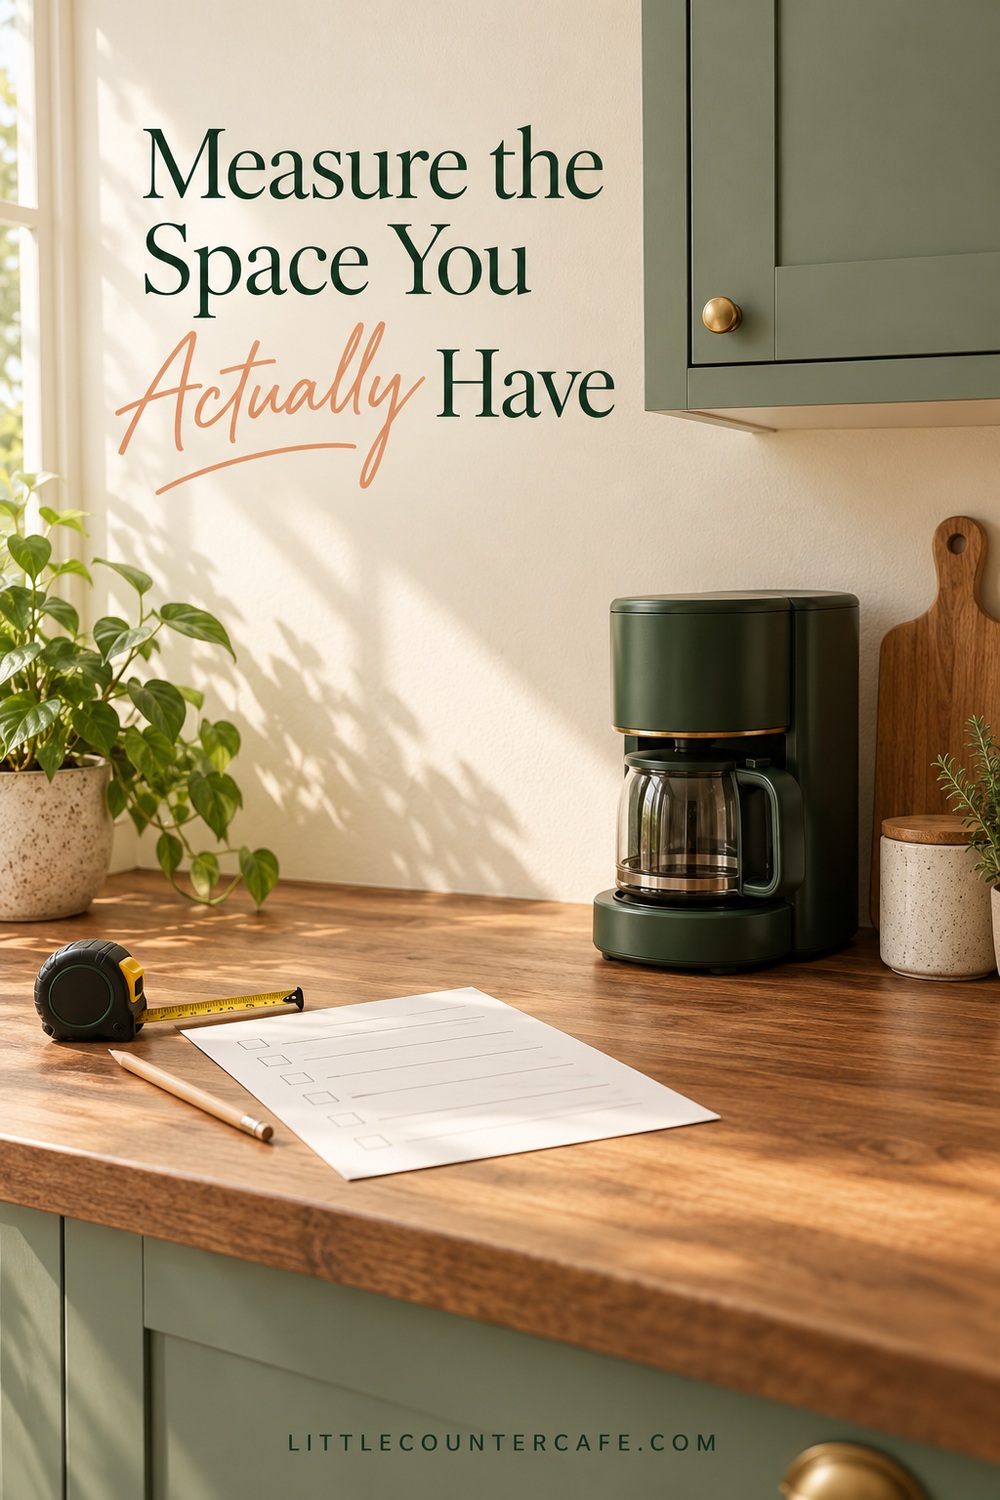
Start with the counter you can comfortably give to coffee, rather than the largest empty rectangle you can find. If the same area is your only place to make lunch, leave that preparation space in the plan. A coffee corner should make mornings easier without borrowing the whole kitchen.
Measure the usable width from the first fixed obstruction to the next. A refrigerator side, cabinet panel or utensil rail may stop you using the full length of the countertop. Include handles that project into the space. Write down the narrowest measurement, not the most generous one.
For depth, measure from the backsplash or other rear obstruction to the front edge of the stable work surface. Then note anything that reduces that depth, such as a projecting outlet, thick plug or raised ledge. Do not count the sink rim or a sloping countertop edge as a place for appliance feet.
Height is easy to overlook. Measure from the surface the machine will actually stand on to the lowest obstruction above it. That might be the underside of a cabinet, an under-cabinet light, trim or a shelf bracket. If you plan to add a mat or tray, measure again from its top. A raised lip can also interfere with removing a drip tray, even when the appliance fits inside it.
Record these three limits separately:
- Available width: the usable side-to-side space after fixed obstructions.
- Available depth: the supported front-to-back space after rear obstructions.
- Available height: the distance to the lowest object above the appliance.
Take a quick photo for your own shopping notes, including the outlet and overhead cabinet. It can help you remember which side is blocked when you look at a machine online. For a broader plan covering supplies and the rest of the counter, see how to plan a coffee station in a small kitchen.
Map the Machine in Every Position
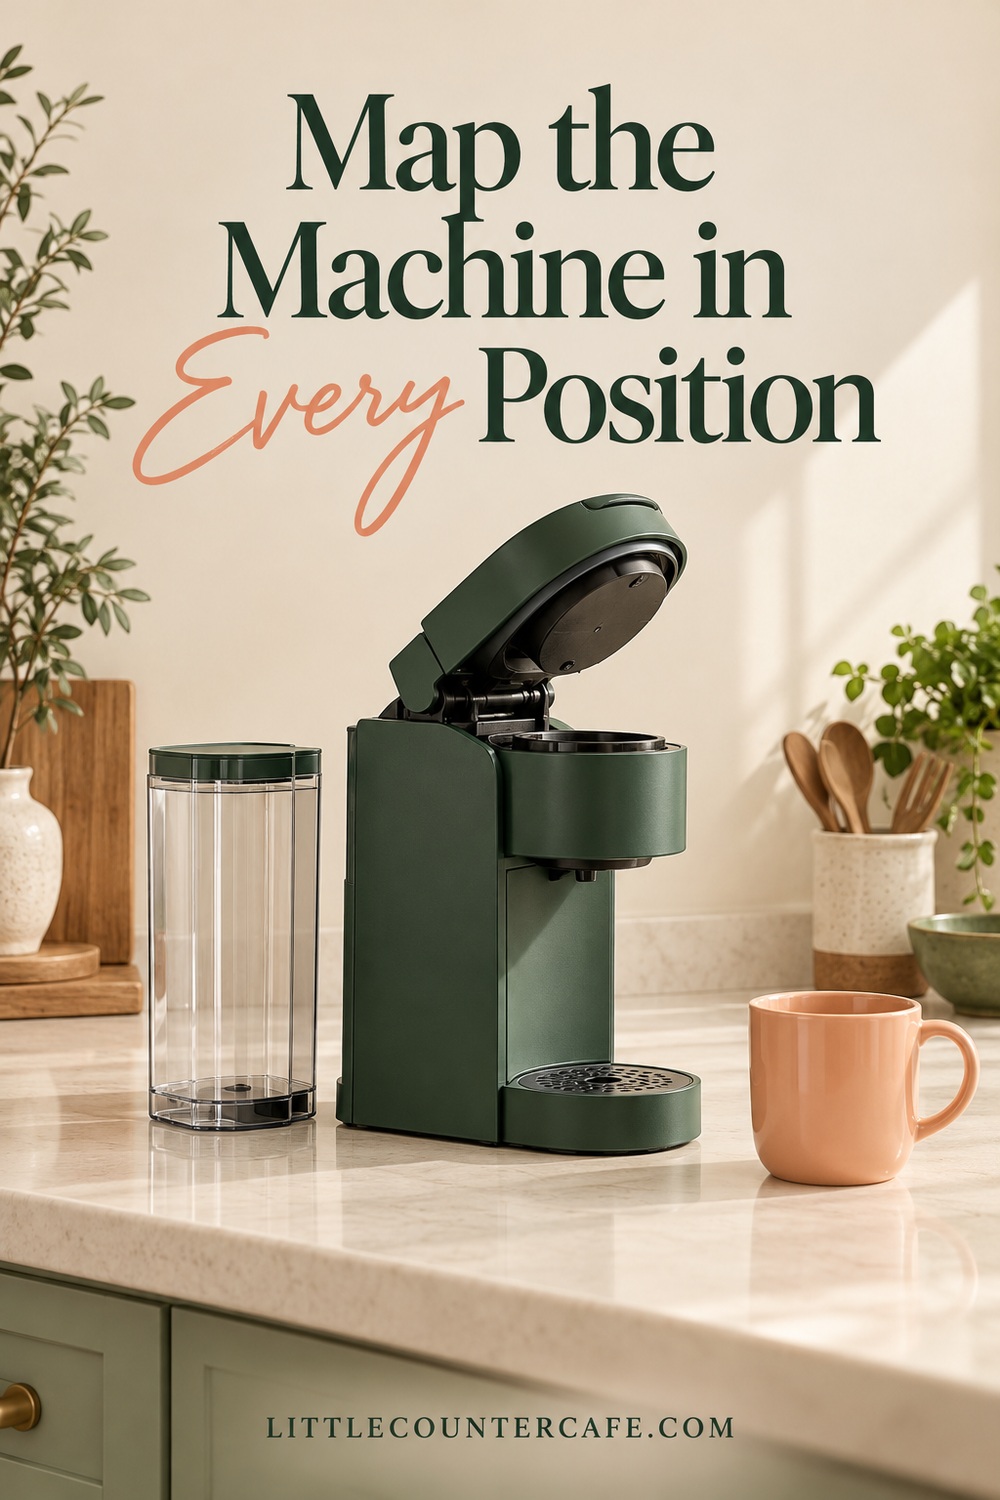
Find the exact model number and its manufacturer’s specification page and manual. Similar names do not guarantee identical cases, tanks or opening mechanisms. Check whether the listed order is width × depth × height or something else, and make sure you are reading appliance dimensions rather than shipping-box dimensions.
Write down the closed width, depth and height. Include permanent projections shown in the manufacturer’s drawing, but do not assume a marketing photo proves what the dimensions include. If the portafilter handle, rear tank or cord connector is unclear, ask the manufacturer before making a close-fit purchase.
Next, follow one imaginary drink from start to finish. Which parts move?
- Loading: a capsule handle, bean hopper lid or filter-basket cover may rise or swing.
- Refilling: a tank may lift upward, pull backward or come out from the side.
- Brewing: an espresso handle may rotate, a steam wand may swing out, or a cup may need to sit farther forward.
- Emptying: the drip tray, capsule bin or grounds container needs a removal path.
- Cleaning: you need somewhere to set removed parts while the appliance is safely off and cool.
For each movement, record both the direction and the space required. Leave an unknown measurement blank and label it confirm before buying. Adding a guessed inch or two does not establish that a tank can be removed or that the manufacturer’s clearance requirements are met.
Here is a useful manufacturer example. Keurig’s K-Mini Brew You Collection listing gives 4.5 inches wide × 11.3 inches deep × 12.1 inches high, with 16.8 inches of height when the handle is open. That is approximately 11.4 × 28.7 × 30.7 cm, rising to 42.7 cm open. The opening adds 4.7 inches, or about 11.9 cm, above its closed height. A 15-inch gap could therefore accept the closed body while obstructing the fully opened handle. These figures refer to that K-Mini listing, not every Keurig or the differently named K-Mini Mate. Check the current manufacturer listing for your exact model.
Think of the working space as a three-dimensional envelope around the appliance. Some movements share the same space at different times, so you do not always add every allowance together. But the space must actually be free whenever that movement happens. A permanent jar in the tank’s removal path still counts as an obstruction.
Check the Extras That Change the Fit

Now put your usual drink into the plan. An espresso cup, wide handled mug and tall insulated tumbler ask for different things. Measure the cup you use most, including its handle and lid if applicable. Compare it with the manufacturer’s cup clearance and check how it is inserted and removed. Do not assume removing the drip tray is an approved solution unless the manual allows it.
For milk drinks, include the frother’s base and its lid-removal space, or the room needed to place a pitcher under the machine’s steam wand. A separate frother can make a narrow machine’s overall setup wider. For tea, account for the kettle you already use rather than squeezing a second hot appliance into the same operating space.
A grinder, scale or tamping area also belongs in the comparison if you will use one every morning. You can keep occasional accessories elsewhere, but do not shrink the plan by hiding a tool that must come out for every cup. Set your everyday mug and tools beside the paper footprint to see what you can reach without crossing over hot equipment.
Check the surface and power arrangements against the model’s manual. For example, the Nespresso Essenza Mini manual specifies a level, stable surface resistant to heat and liquids, and tells users to keep its cord away from heat and damp. It also directs users to unplug and cool the appliance before cleaning or servicing. Follow the manual supplied for your own model and region; these instructions are not a universal clearance specification.
Keep any vents and required clearances open. A decorative enclosure, deep tray or shelf is not suitable merely because the body fits. Avoid a layout that depends on bending a cord sharply, trapping a plug behind the appliance or moving a hot, full machine to reach the tank. If the only workable position requires an electrical change, get appropriate qualified advice rather than adapting the cord arrangement yourself.
Shopping for a tray can wait until you know the complete footprint. Check its usable flat interior, the support beneath every foot, and the lip height. A pretty outer dimension is not the same as a usable appliance platform. If you are browsing accessories, the category shopping list below is a starting point; check each item’s dimensions and suitability before buying. As an Amazon Associate I earn from qualifying purchases.
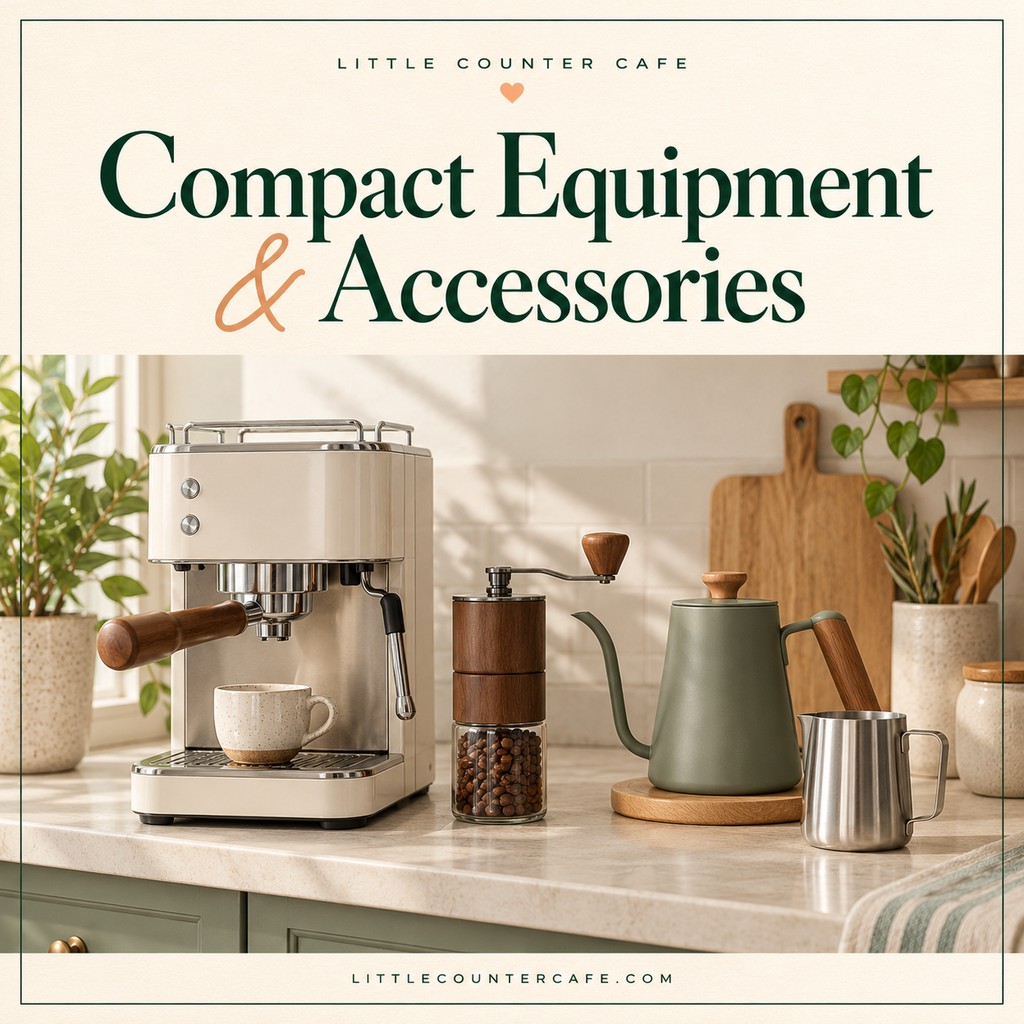
LITTLE COUNTER CAFE · Compact Coffee Makers & Accessories
Find the tools that fit your counter.
Compact brewers, useful preparation tools, and accessories to help you choose a setup for your space.
As an Amazon Associate I earn from qualifying purchases. This is a paid link.
Use a Paper Template Before You Buy

Cut or tape together scrap paper to match the manufacturer’s closed width and depth. Label the front and the exact model name. You do not need an attractive template; you need one that is the right size. A small screen image printed without checking scale will not do the job.
Place the paper where the machine would stand. Mark the movement areas on separate pieces of paper: the front tray-removal path, side pitcher space and any tank-access zone. Use a tape measure held upright to check the open height; do not balance objects beneath a cabinet to imitate it. Keep the manufacturer’s required clearances separate from your own convenient hand space.
Then rehearse the routine without heat or electricity: reach for a mug, pretend to load the machine, take the refill container to the sink, and bring it back. Open nearby drawers and cabinet doors. Can another person still use the counter? Can you remove the tray without putting a wet part over an outlet or blocking the only preparation area?
If you already own the machine, make these checks only with it switched off, unplugged and cool, following its manual. Do not lift a filled appliance or force any moving part just to make the layout work. A paper template is a screening tool, not proof of electrical, ventilation or surface suitability.
Use this fit checklist before committing:
- The exact model and dimension order are recorded.
- The closed body fits, with every foot fully supported.
- The lid or handle opens fully beneath overhead obstructions.
- The tank can be refilled or removed as instructed.
- Your everyday cup fits and can be removed comfortably.
- The tray and waste container have a clear removal path.
- Frother, grinder and daily preparation space are included where needed.
- The surface, cord route and clearances meet the manufacturer’s instructions.
- Unknown measurements have been confirmed rather than guessed.
If the fit fails, change the plan before buying accessories. A different refill direction, lower opening height or front-access container may matter more than shaving a fraction of an inch from the machine’s width. A different location may work too. Avoid choosing a setup that needs to be dismantled every morning just to add water.
Use the downloadable Coffee Maker Fit Worksheet to keep your measurements and unanswered questions together. Once you have a workable footprint, organize your everyday coffee and tea supplies around it. The right little counter cafe has room for the movements that make your drink, as well as the machine that makes it.