
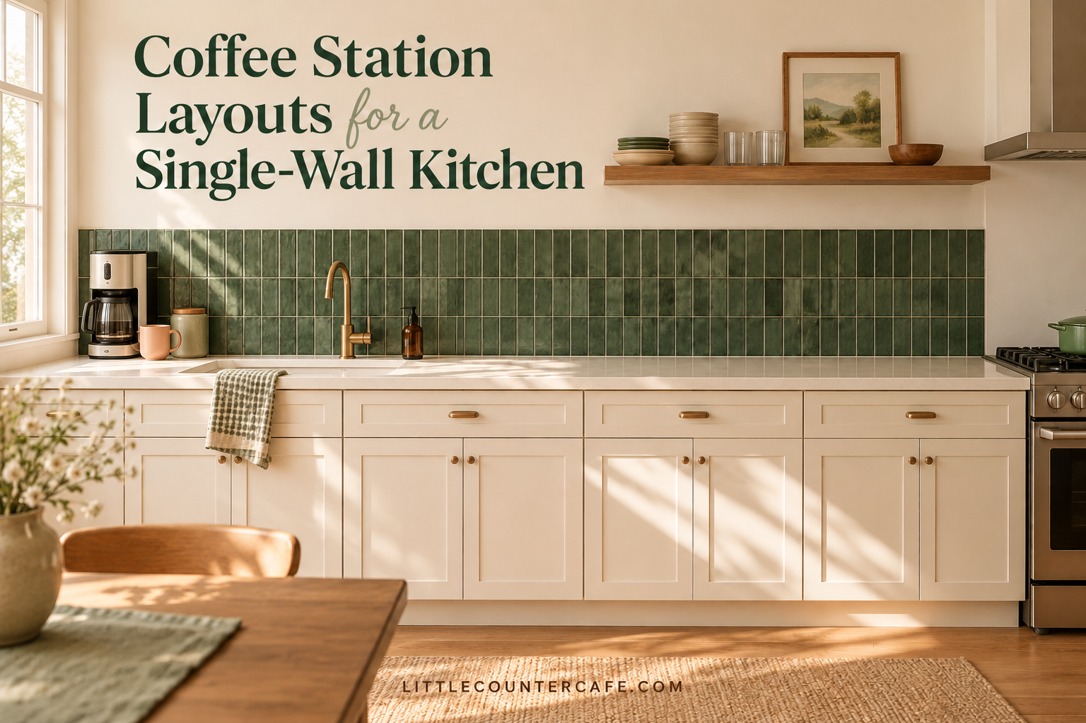
A single-wall kitchen asks one stretch of counter to do almost everything: hold groceries, make lunch, catch dishes and squeeze in the morning coffee. A coffee station can work here, but its position matters more than the number of matching jars on the shelf.
Start by looking for a place where making a drink will not interrupt cooking or block an appliance door. Then choose one of the three arrangements below: an end-of-run station, a compact station beside existing storage, or a pack-away preparation zone. You do not need a cart, new cabinets or a second counter to try them.
These are planning concepts, not measured installations. The illustrations show possible arrangements; use your own appliance instructions, measurements and household needs before copying a setup. If you are starting from scratch, our small-kitchen coffee station planning guide covers the broader decisions.
Read Your Kitchen From One End to the Other
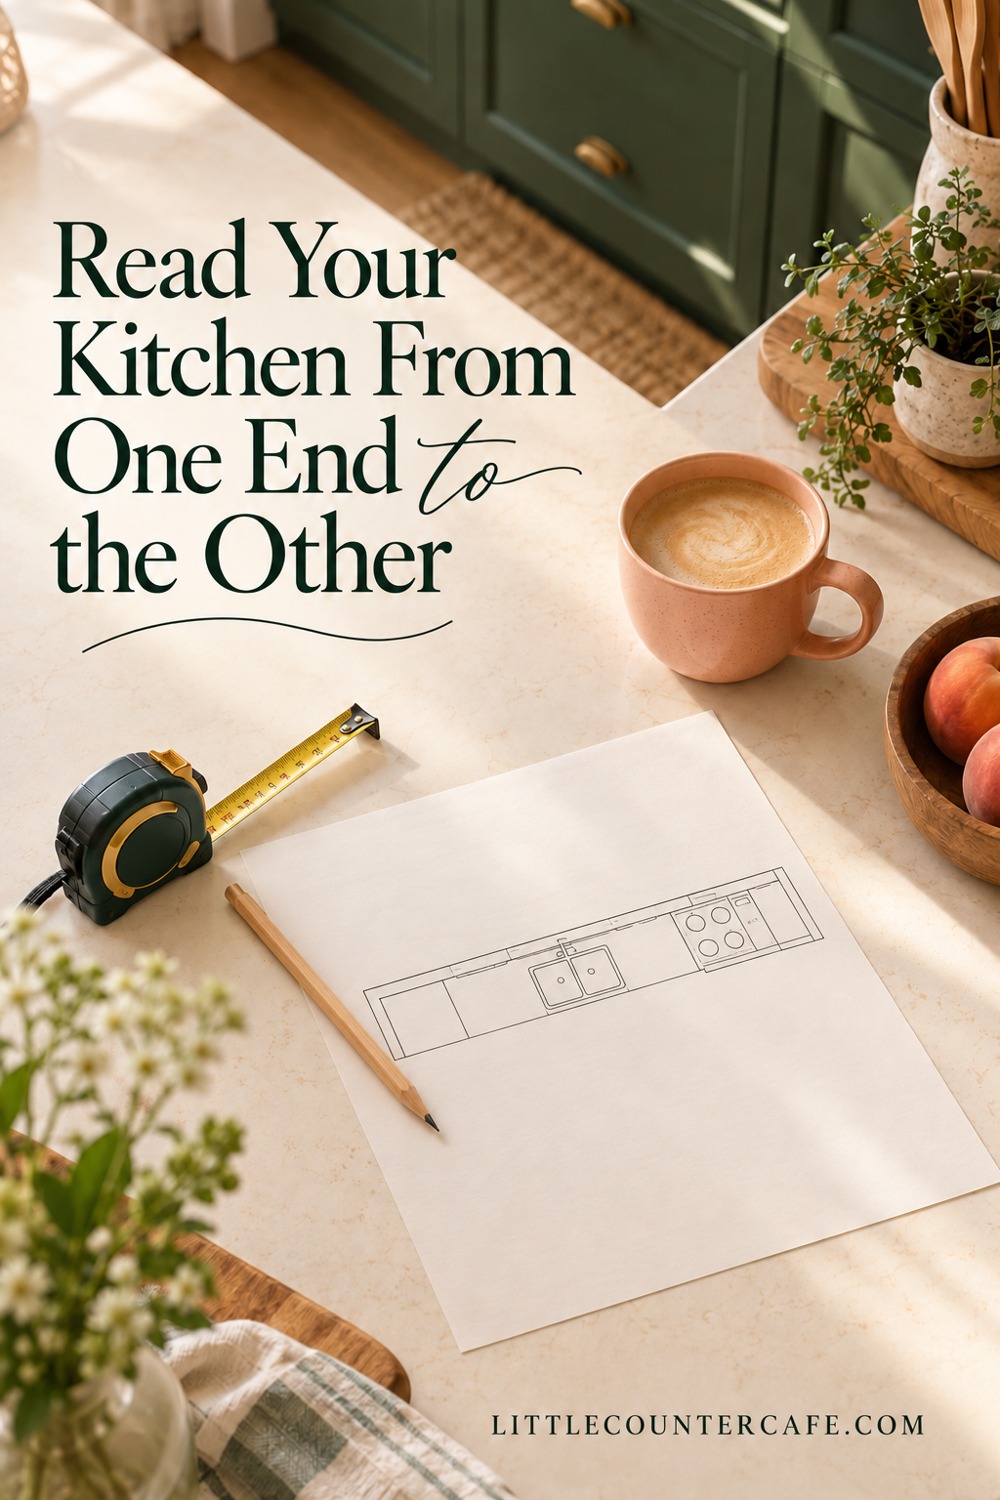
Before moving anything, draw the kitchen as one straight line on paper. Mark the refrigerator, sink, stove, main preparation space, dishwasher and the doors or drawers you open most. Include the counter end, a doorway beside it and any dining chair that shares the walkway.
Now make the drawing useful. Add the outlet locations, low cabinets, window handles and anything that must stay accessible. A long empty-looking counter may turn out to have only a small usable section once you allow for opening doors and daily meal preparation.
Protect the spaces that already have a job
Do not choose a coffee location just because the machine fits between two objects. Watch where groceries land after you open the refrigerator and where hot dishes go after cooking. Those spaces may look available in a photograph while doing essential work at mealtimes.
The NKBA planning guidelines distinguish a walkway from a working aisle. The referenced edition recommends 36 inches (914 mm) for a walkway, and 42 inches (1,067 mm) for a one-cook work aisle or 48 inches (1,219 mm) for multiple cooks. These are planning recommendations, not a statement of your local requirements; the document references older codes. Use current local requirements and seek qualified design advice for alterations or accessibility needs.
For a simple rearrangement, the practical question is this: when someone stands at the coffee maker, can the other person still use the kitchen without squeezing past a hot cup? If the answer is no, try another location or change when the station is used. Do not add furniture to an already narrow route.
Measure an operating space
Write down the width and usable depth of the candidate counter section. Then measure overhead space, including the underside of cabinets and anything a lid, tank or lever would meet. Check the manual for the exact appliance model, its required clearances and permitted operating surfaces. A closed-machine measurement alone does not establish fit.
Use paper templates for the machine, grinder and the spot where you assemble a drink. Mark any space needed to remove the drip tray or water reservoir. Arrange the templates before moving heavy equipment, and do not treat the paper exercise as proof of safe operation.
Choose One of Three Single-Wall Layouts
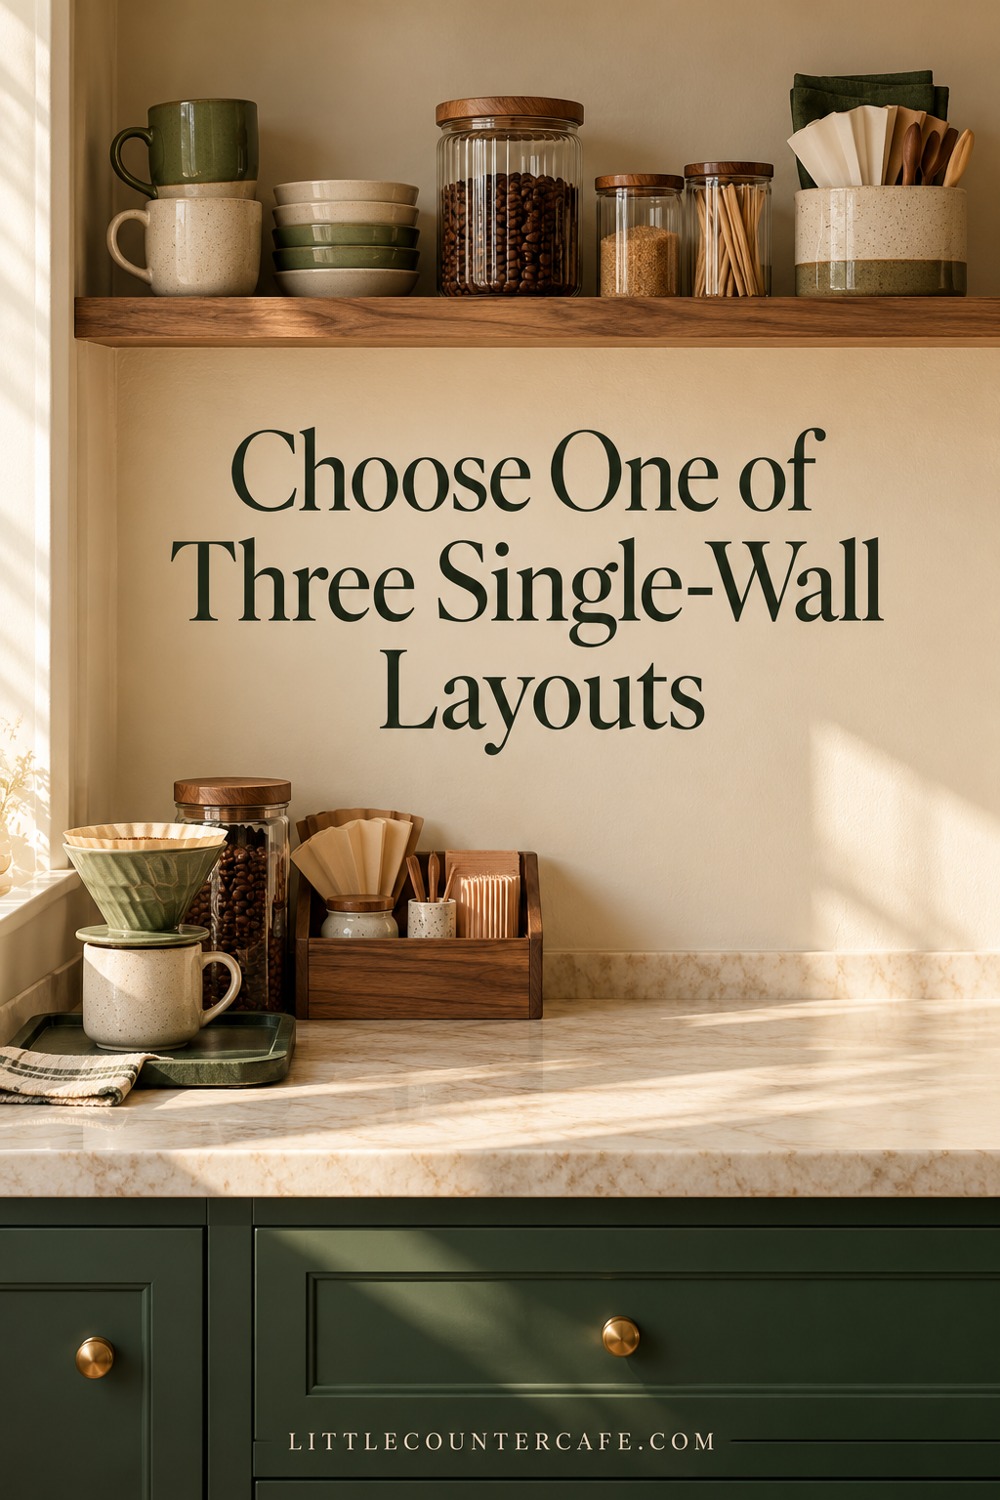
The best arrangement is the one that fits your existing kitchen jobs. Choose a starting point from the table, then check the details underneath it.
| Layout | Best starting situation | Main tradeoff | First thing to check |
|---|---|---|---|
| End-of-run station | A usable counter end outside the main preparation area | People may gather near a doorway | Safe appliance position and passing space |
| Storage-side station | A suitable counter section beside a useful cabinet or drawer | Coffee can spread into meal-preparation space | A clear boundary and appliance access |
| Pack-away preparation zone | Very little counter can remain dedicated to drinks | More setup and reset each time | Safe operating location for each appliance |
Layout 1: Put the station at a suitable counter end
An end-of-run station can let a person make coffee without moving through the busiest cooking area. Keep the machine in a safe position on the worktop, with the nearby daily supplies in a cabinet or drawer. Use the adjoining clear counter to prepare the cup rather than filling it with decorative containers.
This works best when the end has a suitable outlet, enough depth and the necessary manufacturer clearances. It works poorly if the person making coffee would stand in the doorway or if a refrigerator door opens into the same spot. A counter end is not permission to put an appliance near its edge.
For a coffee-and-tea household, keep the shared mugs nearby and give tea a small removable caddy. Set the kettle only where its own instructions permit; do not assume the coffee maker’s placement requirements apply to it. If two appliances cannot operate safely in the available space, simplify the setup.
Layout 2: Anchor the station beside storage
If the usable counter is in the middle of the run, choose the section beside a cabinet or drawer that can hold the supporting supplies. The idea is to keep the station visually and functionally short: appliance on the counter, everyday supplies close by, backups elsewhere.
A drawer can hold spoons, filters and unopened supplies in separate compartments. A cabinet can take the mugs and tea. Start with containers you already own; buy organizers only after you know which items need a home. Our small coffee station organization guide explains that storage step in more detail.
Keep a deliberate stopping point between the coffee area and meal preparation. For example, let one cabinet width define the station, provided your measured operating space fits inside it. This is a visual boundary, not a prescribed minimum size. If a grinder, syrup collection and mug rack break that boundary, remove some items rather than borrowing the chopping space permanently.
Layout 3: Pack away supplies between drinks
When the counter cannot support a permanent station, make a small storage kit: daily coffee supplies, a spoon and the items you need to prepare your usual drink. Bring the kit to a suitable clear worktop, make the drink and return the supplies afterward.
The kit is for supplies. An appliance still needs a safe operating surface and location that meet its manual. Do not operate a machine inside a cabinet, place it on an unsuitable decorative tray, or move it while hot or full to make this arrangement work. Check cooling, unplugging and storage instructions before moving any equipment.
This layout is especially useful for a manual brewing setup or a household that makes drinks at different times from cooking. Its weakness is the reset: if the kit has no convenient storage space, it may become another permanent pile. Choose its home before adopting the arrangement.
Keep the Working Details Simple
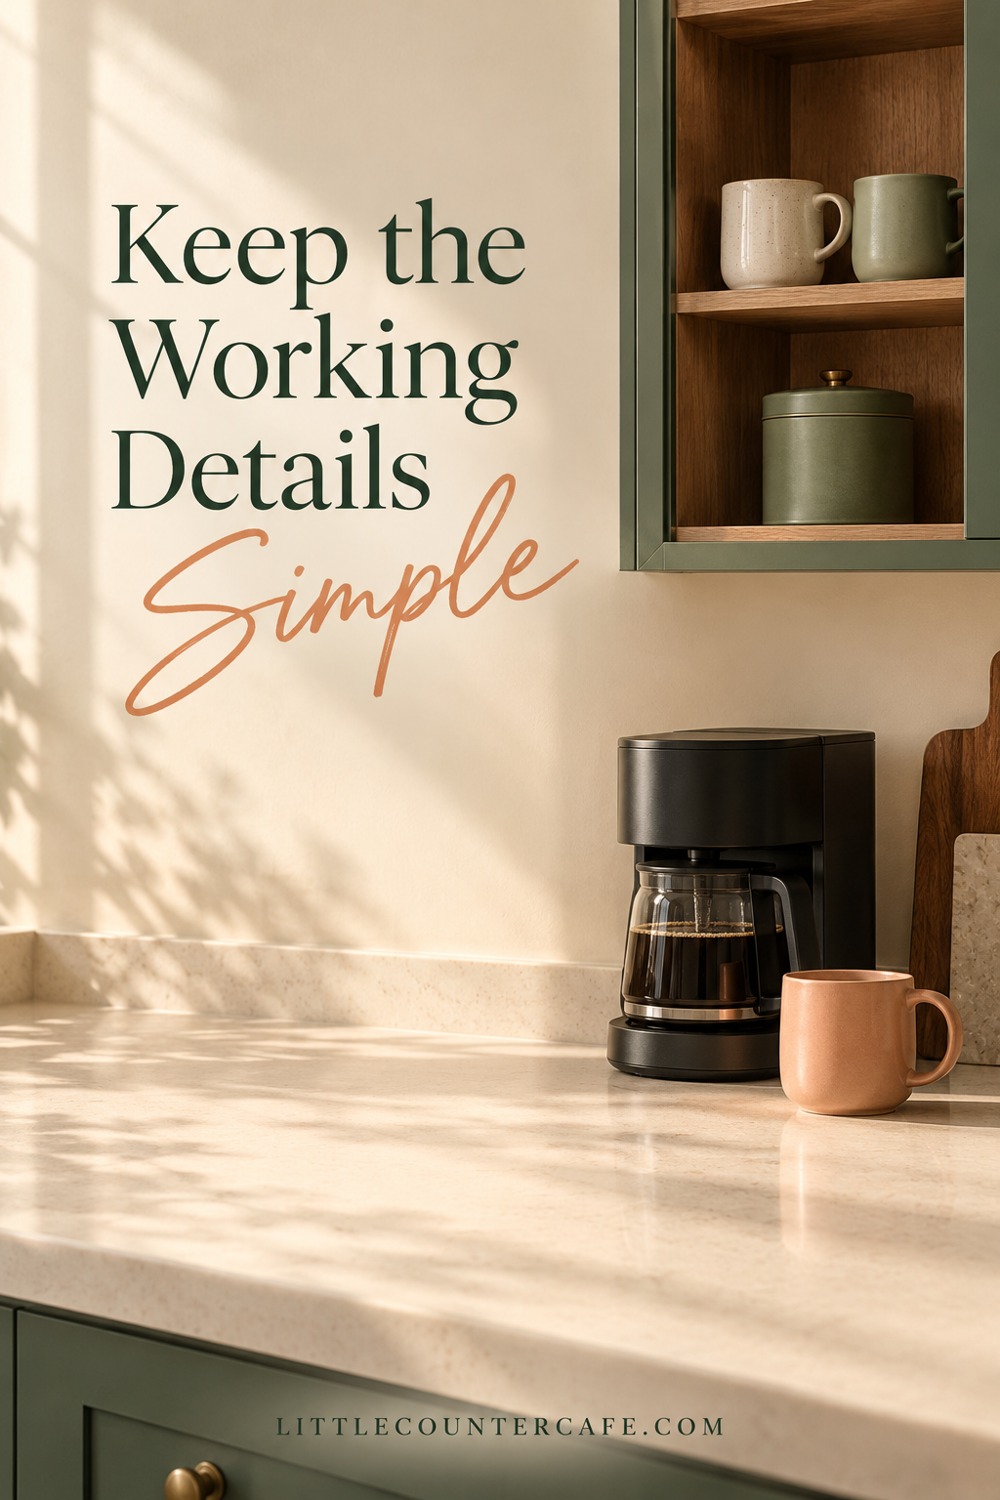
Once you choose a location, imagine the whole sequence: retrieve the mug, prepare the drink, add milk or tea, carry it away and deal with the used items. Where would you have to reach across something hot? Where would a door hit your body? Where would drips collect?
Keep equipment instructions beside the plan
As one manufacturer example, the Breville Bambino BES450 manual calls for a level, clean surface free of water, warns against positioning near the counter edge or a hot burner, and cautions against cords hanging over the edge or touching hot surfaces. Use the instructions for your own model rather than treating this example as a universal clearance specification.
Check that the cord reaches an appropriate outlet without crossing the sink or a walking route. If the location needs an outlet change, get qualified electrical advice. Do not build a layout around improvised wiring or assume that multiple heat-producing appliances can share any available power arrangement.
Add storage before decoration
Choose one home for each daily item. Mugs can go in an existing cabinet; tea can stay in its packaging inside a small caddy; occasional syrups and spare equipment can live away from the working counter. Avoid mounting shelves or hanging heavy mugs without checking the wall, fixings and load requirements.
For styling, try a forest-green mug, a peach cloth stored away from heat, or a small framed print outside the working area. One repeated color can make the station feel intentional without taking another inch of preparation space. Keep plants, trailing leaves and loose textiles clear of appliance heat, vents and cords.
Solve the problem you notice first
- The station keeps expanding: decide which items are used daily and store the rest. A larger tray will not solve a missing boundary.
- Refilling is awkward: reconsider the location or equipment choice. Do not rely on dragging a hot machine forward every morning.
- Two people collide: move mug storage or use the station outside the busiest cooking time. If neither helps, try a different layout.
- The counter looks crowded: remove the least useful object, then look again before buying a shelf.
- Tea feels like an afterthought: give tea supplies an equally convenient storage home and check that kettle access works for the person using it.
Check the Layout Before You Commit
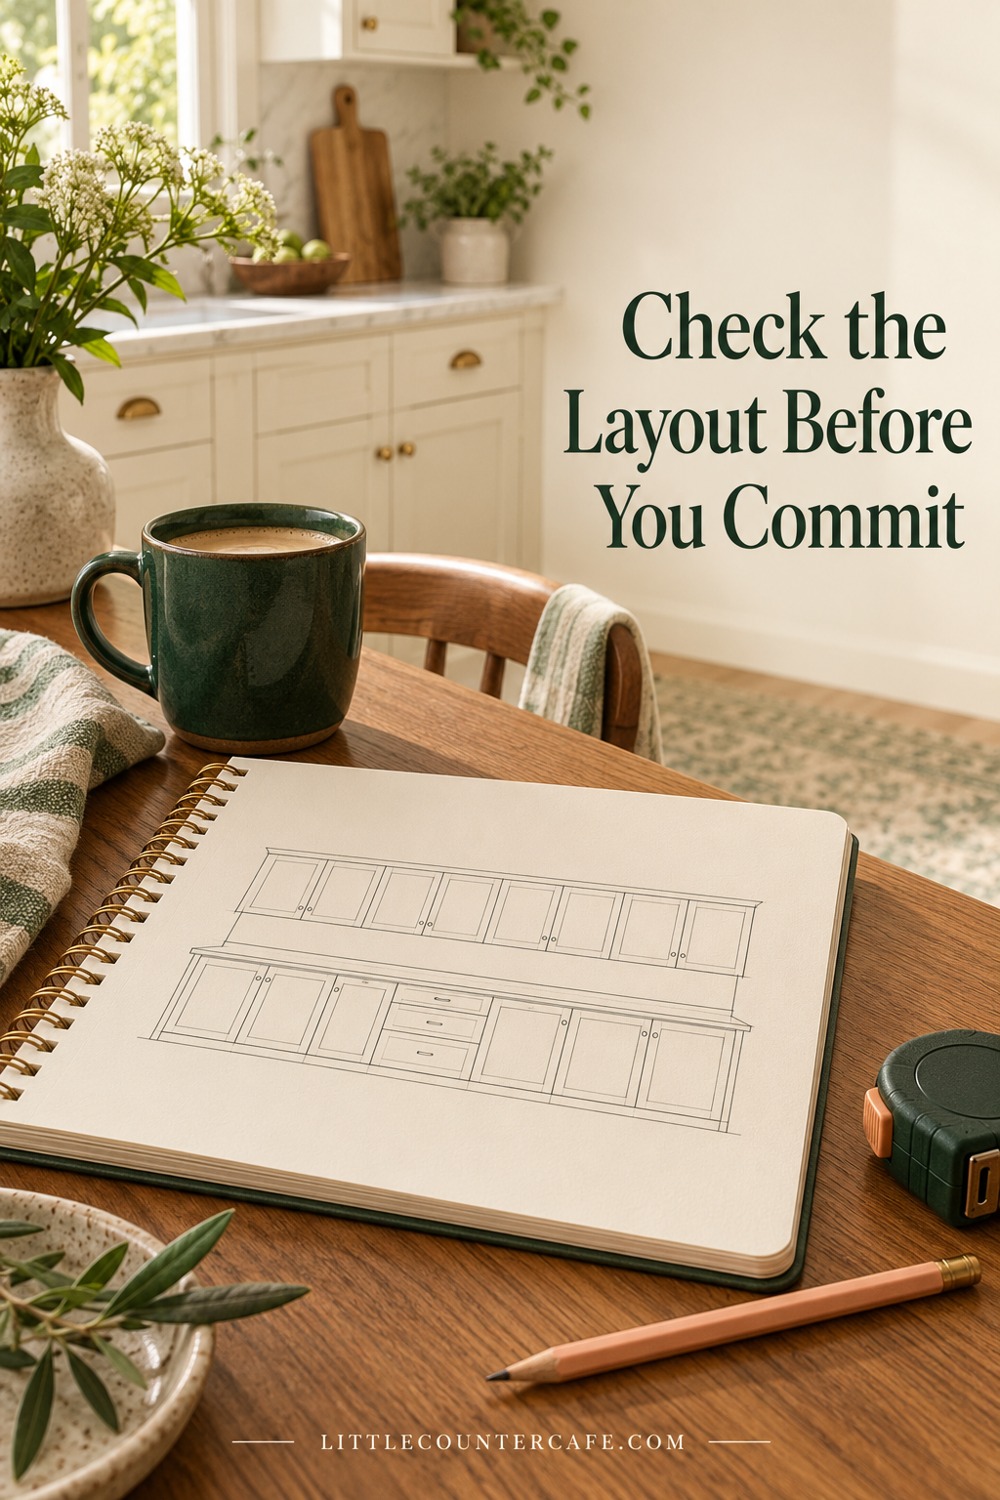
Use this worksheet with your drawing. It is designed for a rearrangement with your current furniture, not a construction or electrical plan.
- Mark the fixed features. Sketch the sink, stove, refrigerator, outlets and opening doors along the wall.
- Choose one candidate location. Write end-of-run, storage-side or pack-away and explain why it fits your routine.
- Record the actual space. Note counter width, usable depth, overhead height and the clear floor route.
- Check each appliance. Record model, manual, operating clearances, refill direction, cord route and suitable surface.
- Assign storage. List the home for mugs, tea, coffee, spoons and backup supplies.
- Rehearse without heat. With appliances off and cool, check doors, drawers, reaching and passing space. Follow each manual when moving equipment.
- Make the decision. Keep the arrangement, simplify the equipment, or choose another location. An unresolved safety or access problem means the plan needs changing.
Print the worksheet below if you prefer to work on paper. Keep it with the appliance manuals so a future equipment change does not quietly undo your careful planning.
You do not have to fill the wall to make a lovely home cafe. A practical position, a little clear working room and supplies that are easy to put away can be enough to make the morning feel calmer.
As an Amazon Associate I earn from qualifying purchases. The shopping list below contains a paid link.
Download the Single-Wall Layout Worksheet (PDF)
LITTLE COUNTER CAFE · Small-Space Coffee Station Essentials
Make room for your daily coffee ritual.
Space-saving organizers, compact brewing tools, and simple measuring essentials for planning a practical coffee corner.
As an Amazon Associate I earn from qualifying purchases. This is a paid link.