

A cozy coffee corner can look surprisingly busy when one black cord crosses the counter and another disappears behind the mugs. Before buying a cable box, try changing the position of the appliances. A shorter, simpler route to a suitable outlet often makes a bigger difference than another organizer.
The goal is a cord you can manage, inspect and unplug easily. It does not need to disappear completely. Keep the original cord intact, follow the manual for your exact machine, and leave the appliance’s ventilation and operating space clear. The layout ideas here are concepts to adapt to your own kitchen, rather than measured installations or product tests.
Use the free two-page Coffee Station Cord Planning Worksheet alongside the steps below. It gives you room to map the outlet, record each appliance’s instructions and check the finished arrangement before brewing.
Plan the Route Before Hiding Anything
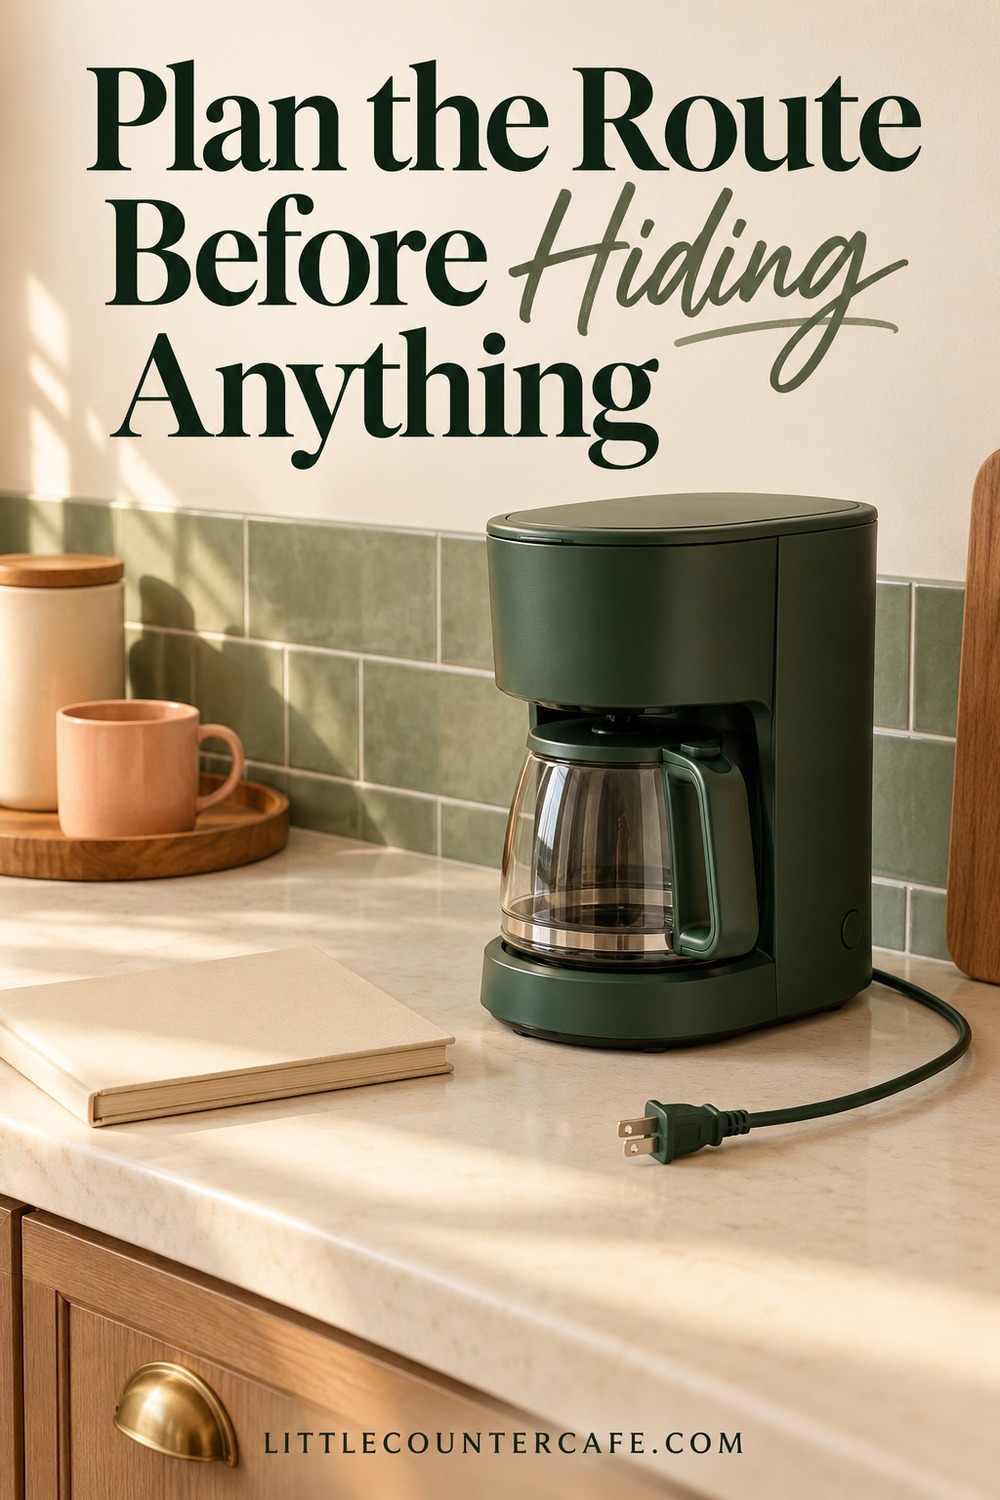
Start with the coffee maker switched off, unplugged and cool. Remove the mugs and accessories so you can see where the cord actually travels. Check its full length, including the plug and the point where it enters the machine. If the insulation is cracked, the plug is damaged or the appliance has another electrical fault, stop using it and follow the manufacturer’s service guidance. An organizer cannot repair a damaged cord.
Next, find the instruction manual for the exact model and country version you own. Search for power cord, electrical safeguards, extension cord and cord storage. Record what it says instead of assuming that an accessory suitable for one coffee maker is suitable for another. Some machines require their cords to be fully unwound during use. Breville’s US Precision Brewer BDC450/455 manual, for example, gives that instruction and warns against cords touching hot surfaces or becoming knotted. That makes a tight operating coil an unsuitable styling shortcut for that model.
Place the machine near a suitable wall outlet while keeping the manual’s required clearance. Trace a route along an open, dry part of the counter that avoids hot appliance surfaces, water handling, sharp edges and the front counter edge. Leave enough relaxed length to reach the plug without pulling on the cord. Never force a plug sideways to make a tray fit.
Then check the real movements your station needs. Does the tank lift out? Does the lid open upward? Do you pull the machine forward to refill it? A route that looks tidy when everything is closed may pull tight as soon as you make coffee. Move the unplugged, cool appliance through those normal tasks and watch the cord. Reposition the machine if the route catches or strains it.
For a station with a brewer and a grinder, plan each cord separately. Identify the plugs so you can unplug the intended appliance without tugging on a bundle. Do not assume two sockets prove that every appliance may run together: follow the appliances’ electrical requirements, and ask a qualified electrician about outlet or circuit suitability when needed. A neighboring toaster or kettle belongs in this check too.
Write this down: appliance and model, manual link, permitted cord arrangement, outlet location, normal access movement and anything that needs professional advice. If the safe route is awkward, move the station before shopping for a longer lead.
Use Placement to Make Cords Less Noticeable
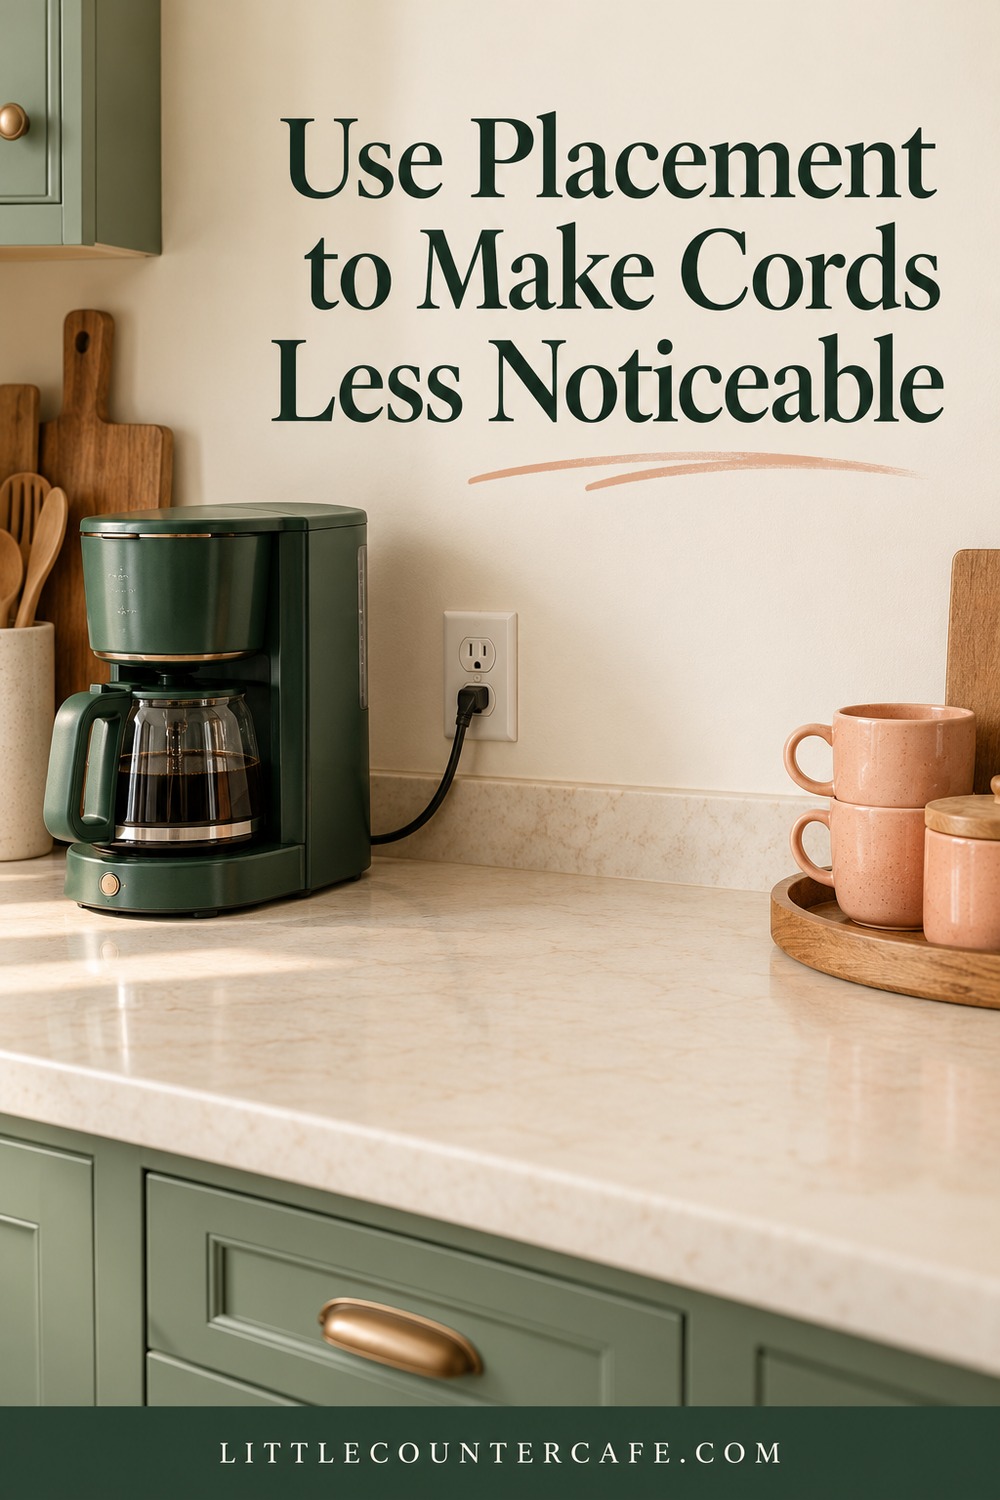
The simplest approach is often to rotate or shift the machine so its cord leaves toward the outlet, rather than running across the front of the work area. Keep the cord’s natural curve at the appliance and plug. A tidy route should not depend on bending either connection sharply.
Try arranging the coffee maker and everyday supplies as two neighboring zones. Put the machine on the side nearest the suitable outlet and keep the mugs, filters and spoons on the other side. This reduces the chance that a mug has to cross a cord or that a storage basket presses it against the backsplash. If your counter is very small, removing one rarely used accessory may create the route you need.
A tray can visually organize cups and spoons while leaving the appliance and cord on the counter beside it. This is often more practical than trying to fit everything on one large tray. Keep cords out from under tray feet, appliance bases and heavy canisters. Do not use the tray to press a loose cord flat.
For an open-backed coffee cabinet, position the unit so the original cord has a clear, unpinched route to an accessible suitable outlet. Do not feed it through a closing door, pinch it behind the cabinet or run it beneath furniture. If the arrangement needs a new hole or an outlet moved, stop and get appropriate furniture or electrical advice. A flexible appliance cord should not become concealed household wiring.
Resist the temptation to hide a plugged-in machine inside a closed cupboard. Ventilation and operating restrictions still apply. The Precision Brewer manual specifically says the appliance must not be placed in a cabinet during use. Check your own model rather than treating an attractive appliance garage as permission to brew with the doors shut.
If your coffee corner shares space with breakfast appliances, plan both the display arrangement and the working arrangement. A movable decorative object should never be the thing that keeps a cord away from heat. The cord route needs to remain suitable when the toaster, kettle or brewer is actually being used. Our guide to coffee stations that share space with a toaster helps with the larger layout decision.
Choose Organizers Around the Appliance Instructions
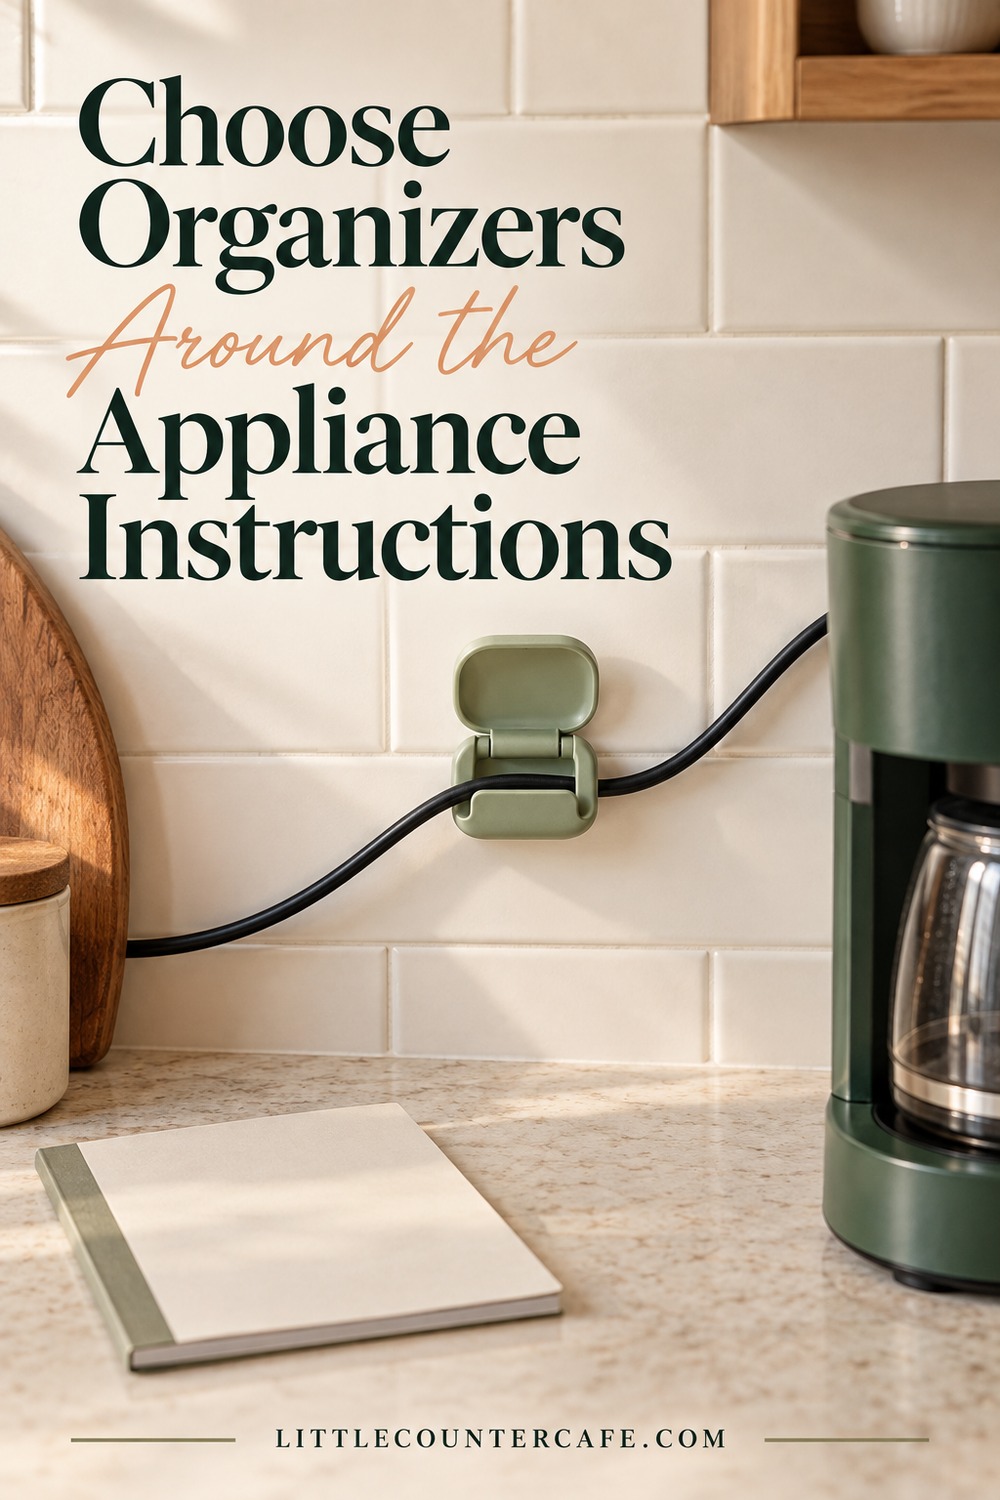
You may discover that repositioning is enough. If a cord still wanders into your mug area, consider an organizer only after checking both its instructions and the appliance manual. Look for an option that allows easy inspection and removal, suits the cord diameter and does not crush the insulation. An adhesive clip’s grip, surface compatibility and temperature limits matter more than whether it matches the backsplash.
For example, a suitable open clip on an appropriate cool, dry surface may guide a cord away from everyday supplies without turning it into a tightly wrapped bundle. This is an option to assess, not a universal recommendation. Do not stick an organizer to the machine casing unless the manufacturer permits it. Avoid vents, hot panels, removable covers and any location where a clip would interfere with cleaning or service access.
Do not staple or nail cords in place. The CPSC’s home-wiring guidance warns about fastening cords this way and about pinched or covered extension cords. Keep any routing accessory from creating the same pressure or abrasion you were trying to eliminate. If installation requires a sharp turn, a squeezed section or a hidden run you cannot inspect, choose a different layout.
Be cautious about cable boxes marketed for desks. A box can make plugs hard to reach and hide what is connected. It does not make a power strip appropriate for a heating appliance. This guide does not recommend boxing in live coffee-station connections or adding a power strip to solve a location problem. Use the appliance’s approved supply arrangement; get an electrician’s advice if the available outlet is unsuitable.
Likewise, do not add an extension cord simply to preserve a preferred styling position. The US Fire Administration advises plugging cooking appliances directly into wall outlets rather than extension cords. Coffee-machine instructions may contain their own model-specific restrictions. Repositioning the station is the first option; changing the electrical installation is a job for a qualified professional.
Built-in cord storage deserves a separate check. A manufacturer’s storage feature may be intended for transport or for a cool, unplugged appliance rather than operation. Read the instructions for when and how to use it. Never assume that a cord can stay wound because it fits neatly into the recess.
Before buying, make a short list: suitable surface, cord fit, easy release, permitted temperature and location, and compatibility with the appliance instructions. If those answers are unclear, skip the accessory. Keep your organizing budget for something useful, such as a small tray for non-electrical supplies. Our vertical coffee station storage guide offers ways to free counter space without bundling electrical connections.
Keep the Cord Route Easy to Check and Clean
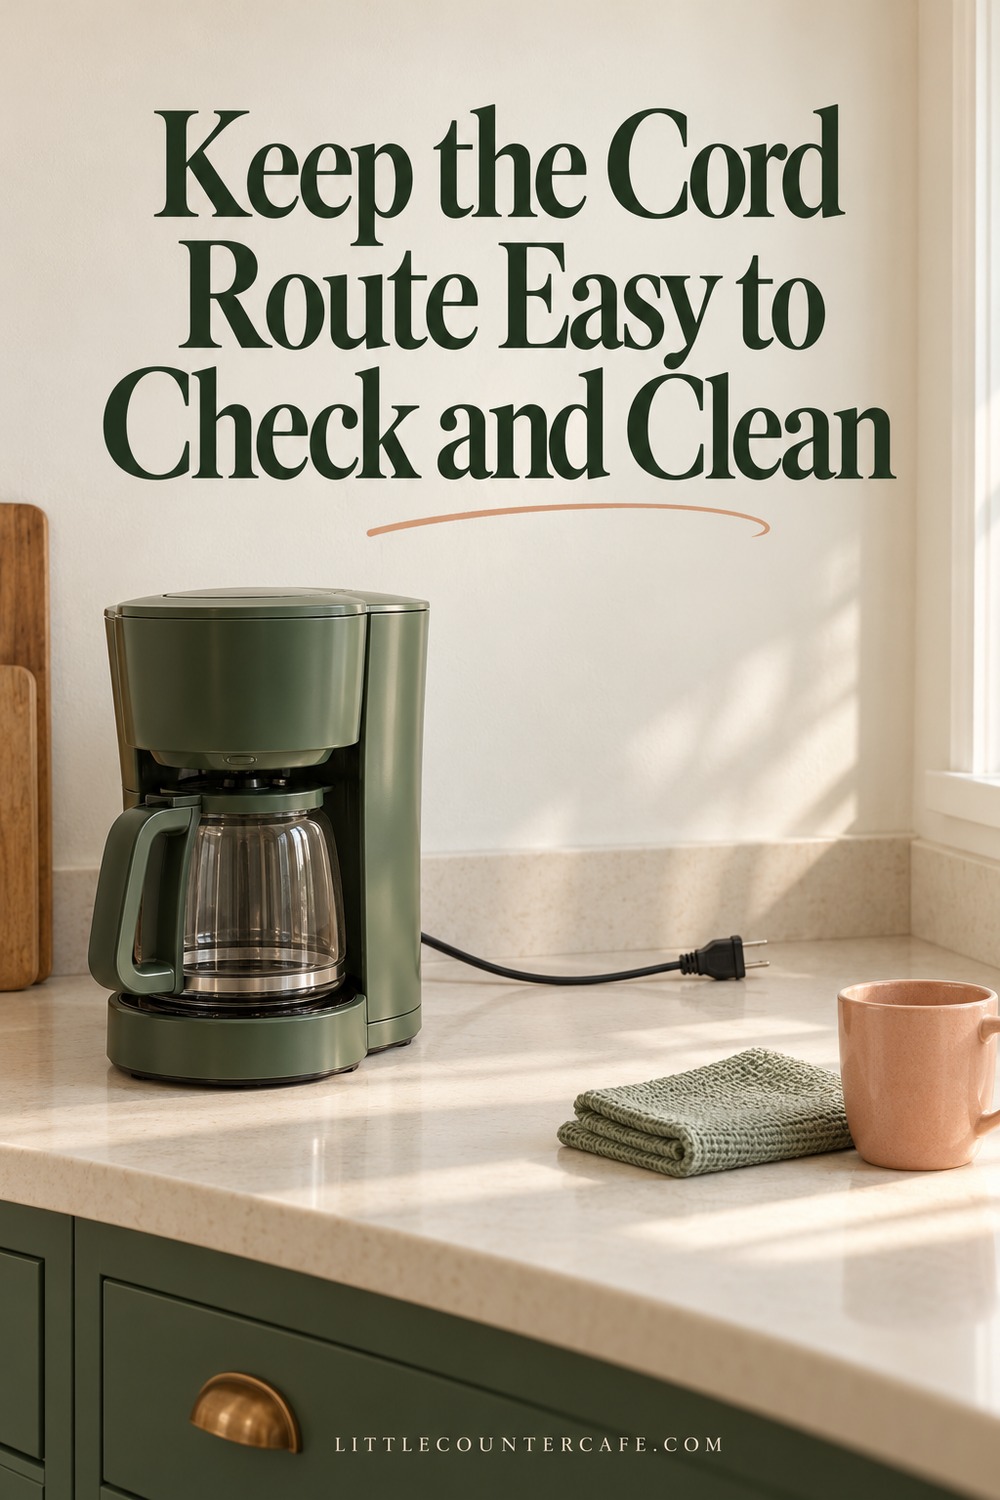
Once you have a workable arrangement, walk through it with the appliance still unplugged and cool. Open the tank lid, remove the reservoir if applicable and reach for the plug. Check that ordinary movement does not tighten the cord, loosen a clip or push it toward a hot surface. If it does, adjust the placement before using the machine.
Then return all the everyday supplies. This second pass matters: a basket that slides back after breakfast can trap a cord, and a stack of mugs can block access to the plug. Give the route its own clear space. It should be obvious where things may sit and where they should not.
For cleaning, follow the appliance manual’s shutdown, unplugging and cooling instructions. Move only what you can handle safely, and avoid pulling the machine by its cord. Keep water away from plugs and electrical connections. Recheck the route when everything is dry and back in place. The aim is an arrangement that survives ordinary wiping and refilling without being rebuilt each day.
Use this final check:
- The original cord and plug are undamaged and unchanged.
- The arrangement follows the exact appliance manual, including unwinding requirements.
- The cord avoids heat, water, pinching, sharp edges and a hanging counter-edge loop.
- The plug remains accessible without pulling on the cord.
- Tanks, lids and removable parts can move without strain.
- Clips, if used, suit their location and do not squeeze the cord.
- Supplies cannot slide onto the route or block ventilation.
- There are no improvised electrical connections or extension cords added for appearance.
If something smells hot, shows discoloration, sparks or develops another fault, stop using the affected equipment and seek qualified help. Do not cover the symptom with another organizer. Keep children from playing with appliance cords and maintain the supervision required by the manual.
Print the worksheet and keep it with your appliance instructions. Page one helps you plan the route; page two records the access check and any changes still needed. You can use it again when a different machine joins the corner or you move the station.
A small visible section of cord is a perfectly reasonable result. A coffee corner feels calmer when the equipment is easy to use, the counter is easy to wipe and every plug is within reach. Start with the position, keep the instructions close and let the decorative pieces fit around that workable arrangement.
Sources and further guidance
- Breville Precision Brewer BDC450/455 US instruction manual: model-specific cord, placement and electrical safeguards. Other models may differ.
- CPSC Guide to Home Wiring Hazards: damaged, fastened, pinched and covered cords.
- US Fire Administration: appliance extension-cord pictograph: direct wall-outlet guidance for cooking appliances.
Sources checked October 24, 2026. Illustrative scenes show planning concepts, not verified installations or hands-on tests.

LITTLE COUNTER CAFE · Coffee & Tea Storage Favorites
A calmer counter starts with a place for everything.
Canisters, tea storage, shelf organizers, and small accessories to keep everyday café supplies easy to reach.
As an Amazon Associate I earn from qualifying purchases. This is a paid link.