

If getting one mug out means moving three others, your kitchen needs a simpler storage arrangement. You do not necessarily need a matching set, a new shelf or a bigger counter. Start with the cups you reach for, then give those cups a home that fits their handles as well as their bases.
My favorite starting point is a small everyday group near the coffee or tea supplies, with guest and seasonal mugs stored separately. It keeps the first cup of the day easy without asking a small kitchen to display the whole collection.
The ideas below are planning options. The pictured setups are inspiration, rather than measured installations. Use the free mug-storage worksheet to check your own cabinet, drawer and mug sizes before buying an organizer.
Choose the Mugs You Actually Use

Empty one mug area onto a stable surface and sort by how the cups earn their space. Keep coffee mugs, tea cups, travel mugs and espresso cups visible together while you decide; otherwise it is easy to solve one cupboard and leave three competing collections elsewhere.
Make an everyday group for the people who regularly use the kitchen. Add enough spare capacity to suit your washing routine. A household that runs the dishwasher once a day may need a different number from someone who washes one favorite mug immediately. There is no universal correct mug count.
Put guest mugs in a second group, followed by seasonal and sentimental pieces. An occasional guest cup does not need the easiest spot in the kitchen. A treasured mug you never drink from can live with keepsakes rather than occupy the shelf you use before breakfast.
Check each mug’s condition and intended use. Set aside cracked or damaged pieces for a separate decision; do not hide damage at the back and keep reaching for the cup. Follow the maker’s care directions, particularly for handmade ceramics, decorative finishes and insulated drinkware. Let washed mugs dry before putting them into a closed cupboard.
Before donating anything, notice the types you still need. A tall travel mug, a wide tea cup and a small espresso cup solve different jobs. Keep what suits the way you actually drink, rather than replacing a useful mixed collection just to make a shelf match.
Try a temporary edit first if you are unsure. Store the less-used group safely elsewhere for a short trial and use the everyday group through your usual washing cycle. If someone repeatedly runs out of a suitable cup, adjust the count. This is more useful than copying a styled photo’s exact number of mugs.
For a wider look at everyday versus backup supplies, see How to Organize a Small Coffee Station. Keep this mug decision small: you are choosing accessible cups, not reorganizing every cabinet today.
Measure Cabinets, Drawers and Handles
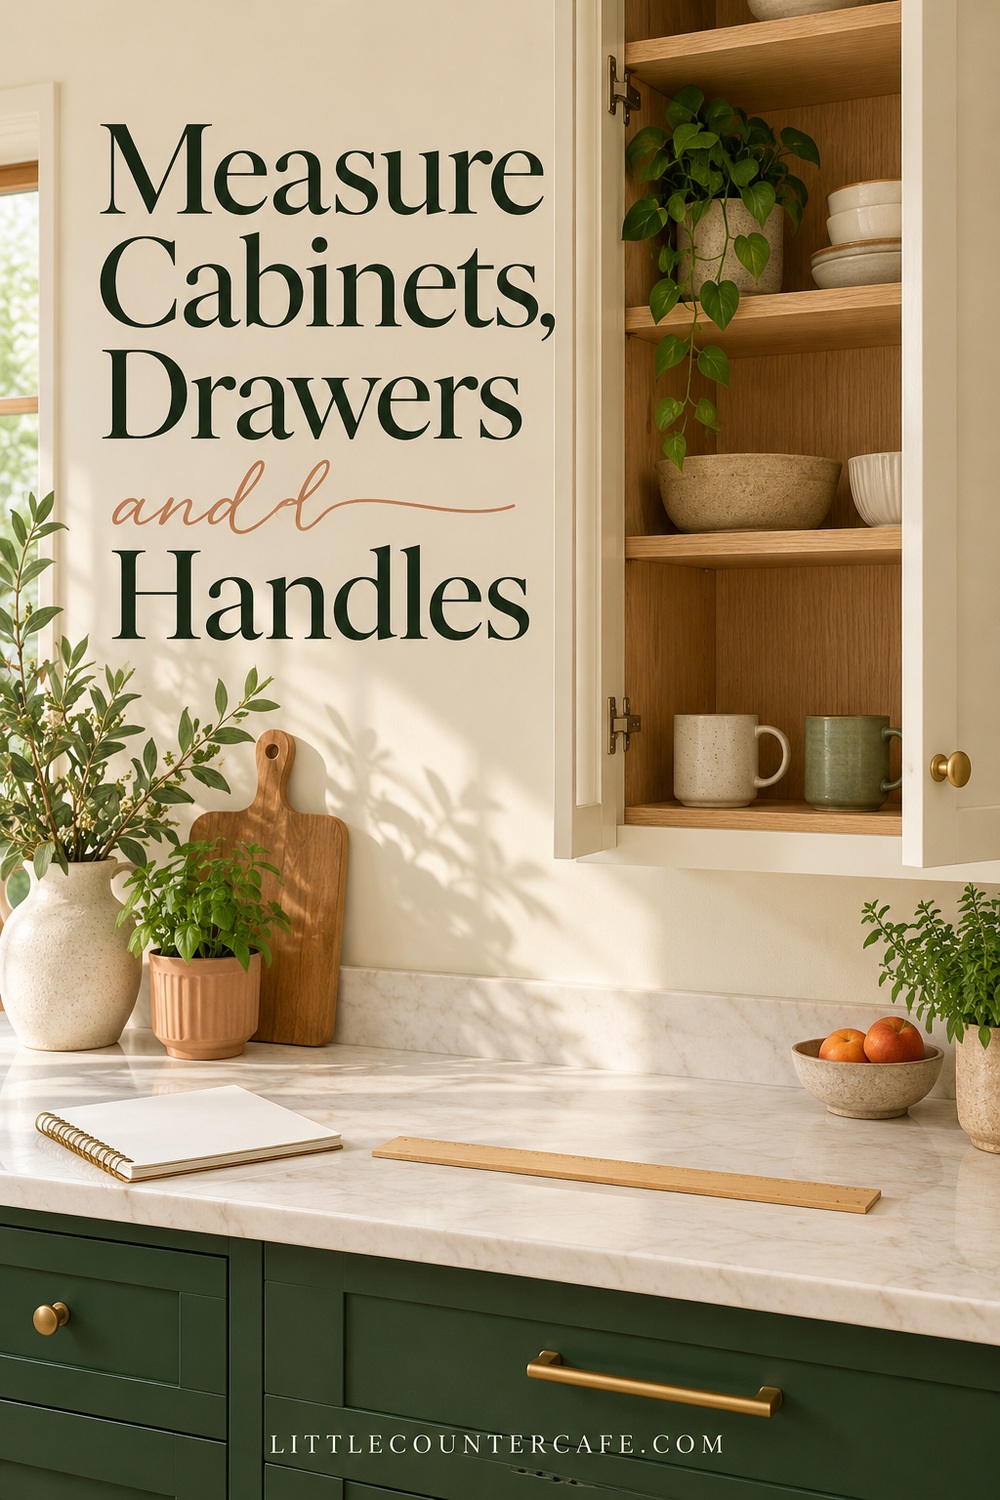
A mug’s widest measurement often includes its handle. Measuring only the round base makes a row look possible on paper while the handles collide in real life. Measure your widest mug from the outer handle edge to the opposite side, its height and the space you need to lift it comfortably.
Then measure the actual storage opening. For cabinets, record usable shelf width, depth and clear height, noting hinges and any frame that narrows the entrance. For drawers, measure inside the drawer and check the clearance beneath the surface above. Close the drawer slowly with one mug in place before arranging the full set; stop if anything touches or catches.
Lay a paper template in the space if a new organizer is involved. Mark its outside footprint, then set your actual mugs inside that footprint on the counter. This checks the handle layout, but it does not prove the organizer’s load capacity or usable interior. Verify those separately from its instructions.
Shelf inserts need two useful levels, not simply enough room for the metal frame. Check the space beneath the insert, the space above it and the width between its legs. A tall mug may fit beside a riser while shorter cups work underneath. Do not force every cup into the same arrangement.
As one researched size example, IKEA lists a narrow VARIERA shelf insert at 12 5/8 inches wide, 5 1/8 inches deep and 6 1/4 inches high, approximately 32 by 13 by 16 cm. Those are product dimensions, not a promise that your mugs fit underneath. Check the current listing, instructions and your own cabinet before choosing it. This is a fit example, not a hands-on product test.
Leave room for a normal hand to take out a cup without scraping its neighbors. A theoretical maximum mug count is rarely a pleasant everyday layout. If you need both hands to unpick one cup, remove a mug or change its position rather than packing more tightly.
Match a Storage Idea to Your Kitchen
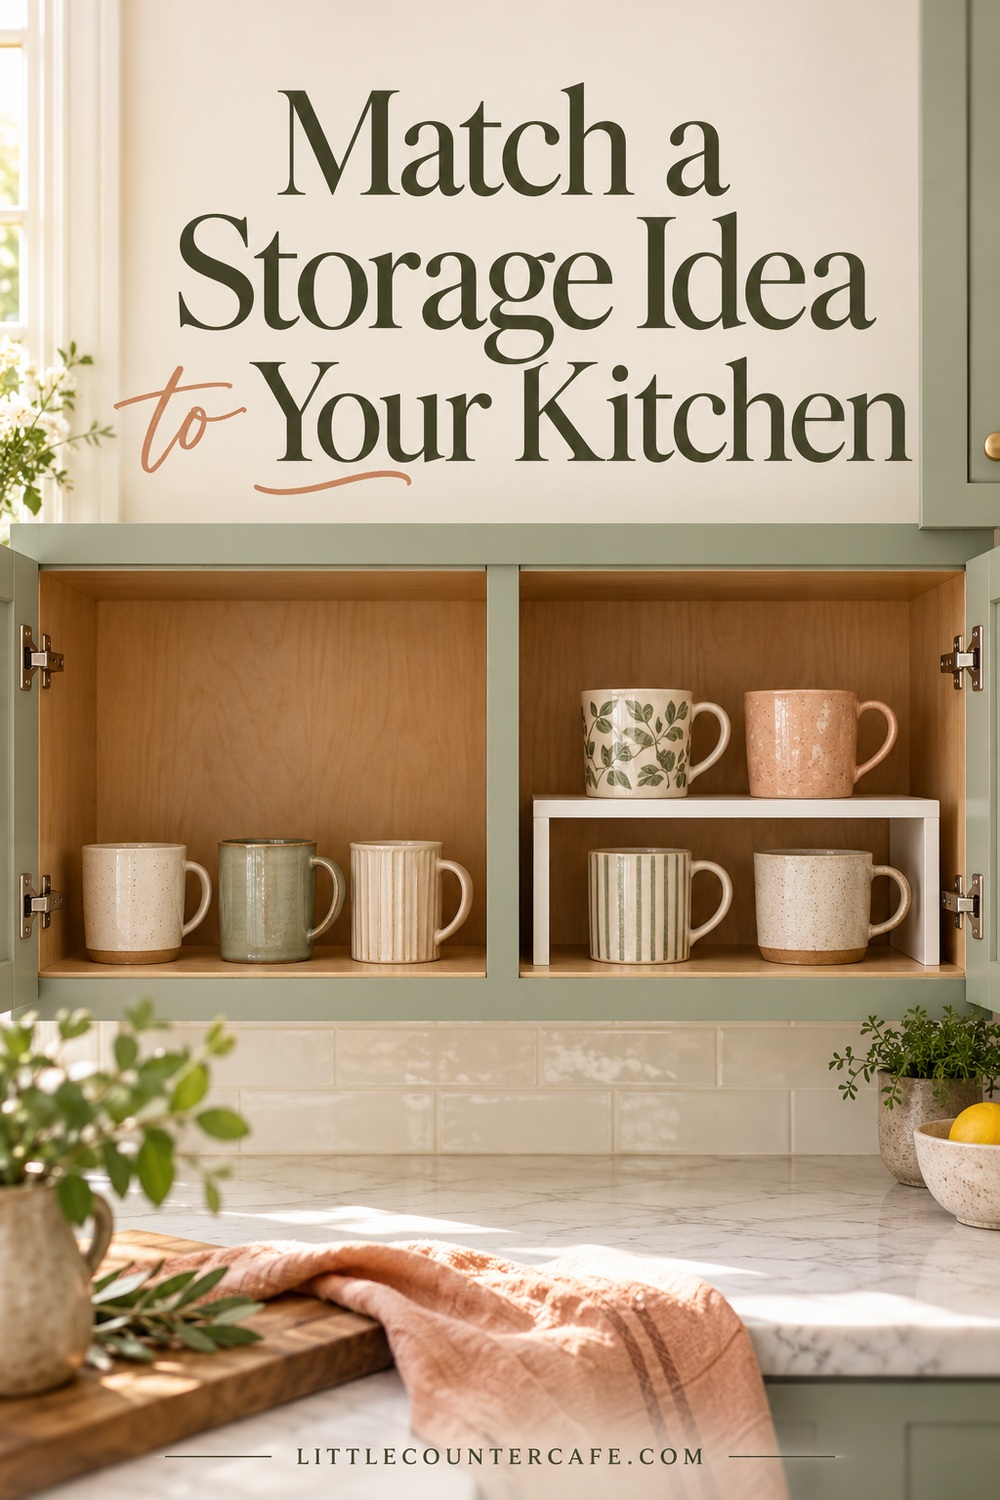
Choose the option that makes an everyday cup easiest to reach while keeping preparation space usable. You can combine two options: for example, daily mugs in a drawer and guest mugs in a cabinet. Buy only after a temporary arrangement shows which problem remains.
1. A single cabinet row
This is the simplest starting point for a mixed collection. Stand mugs individually on a clean, stable shelf and turn the handles so you can grip them. Keep your daily cups toward the front and occasional cups farther back only if they remain easy to retrieve. If you have to move several daily mugs to reach a guest mug, give the guests their own section instead.
2. A freestanding shelf insert
A riser can make spare cabinet height useful without balancing mugs on top of one another. Choose a design that sits level, fits fully on the shelf and is intended for the load. Keep mugs wholly supported, with handles clear of the frame. Use the manufacturer’s joining method if the model is designed to connect; do not improvise a tall tower of unrelated inserts.
3. An upright drawer arrangement
A suitable drawer lets you see the whole group from above. Use stable, upright positions and allow space between handles. A fitted liner may help reduce movement, but it cannot fix a drawer that is too shallow or overcrowded. Open and close gently during the trial and check that mugs stay in place. Reserve another spot for taller travel mugs that do not clear the opening.
4. A small counter tray
If your kitchen has almost no convenient cabinet space, a tray can hold a modest daily group beside the preparation area. Its job is to contain the mugs, not grow into a display of every accessory. Keep it away from a sink’s splash area and outside the clearances required by nearby appliances. Make sure you can lift or slide it without cups tipping, and keep the brewing workspace open.
5. Mugs designed to stack
Choose this only when the specific mug design is intended for stacking. HARIO describes its COLORS Stacking Mug Cup as stackable, which is different from assuming any two mugs that nest together are suitable. Follow the maker’s guidance, keep the stack stable and easy to lift from, and avoid loading a delicate rim with an unrelated mug. No universal safe stack height applies to every shape or material.
6. A purpose-made mug rack or hook system
Wall and under-shelf storage can be useful when cabinet space is tight, but the mounting surface, fittings, handle clearance and load rating matter. Read the exact rack or hook instructions before choosing a position. Weigh the actual mug if the instructions use a weight limit; appearance alone does not tell you whether a hook is suitable.
Command’s coffee-station project specifically says to follow the product package’s surface-preparation and weight instructions and check mug spacing. Do not treat an adhesive hook as suitable for every wall, cabinet finish or mounting direction. Renters should also check their lease and permitted installation methods. If suitability is uncertain, use a freestanding cabinet solution.
Avoid hanging cups over a hot appliance or where removing a mug brings your hand across steam, cords or moving doors. Do not use an attractive rail to conceal a clearance problem. For more ways to use cabinet height, see Vertical Coffee Station Storage Ideas.
7. Separate guest and seasonal storage
Give occasional mugs a stable, dry cabinet section or a suitable protective storage container. Keep the container within its rated capacity and avoid loading loose ceramics against each other. Label the group clearly so you can find the holiday mugs without unpacking every kitchen box. Daily cups should stay in the easiest location, even when the guest mugs look prettier together.
Shopping for storage? This article includes paid links. As an Amazon Associate I earn from qualifying purchases. The Storage & Organization collection below is a place to compare options; measure first and check each item’s suitability.

LITTLE COUNTER CAFE · Coffee & Tea Storage Favorites
A calmer counter starts with a place for everything.
Canisters, tea storage, shelf organizers, and small accessories to keep everyday café supplies easy to reach.
As an Amazon Associate I earn from qualifying purchases. This is a paid link.
Keep the System Easy to Reset

Use the new arrangement through an ordinary week before adding more equipment. Notice where clean mugs land after washing, whether everyone can reach a suitable cup and whether a favorite cup is repeatedly left on the counter because its home is awkward.
Make one correction at a time. If the drawer catches, remove the tall mug. If handles collide, spread the row out or reduce the number. If an insert leaves very little lifting room, move it to another shelf rather than accepting a fiddly arrangement. If the tray takes over the counter, keep fewer daily cups out.
Keep a simple boundary for replacements and gifts. When a new mug arrives, decide whether it joins the everyday group, the guest group or the keepsakes. You do not have to discard a favorite to follow an arbitrary rule, but its new home should be a deliberate choice. An overflow shelf is a sign to review the arrangement before buying a second rack.
Wipe the storage surface as needed and let it dry before replacing mugs. Follow the care instructions for liners, racks and the cabinet finish. Inspect loose fittings or a damaged organizer before returning the cups; do not keep using a wobbly rack because the mugs still technically fit.
A five-minute mug-storage reset
- Return clean, dry daily mugs to their marked area.
- Move guest or seasonal mugs back to their separate home.
- Check that handles and drawer openings remain clear.
- Remove unrelated items that have landed in the mug space.
- Note one fit issue to solve before buying another organizer.
Your free mug-storage worksheet
Use the two-page Mug Storage Fit & Reset Planner to record your mug groups, largest cup dimensions, usable storage opening and preferred option. It also includes a one-week access check and a simple buy-or-reuse decision. Keep it with your kitchen measurements so you can compare a potential organizer with your actual space.
Download the Mug Storage Fit & Reset Planner
Start with the cups you use tomorrow morning. A small group that is easy to put away and take out again is a useful win, even before the rest of the kitchen is organized.