
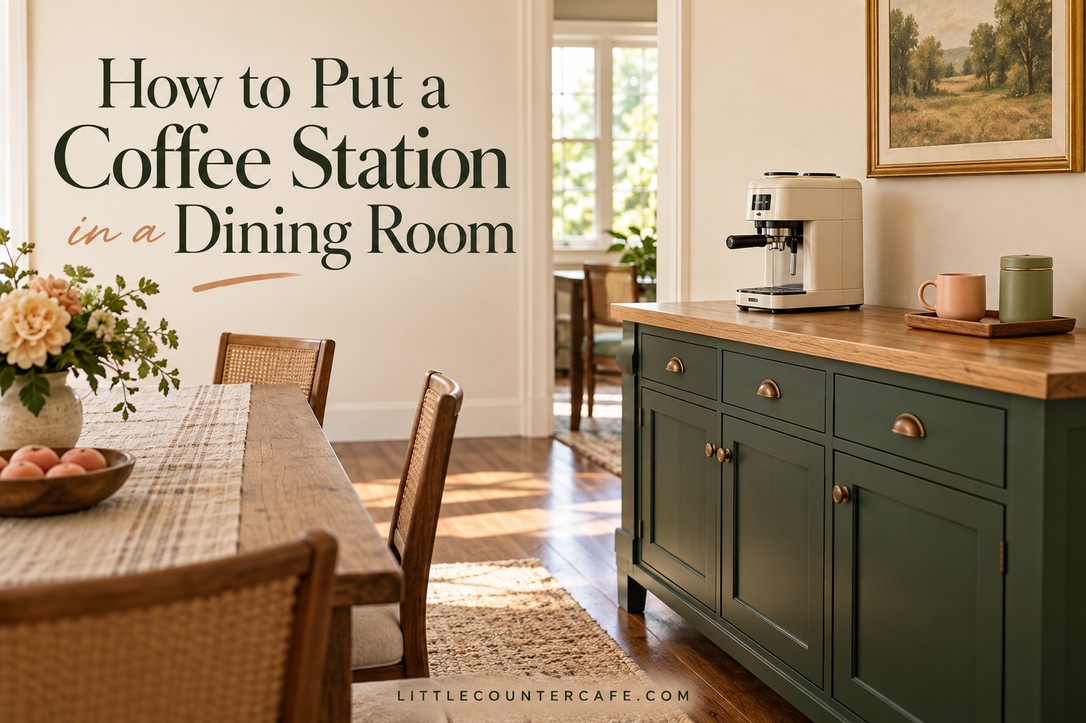
A dining room coffee station works best when it feels like part of the room and is easy to use without a sink beside it. The attractive sideboard is only the starting point: you also need comfortable chair space, suitable furniture, safe power access and a simple way to return used cups to the kitchen.
I like the idea of keeping the everyday pieces together so the first cup feels a little less scattered. You can make that happen with a sideboard you already own, a few favorite mugs and a small supply caddy. Start with what you actually use rather than trying to recreate a fully stocked café.
This guide uses illustrative room arrangements, not a measured installation. Check your own furniture and appliance instructions before copying a layout. The free two-page Dining Room Coffee Station Planner helps you record the fit, open questions and daily reset.
Choose a Spot That Keeps Dining Comfortable
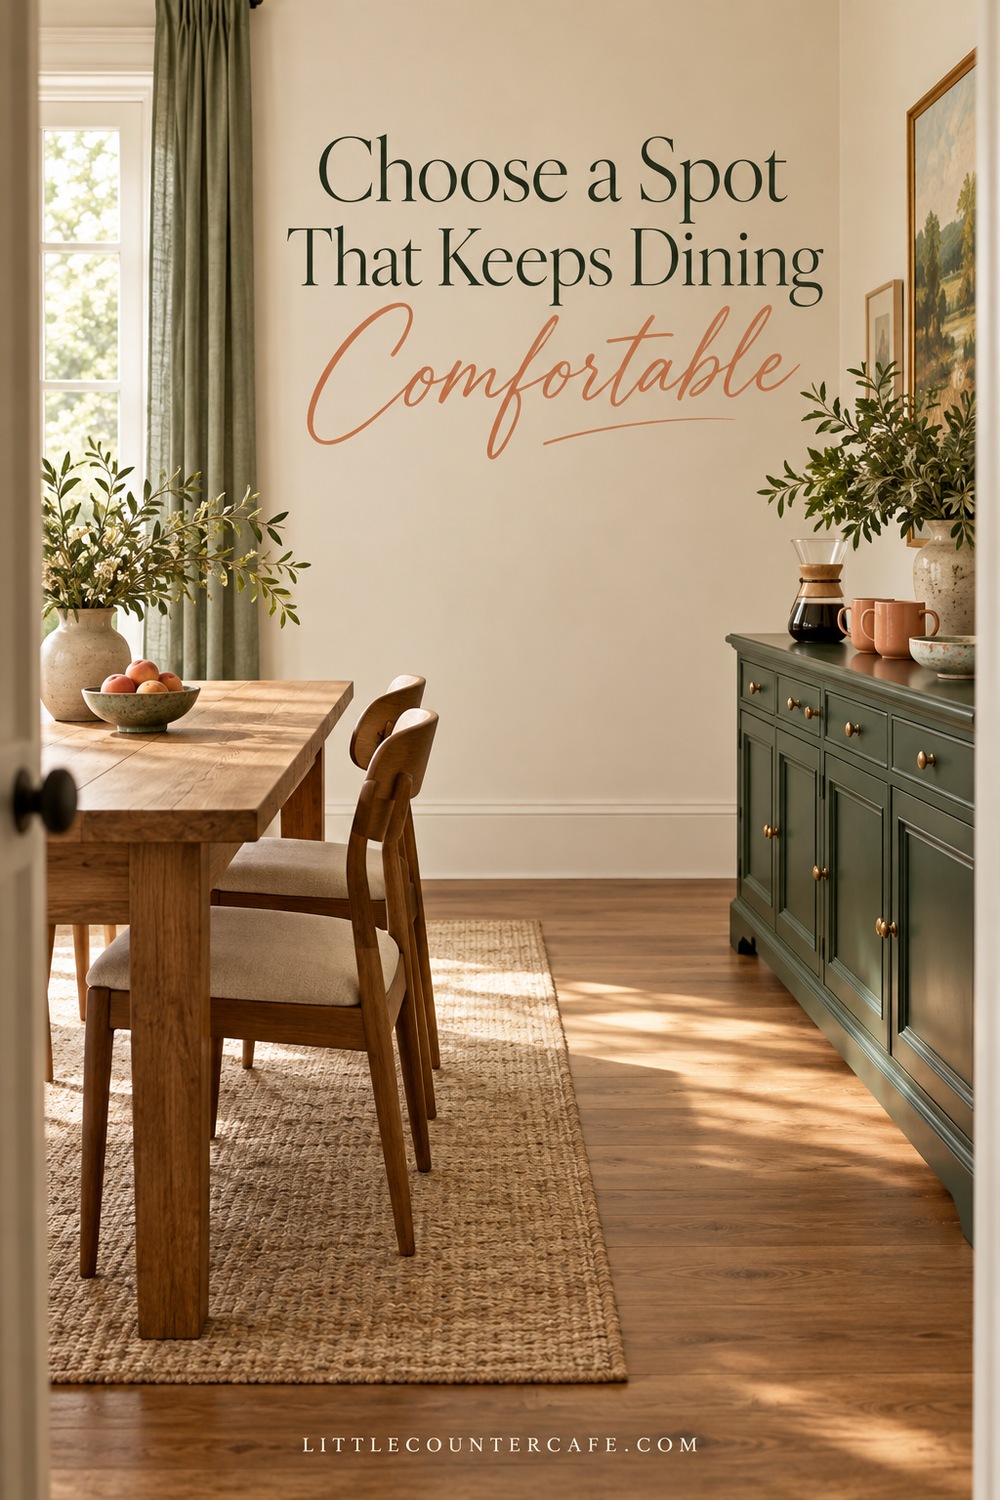
Look for a wall you can reach without squeezing behind someone’s chair. The station should serve the dining room without taking over its main job. A beautiful setup becomes frustrating if every refill involves asking a seated person to move.
Start with three possible locations: an existing sideboard, an unused wall near the kitchen doorway, or the short end of the room where furniture already sits. A spot near the kitchen can simplify water refills and cleanup, but avoid placing the station directly in a busy doorway. Think about the route from sink to station as well as the route from station to table.
Try the room before buying furniture
Measure the proposed furniture footprint and mark it with removable paper on a suitable floor surface. Pull the dining chairs out as you normally would. Open nearby doors, cabinet fronts and drawers. Walk through the room with an empty tray. Include the way your household actually uses the space: a high chair, mobility aid or chair that stays pulled out can change the usable route.
There is no single clearance number here that guarantees a comfortable room. Record the space with chairs occupied and with storage doors open. If someone needs accessible circulation, use their real needs and applicable design guidance rather than relying on a decorative layout.
Keep the machine out of direct curtain contact, away from tablecloth edges and beyond easy grabbing distance for young children. A tall sideboard alone does not make a hot appliance child-safe.
Choose brewing or serving
A dining room station does not have to contain a powered machine. If the outlet, surface or clearances do not work, keep brewing in the kitchen and use the sideboard for clean mugs, tea supplies and serving. This can be a useful arrangement when the dining room is small or a rental limits changes.
For a permanent brewing spot, verify that the appliance’s own cord can reach a suitable outlet without crossing a walkway, being pinched behind furniture or hanging from the front edge. ESFI’s extension-cord guidance advises against using extension cords as permanent wiring. If power access is unsuitable, choose another location or ask a qualified electrician about an appropriate outlet.
Check the Furniture and Appliance Fit
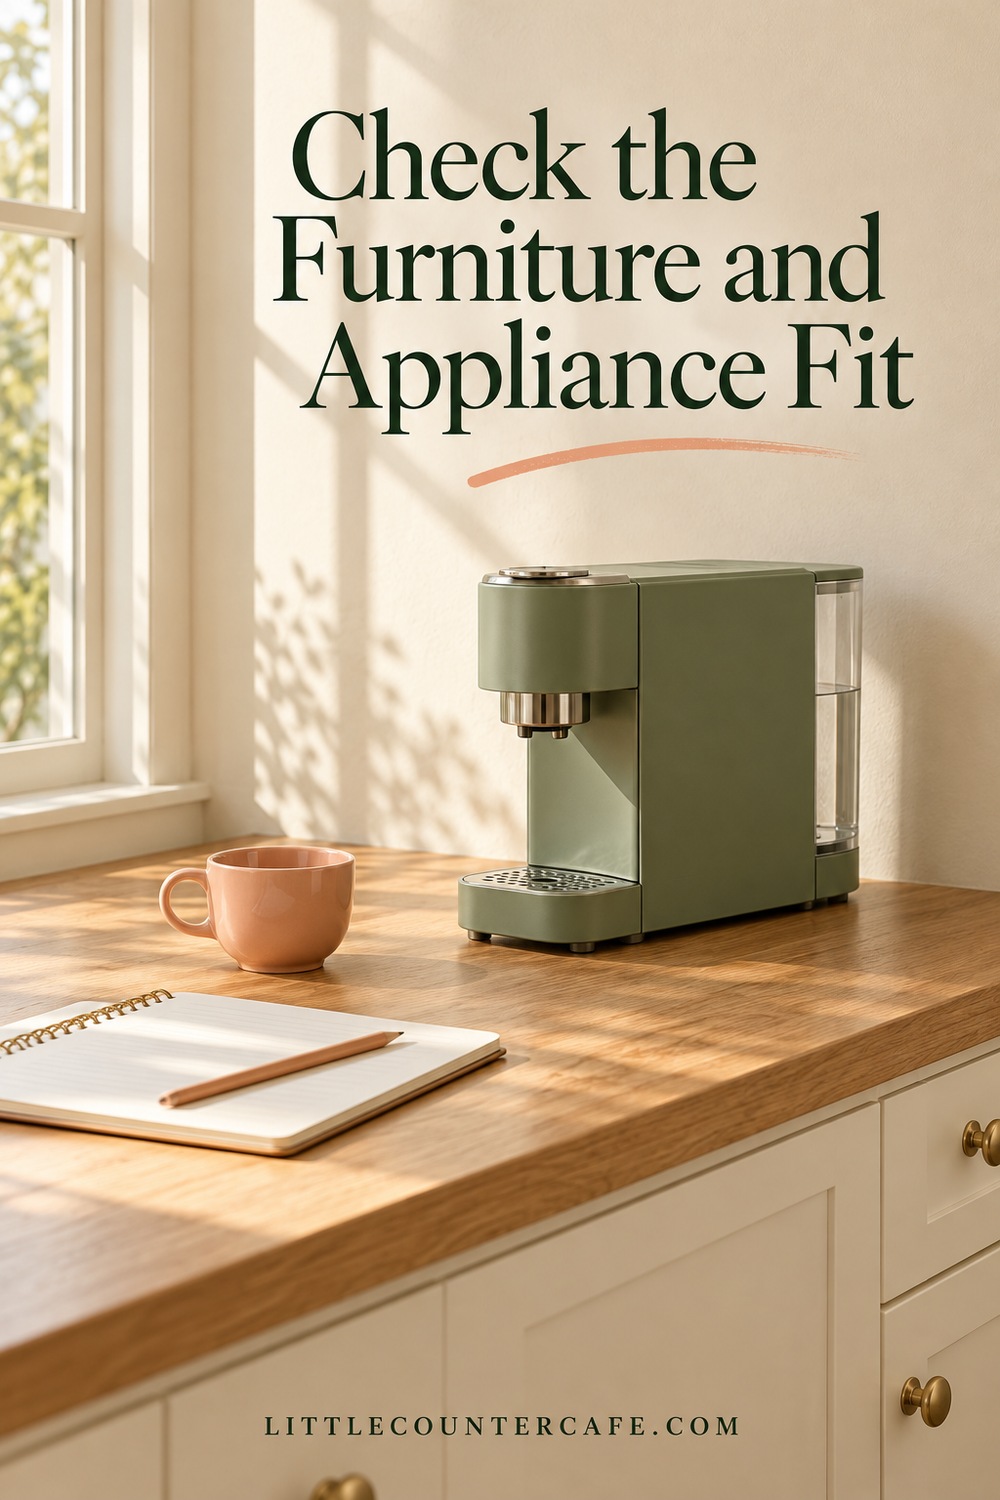
A coffee maker’s closed width and depth tell only part of the story. You also need space to remove its water tank, open the bean hopper or lid, empty the drip tray and carry out the cleaning steps in its manual. A machine that just fits under a shelf may be awkward or unsuitable in daily use.
Measure the furniture’s usable top, not just its advertised overall size. Raised edges, trim and a projecting drawer front can reduce the area that supports the appliance. Make sure every foot rests on a stable surface, with room away from the edge and any ventilation or clearance the manufacturer requires.
Check the surface before adding a tray
Confirm that the furniture manufacturer allows the expected weight and exposure to heat and moisture. Include the appliance, filled water tank, grinder, mugs and supplies in your assessment. A decorative console, folding table or damaged secondhand cabinet should not be assumed suitable because it looks sturdy.
A tray can corral mugs and catch small drips, but it does not upgrade a furniture top’s heat resistance or load rating. Do not place an appliance on fabric, a soft mat or a raised tray unless its instructions permit that support and all feet remain stable. Use a separate tray for cups if the machine needs to stand directly on an appropriate surface.
As one model-specific example, the Breville Bambino US instruction book calls for a level, dry, stable surface that resists heat and water, with the machine away from the edge. Those requirements illustrate what to check; they are not clearance instructions for every coffee maker.
Allow for the furniture, too
Read the sideboard’s assembly, care, load and anchoring instructions. Check that it is level and that doors or drawers do not make it unstable. IKEA’s wall-anchoring guidance explains the value of anchoring furniture to reduce tip-over risk. Follow the instructions for your exact furniture and use fixings appropriate for your wall. Seek competent help when needed; a renter should obtain any required permission.
Do not plan to run a machine inside a closed cupboard unless the appliance instructions explicitly allow that installation. Pulling it forward for each cup can create a new problem with hot parts, water and cords. Choose an open, suitable operating location from the beginning.
Before buying anything, use the coffee-maker footprint guide to make a list of the access measurements your equipment needs. Put unresolved questions on the printable instead of guessing.
Organize Coffee Supplies Away From the Kitchen
The main difference between a kitchen station and a dining room station is the extra journey. You need a plan for clean water, used tools, damp cloths and empty mugs. Keeping more supplies on display will not solve those tasks.
Give the top three simple jobs: a safe brewing area, a clear place to set down a cup, and a small home for the ingredients used most often. Keep the cup landing space separate from the dining table so someone can make a drink while the table is set.
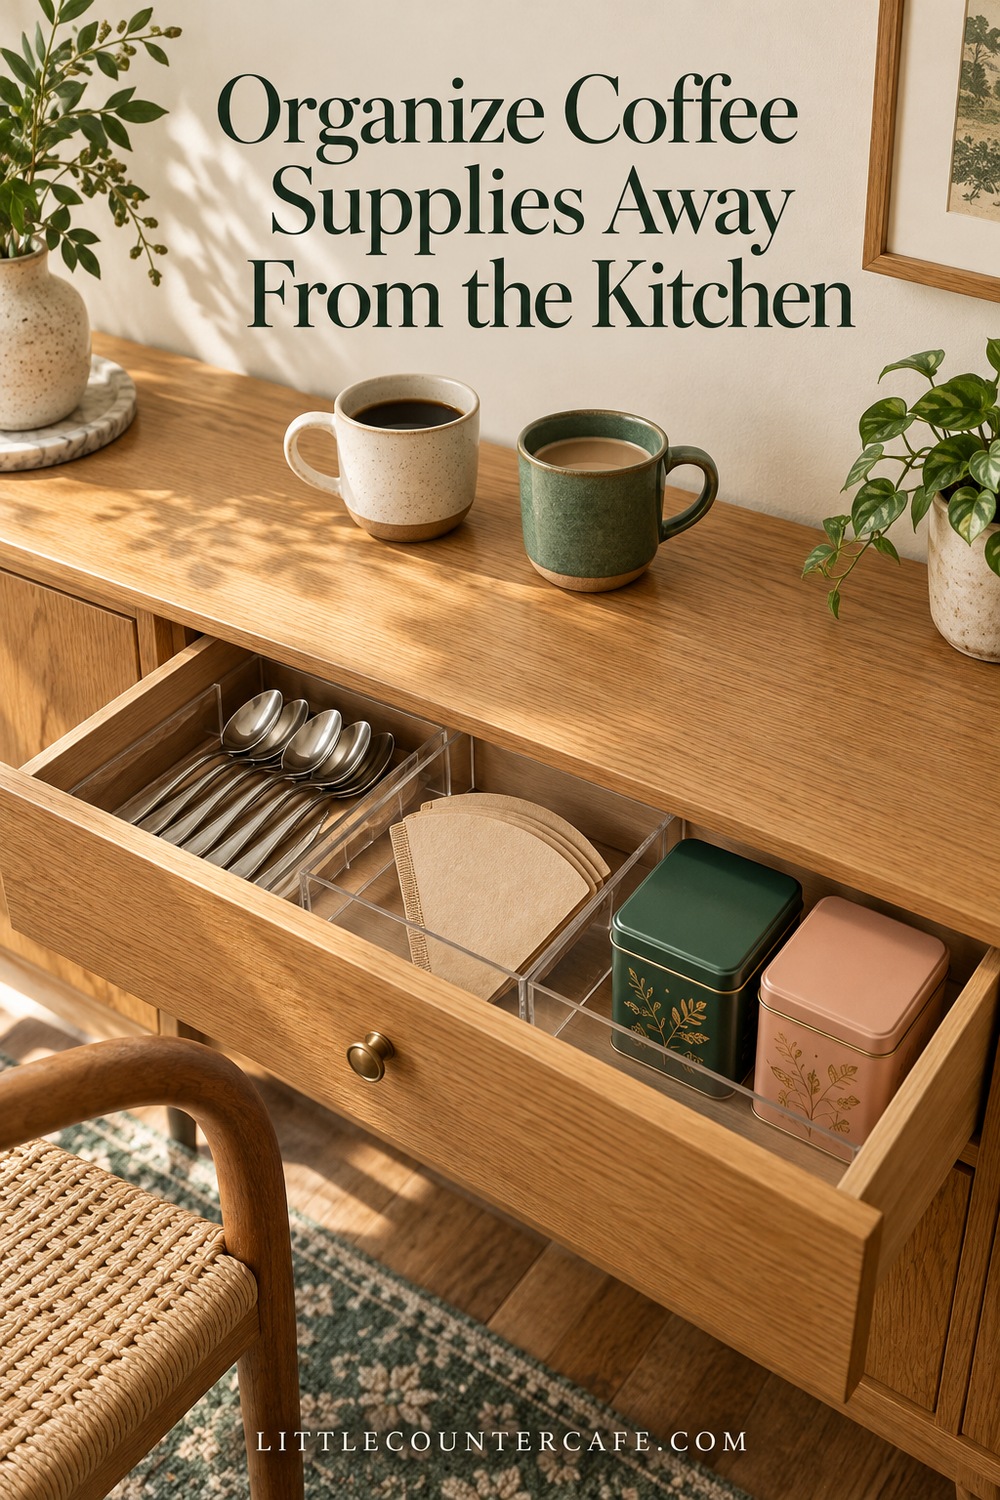
Store clean mugs within comfortable reach. Use a shallow drawer for dry spoons, paper filters and small accessories, provided the drawer stays dry. A closed food-suitable container can keep coffee or tea supplies together; follow the ingredient label’s storage instructions. Use the quantity you actually need rather than filling every container.
Make a refill route
Choose a manageable way to refill your machine according to its manual. If the tank is removable, check that you can remove and carry it without bumping shelves or furniture. If a pitcher is permitted, store it clean and dry near its normal use point. Do not carry a running appliance or improvise a permanent water connection.
Keep a small washable caddy or tray for used spoons and cups when useful, then return them to the kitchen after use. It is a transport aid, not a place to leave wet grounds or dirty tools for days. A dining room cabinet is better used for clean, dry items than damp cloths or an overflowing knock box.
Keep refrigerated ingredients in the refrigerator and bring out what you need for the drink. A decorative milk bottle on the sideboard is not a storage solution. If milk-based drinks add too much back-and-forth, brew those in the kitchen and keep the dining room station focused on serving.
Separate daily and occasional supplies
Put the two mugs and tools you reach for most often in the easiest spot. Keep guest cups and spare filters in a secondary area. If the sideboard also stores table linens, separate them from liquids and damp equipment.
For a shared coffee and tea station, give each person’s everyday supplies a small defined section. You do not need two complete displays. A coffee tin, tea container and a few cups can sit together while the appliance’s operating area stays clear.
The daily and backup supplies guide can help decide what deserves this room’s limited storage. When supplies keep spreading onto the dining table, reduce the amount stored at the station before buying another organizer.
Style the Station and Make Resetting Easy
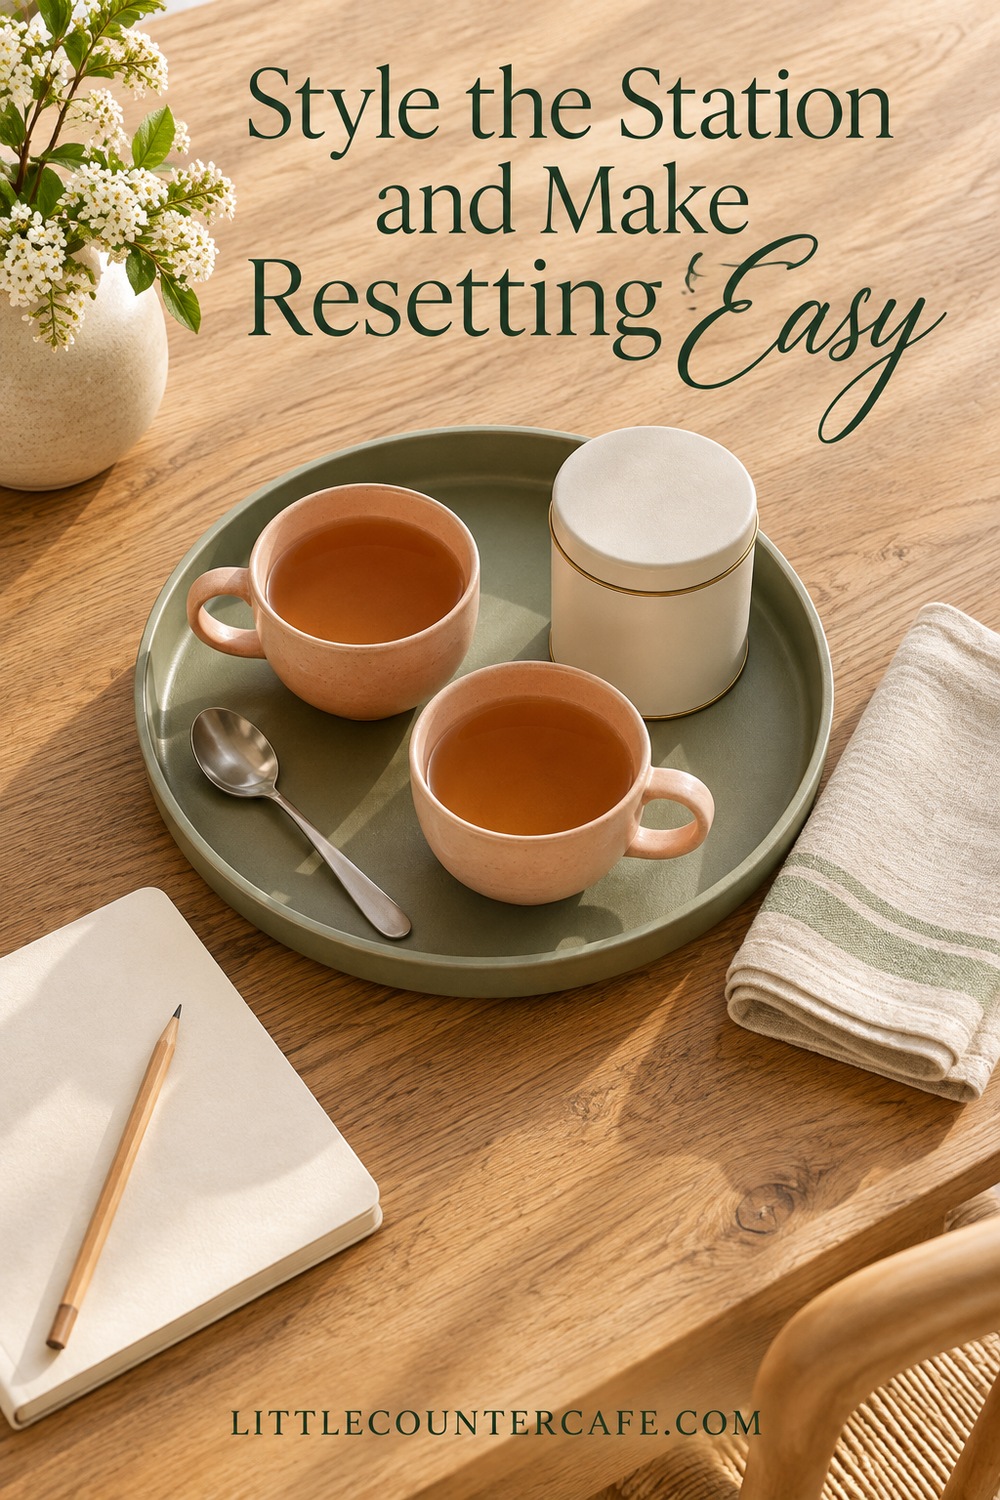
Use the dining room’s existing colors as the starting point. Repeat a wood tone, a ceramic finish or one accent color already in the room. Forest green with cream mugs feels grounded; peach or sage can add softness without requiring a whole new set of accessories.
Choose useful styling first. A favorite cup can be the color accent. A small closed canister can contribute texture. If you add a print, place it where it will not be exposed to the appliance’s heat, steam or splashes. Keep greenery, fabric, candles and trailing stems clear of equipment and controls.
Three arrangements to consider
An existing sideboard: Give the appliance a suitable open operating area at one end and keep a clear cup landing area beside it. Use a drawer for dry accessories and the cupboard for occasional cups. Confirm that this arrangement meets both manufacturers’ instructions.
A serving-only corner: Keep brewing in the kitchen. Arrange clean cups, dry tea supplies and a small serving tray on the sideboard. This works when the dining room offers convenient storage but no appropriate powered-appliance location.
A compact shared cabinet: Keep daily coffee and tea pieces in one small section and preserve the rest for dining storage. Use removable organizers that fit your measurements. Avoid deep bins that require emptying the cabinet to reach a teaspoon.
These are planning examples, not tested furniture or appliance combinations. Pick the smallest arrangement that solves your everyday routine.
Use a short reset
After making drinks, return refrigerated ingredients, used cups and tools to the kitchen. Handle hot parts and cleaning according to the manual. Once equipment is safe to clean, deal with drips using a method suitable for both appliance and furniture, then leave storage areas dry. Put the everyday pieces back in their defined homes.
Try the arrangement through ordinary meals before buying decorative extras. Notice whether chairs clash, a drawer is awkward, water refills are annoying or the dining table becomes the default cup landing zone. One small adjustment may be more useful than another shelf.
Download the Dining Room Coffee Station Planner to record two location options, furniture and appliance checks, storage homes and your reset route. Resolve any safety or fit questions before moving equipment. A practical dining room coffee corner should make the room easier to enjoy, one comfortable cup at a time.
LITTLE COUNTER CAFE · Small-Space Coffee Station Essentials
Make room for your daily coffee ritual.
Space-saving organizers, compact brewing tools, and simple measuring essentials for planning a practical coffee corner.
As an Amazon Associate I earn from qualifying purchases. This is a paid link.