

A compact espresso machine should make your favorite drink easier without taking over the kitchen. The tricky part is that a slim body, a fast heating claim, and a long feature list tell you different things. None of them alone explains whether the machine will suit your mornings.
Start with the drinks you actually make, then compare the space and effort needed to make them. A milk-drink household may value automatic frothing more than another adjustment menu. Someone who already owns a suitable grinder may prefer a smaller machine without one built in.
This is a researched buying guide, not a hands-on machine test or a ranking of products we have used. The styled setups are illustrative. Manufacturer examples explain what to check; always confirm the exact model, country version, and current manual before buying. Use the comparison worksheet below to narrow your shortlist to two or three realistic options.
As an Amazon Associate I earn from qualifying purchases. Shopping links in this article may be paid links.
Match the Features to Your Daily Drinks
Write down your usual order before opening any shopping tabs: straight espresso, a small milk coffee, a large latte, or an occasional weekend cappuccino. Add how many you make in one session. Two people having milk drinks creates a different routine from one person making an espresso before work.
For mostly espresso: prioritize clear shot controls, a basket system that matches your coffee supply, and space for your cup and scale. A milk automation upgrade may have little value if the wand will rarely be used. Ask whether you can stop or program a shot rather than assuming every one-cup button behaves the same way.
For mostly lattes or cappuccinos: compare the milk system first. A manual steam wand gives you responsibility for positioning the pitcher and stopping steaming. An automatic system may handle part of that job, but still needs the correct pitcher placement and cleaning. A separate frother is another possible arrangement; include its counter space and washing in the comparison.
Breville’s US Bambino Plus materials describe automatic milk texturing, while De’Longhi’s Australian Dedica Style EC685.BK EX:4 page describes manual frothing. These examples show a meaningful workflow difference, not evidence that one will make your preferred milk better. Read the Bambino Plus product information and the Dedica Style regional specification for the exact versions described.
For shared coffee and tea corners: keep the kettle decision separate. A steam wand, a hot-water outlet, and a kettle are different functions. Verify that the machine actually dispenses hot water if that matters, then check how the manufacturer says to use it. Do not assume it replaces the tea routine you already enjoy.
Next, decide how much adjustment you want. Simple repeatable buttons can be a benefit on busy mornings. More control may be worthwhile if you enjoy changing beans and refining your espresso. Neither preference is a beginner mistake. The useful question is whether you want to spend time learning that particular machine.
Finally, picture the second drink. Can you brew, steam, clear the basket, and begin again comfortably? Look for the operating sequence in the manual. Do not translate a quick start-up claim into an assumed time for making several drinks.
Compare the Whole Counter Setup
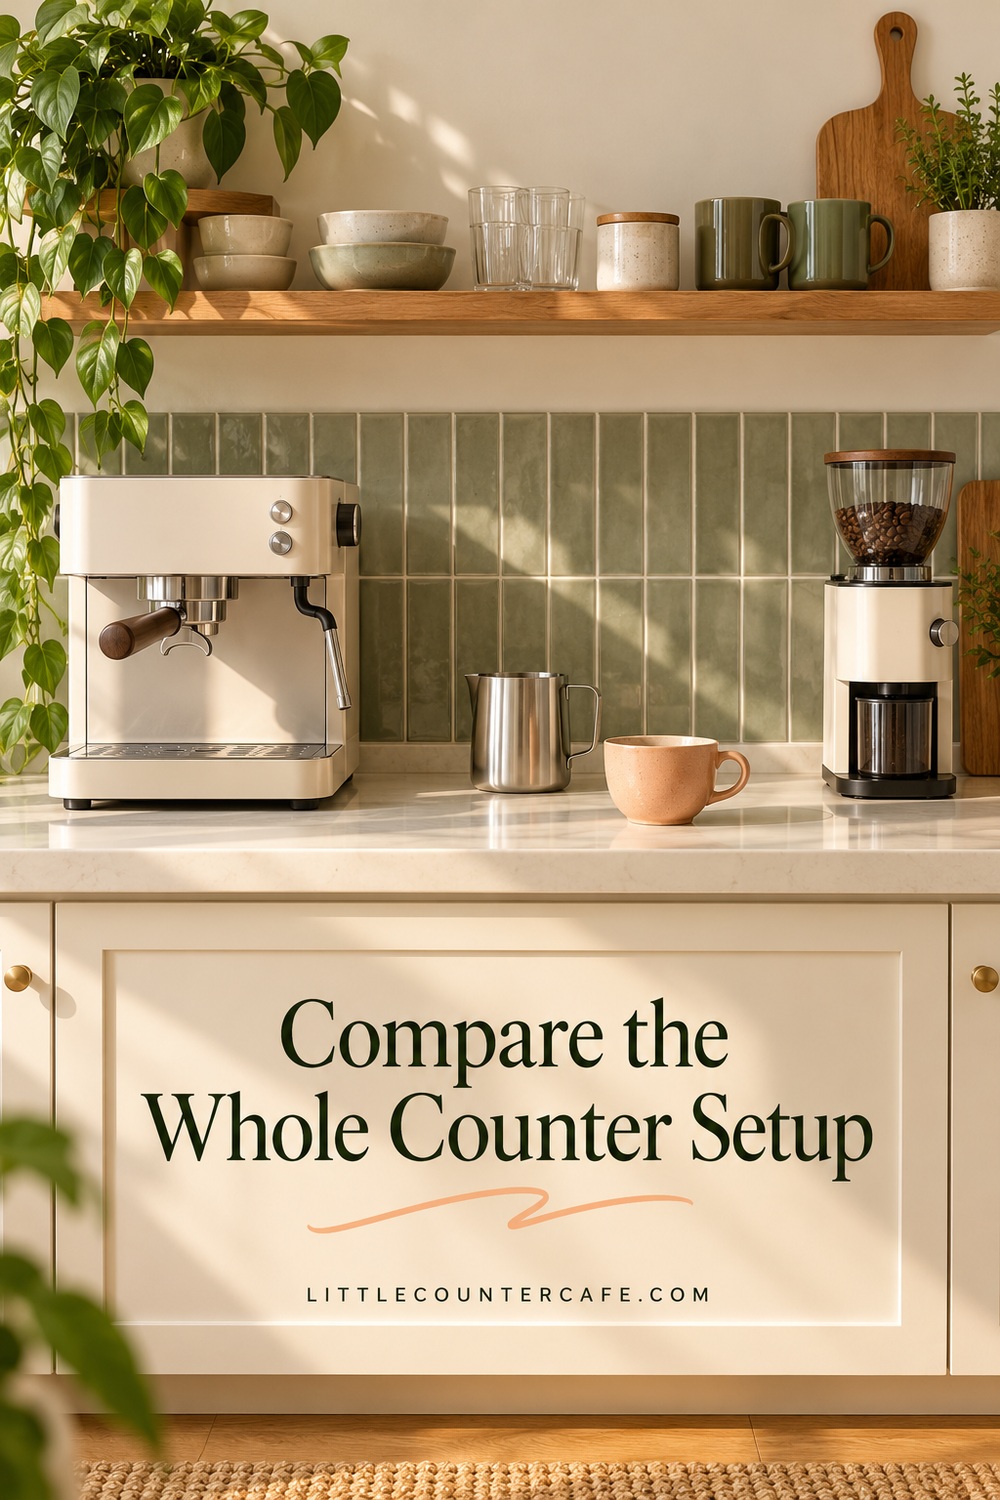
Measure the machine, but shop for the entire working area. A narrow body can still need room for a grinder, a pitcher moving beside the wand, a portafilter handle, and somewhere to prepare the next basket. A machine that technically fits between two objects may be frustrating to refill or clean.
Make a paper outline of each shortlisted machine using the manufacturer’s stated width and depth. Label which number means which dimension. Add separate outlines for the grinder and any frother. Then place your actual mug, pitcher, and preparation tools around them. This is a planning exercise, not a safety-clearance test: follow the model’s manual for placement, ventilation, and electrical requirements.
De’Longhi’s Australian EC685.BK EX:4 listing gives dimensions of 149 × 330 × 305 mm (about 5.9 × 13 × 12 inches), a 1.1-liter tank, and a maximum cup height of 120 mm (about 4.7 inches) with its tray arrangement. Those are version-specific published specifications, not measurements we took. The practical lesson is to check depth and cup clearance alongside a slim width. Do not assume the same numbers apply to a similarly named US model.
Use this fit check for every candidate:
- Refill access: Can you reach and remove the water tank where the machine will sit? Check whether it lifts upward, comes away at the back, or uses another arrangement.
- Drip-tray removal: Is there enough clear space in front to pull the tray out without lifting a hot machine?
- Cup and scale clearance: Measure the tallest cup you intend to use, including any scale underneath. Check the manufacturer’s permitted tray positions.
- Steam-wand movement: Allow space to position and remove the pitcher without bumping the wall or another appliance.
- Preparation space: Reserve a stable dry spot to fill and tamp the basket, rather than balancing tools on the machine.
- Storage: Give spare baskets and cleaning tools a nearby home so they do not become permanent counter clutter.
If you are starting the whole corner from scratch, use our small-kitchen coffee station planning guide first. For supplies that are already spilling around your machine, see how to organize a small coffee station.
A built-in grinder can simplify the arrangement, while a separate grinder gives you another item to place and maintain. Compare the combined footprint and total purchase cost rather than treating a machine without a grinder as a complete equivalent setup. Confirm that any separate grinder you are considering is intended for espresso and offers suitable adjustment; owning a coffee grinder does not automatically settle that question.
Look Beyond Pressure and Heat-Up Claims
The most prominent number on a box is not always the most helpful comparison. Pressure, heating, basket design, and shot control each describe a different part of the process.
Pressure: distinguish a pump rating from the stated brewing pressure. Breville describes a 15-bar pump and 9-bar extraction on its Bambino Plus page. That is a reason to ask what a pressure number refers to, rather than awarding the highest printed number an automatic win. A pressure gauge is useful only if you understand what it measures and how the manual says to interpret it.
Heating: compare the heating system and the manufacturer’s operating instructions together. Breville advertises a three-second heating system on the Bambino Plus. Treat that as the manufacturer’s stated heating capability, not our measured time from an empty counter to a finished latte. Filling, preparing coffee, warming anything the manual requires, frothing, and cleaning still belong to your routine.
Temperature control: electronic temperature management and a user-adjustable brew-temperature setting are not the same feature. If a listing mentions PID control, check whether the user can actually select temperatures or whether the machine manages them internally. A setting you cannot adjust may still be useful; it simply should not be recorded as an adjustable control in your comparison.
Baskets and coffee supply: check the included basket types before budgeting for accessories. The Bambino Plus US manual distinguishes single-wall baskets for freshly ground coffee from dual-wall baskets for pre-ground coffee. That is a model-specific instruction, not a universal recipe for every machine. Read the current US instruction manual for the machine’s own guidance.
Shot controls: note whether buttons use preset operation, allow programming, or support manual stopping. Record what the model actually offers. A programmable button does not guarantee an identical drink with every coffee, and an automatic stop does not mean the whole preparation process is automatic.
Accessory compatibility: check the full model code when comparing baskets, tampers, funnels, and replacement portafilters. A matching advertised diameter alone does not establish compatibility with every part. Avoid buying a box of upgrades before you know what the machine includes and what you will use.
For a fair shortlist, separate a confirmed specification from a personal preference. “Automatic milk system included” is a feature. “I would rather learn manual steaming” is a preference. Keeping both visible makes it easier to choose without mistaking a longer specification list for a better fit.
Check Cleaning, Support, and Total Cost
The easiest machine to enjoy is one whose care routine you are willing to keep doing. Open the cleaning section of the manual before buying. Look for after-use tasks, model-specific cleaning cycles, water-treatment instructions, and the approved descaling process. A reminder light may help you remember a job; it does not do the job for you.
For milk systems, check which parts need attention after each use and what must be removed or washed. As one example, the Bambino Plus manual calls for wiping the wand and allowing its purge process after texturing. Automatic frothing therefore should not be entered as “no milk cleaning” on your worksheet. Follow the exact manual rather than a general vinegar routine or an accessory seller’s advice.
Build your budget in four lines: machine; any required grinder; genuinely needed tools; and ongoing manufacturer-specified care supplies. Add delivery or other checkout charges when comparing real offers. Keep optional styling purchases in a separate line so a matching tray does not crowd out an essential piece of equipment. We have not verified live prices, stock, or retailer ratings for this guide.
Check regional warranty coverage, the return process, and where service is available. Save the manual and model number somewhere easy to find. If replacement baskets, seals, or cleaning supplies matter to you, confirm the correct parts and purchasing route before relying on their availability. Do not assume a marketplace description establishes manufacturer support.
Use the supplied comparison worksheet, or copy these prompts onto paper. Fill one column per exact model:
| Decision | What to record |
|---|---|
| Daily drinks | Drink types and number made together |
| Physical fit | Width, depth, height, cup clearance, refill and tray access |
| Coffee preparation | Included baskets, grinder needed, space for tools |
| Milk routine | Manual, automatic, or separate frother; cleaning steps |
| Controls | Presets, programming, manual stop, temperature adjustments |
| Care and support | Manual link, required supplies, warranty and service route |
| Total cost | Machine, required equipment, care supplies, optional extras |
Mark each feature must have, useful, or optional before comparing models. Reject a machine that fails a genuine must-have, even if its optional features look appealing. Among the remaining choices, choose the routine that fits your drinks, your counter, and the time you want to spend making coffee. Leave a space on the worksheet for unanswered questions and contact the manufacturer before purchase if one affects fit or safe use.
You do not need every feature to make a lovely little cafe corner. You need a setup that makes sense when the mugs are out, the water needs filling, and it is time to make the next cup.
Download the two-page espresso machine comparison worksheet (PDF).
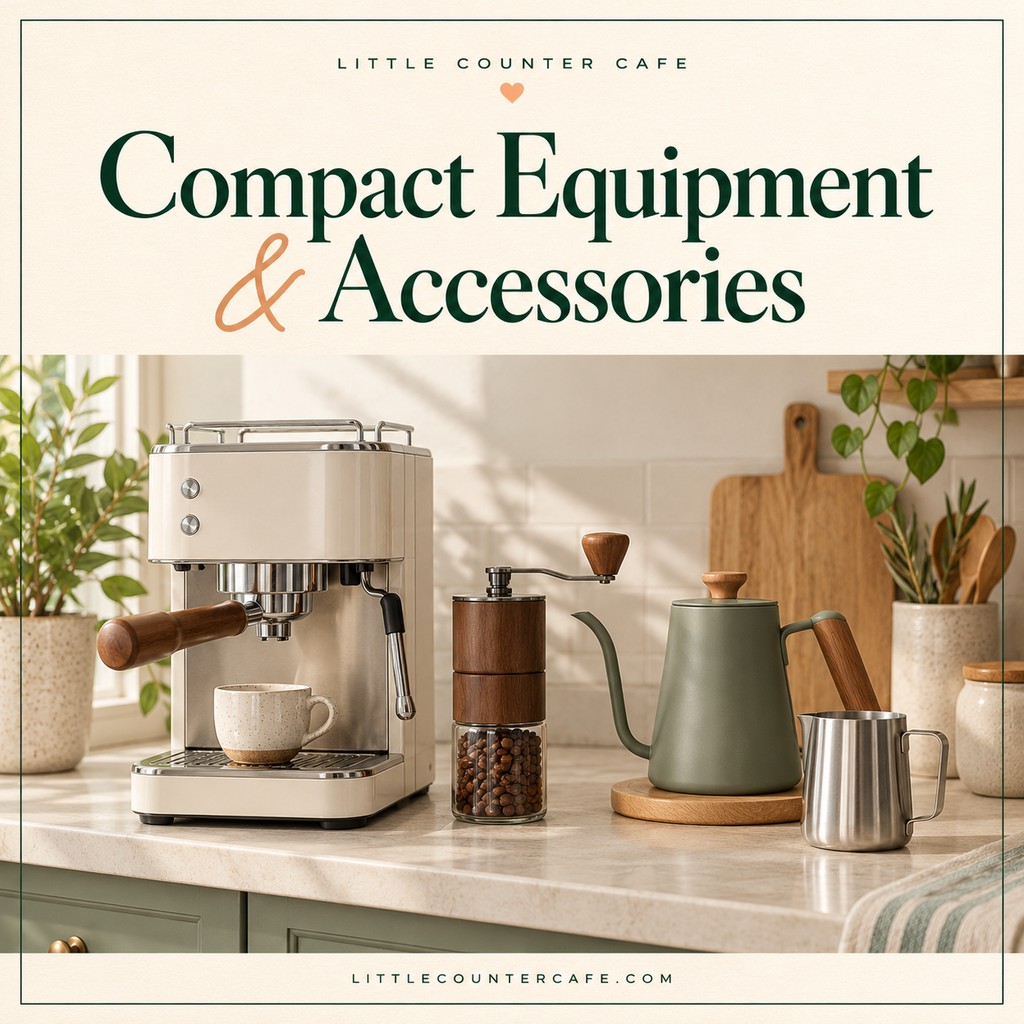
LITTLE COUNTER CAFE · Compact Coffee Makers & Accessories
Find the tools that fit your counter.
Compact brewers, useful preparation tools, and accessories to help you choose a setup for your space.
As an Amazon Associate I earn from qualifying purchases. This is a paid link.