

A coffee station needs enough room for your equipment and the movements that turn it into a drink: opening a lid, refilling water, setting down a mug, pouring milk and putting things back. There isn’t one minimum width that works for every kitchen.
For a first paper mock-up, you could explore an 18-inch, 24-inch or 36-inch-wide zone (about 46, 61 or 91 cm). Those are illustrative planning options, not measured demonstrations, appliance clearances or a promise that your setup will fit. Your machine’s instructions and your own measurements decide the answer.
I love a cozy little counter café, but it should still leave you somewhere to make breakfast. The goal here is to find the smallest usable station for your routine before buying a tray or moving everything around. If you’re still deciding what belongs in your café, start with our small-kitchen coffee station planning guide.
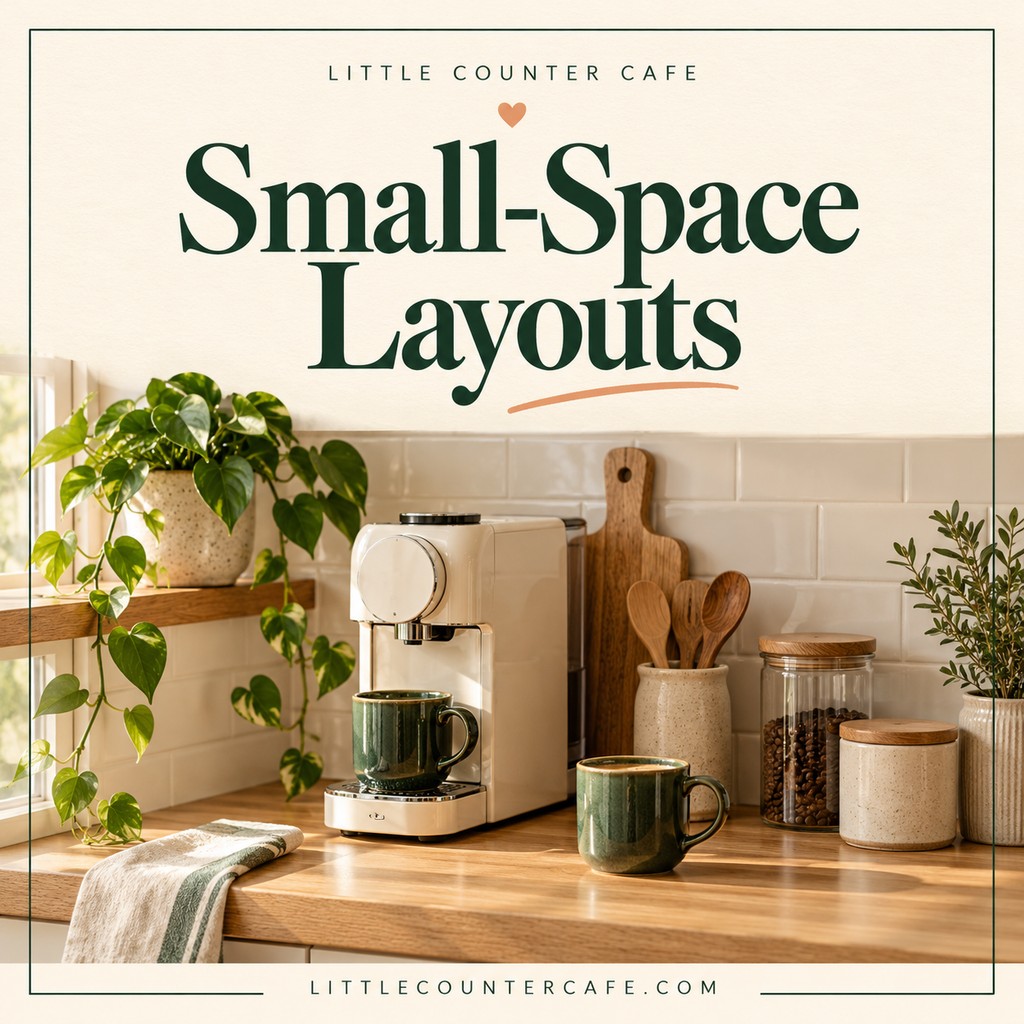
The example arrangements and accompanying images are concept illustrations, rather than photographs of a measured installation. Use the worksheet below to check your own space.
Measure the Counter Space You Can Spare
Start with the counter you can comfortably give to coffee every day. This may be smaller than the clear surface you see immediately after tidying up. Put back the things that need to live nearby, and think about where chopping, lunch packing and washing up happen.
Record three different measurements:
- Usable width: the uninterrupted run you can reserve without taking over your main food-preparation area.
- Usable depth: from the back obstruction to the front limit where equipment can sit fully supported. Take account of the backsplash, plugs and anything projecting from the wall.
- Usable height: from the surface to the lowest shelf, cabinet, trim or other obstruction above it.
Measure the awkward part, too. An outlet behind the machine, a cabinet handle at the side or a low shelf can limit the arrangement even when the counter itself looks generous. Open nearby doors and drawers. A mug drawer that collides with the station is a problem a width measurement won’t reveal.
Don’t start by assuming every inch is available. Leave the edge and approach clear enough to use the area without leaning over a hot drink or nudging equipment. Check the manufacturer’s placement requirements rather than adopting a generic gap from a styling photograph.
A useful way to define the boundary is with a sheet of paper or a cardboard template placed on a cool, unused counter. Keep temporary materials away from an appliance in operation. Mark the area you can spare, then remove the template before making drinks. This is a planning exercise, not a heat-resistant appliance mat.
If the only available spot blocks a doorway, food preparation or safe access to the outlet, look for another location before choosing accessories. A smaller-looking tray won’t solve a location problem.
Add Room for the Whole Drink Routine
The dimensions in a product listing describe the appliance; they don’t necessarily describe the space you need to operate it. Write down the model number and check the matching manual before planning around a screenshot or a similar-looking version.
For example, the Moccamaster KBGV product page lists dimensions of 14 inches high, 12.75 inches wide and 6.5 inches deep (approximately 35.6 × 32.4 × 16.5 cm). Those are the listed product dimensions, not an installation envelope. A station still needs access for its actual brewing and cleaning steps. Specifications were checked October 21, 2026; verify the current model before buying.
Make two lists: stays on the counter and comes out while making drinks. Include a grinder, scale, kettle or milk frother only if your normal routine uses it. A coffee-and-tea corner may need the kettle in daily reach, while occasional supplies can stay in a cabinet.
Then walk through these movements with the equipment cold and unplugged, following its instructions:
- Open every lid, lever or hopper you normally use. Measure the highest point reached.
- Check how the water reservoir is filled or removed. Note whether access is from above, behind or the side.
- Pull out the drip tray or other removable parts as directed. Check their route without forcing anything past a wall.
- Place your actual mug where it will be filled, then where you will add milk or stir.
- Put your usual tools down together. Check where the wet spoon, filter or used capsule will go.
- Confirm that the power cord follows the manual’s requirements and does not become trapped, strained or a snag point.
For side-by-side equipment, a starting calculation is:
Station width = equipment widths + non-overlapping working space + required clearances.
Draw the layout as well as adding numbers. One open prep area may serve a mug and a spoon at different times, but it cannot also be the permanent home of a grinder. Use the deepest occupied item to start your depth check, then account for any additional access or placement requirements. Check height separately with lids open.
An example: a hypothetical 8-inch-wide machine plus a 6-inch grinder and an 8-inch prep area totals 22 inches (about 56 cm), before any additional clearances required by the manufacturers. An 18-inch station would fail that particular arrangement. These are invented planning measurements, not the dimensions of recommended products.
A tray is optional. If you use one, measure its usable inside surface, its raised rim and the room needed to lift it. Check that it is suitable for the appliance and surface. It should not interfere with feet, ventilation, controls or manufacturer placement instructions.
Compare Three Illustrative Station Sizes
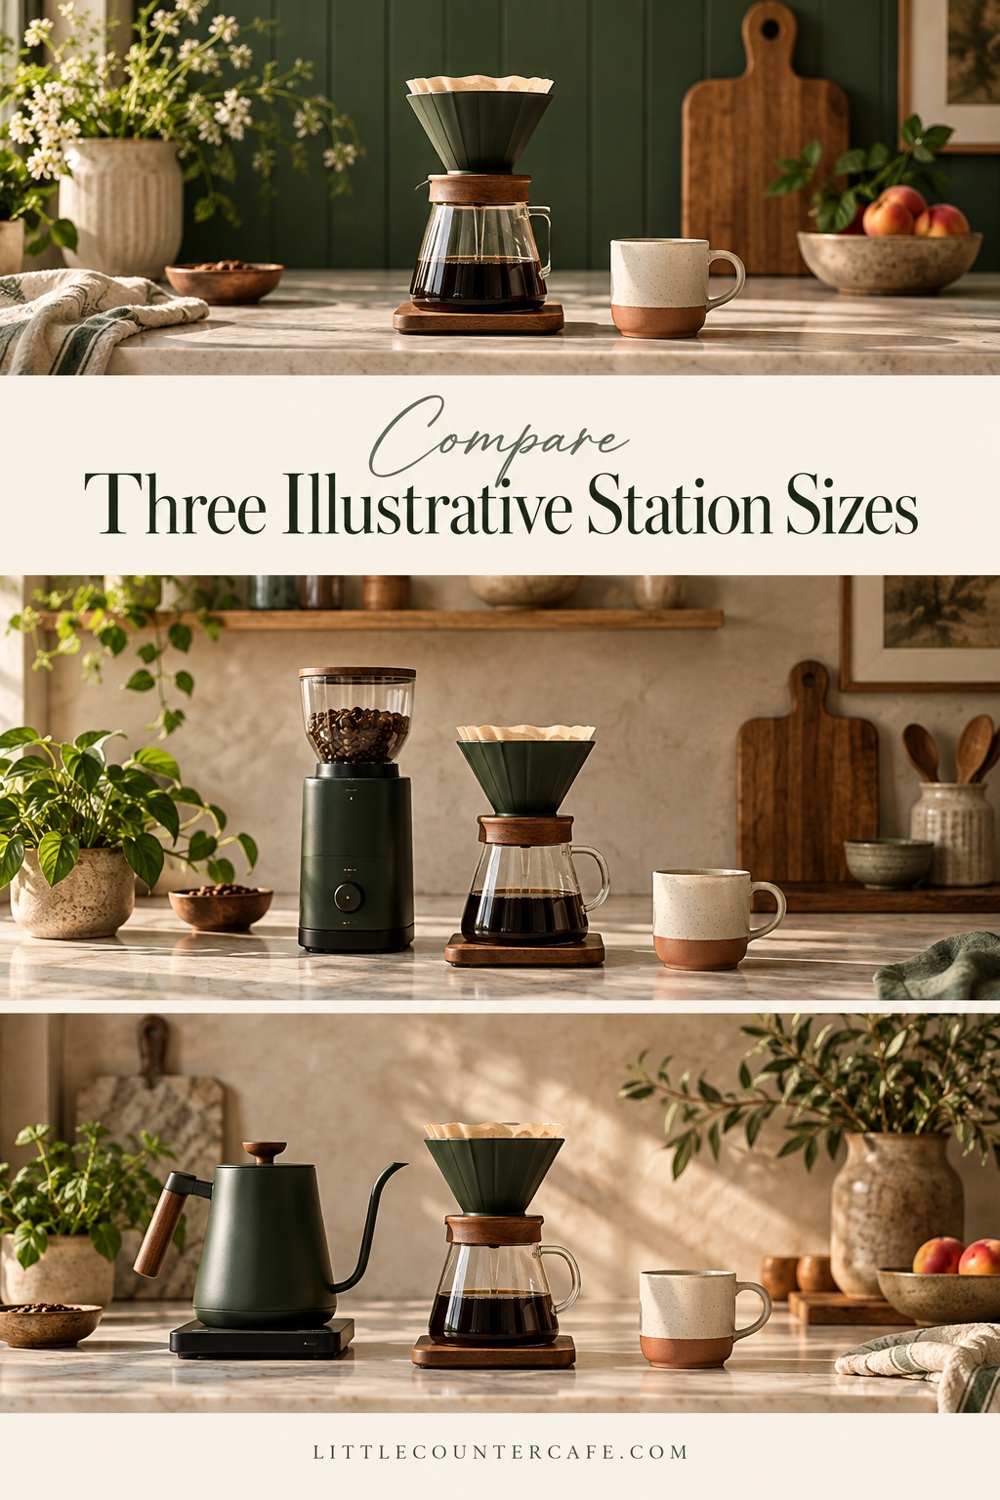
The following widths are paper-planning scenarios. They aren’t industry standards, safety requirements or completed setups. Depth, overhead space and your chosen equipment can change the outcome completely.
| Illustrative width | Arrangement to explore | What to check first |
|---|---|---|
| 18 inches / about 46 cm | One compact brewer with a small shared preparation area; mugs and backup supplies stored elsewhere | Whether the brewer’s operating space leaves a real place to set down and finish your drink |
| 24 inches / about 61 cm | A brewer and one accessory, or one brewer with a more generous preparation area | The combined widths, required gaps and refill access; two appliances are not automatically a fit |
| 36 inches / about 91 cm | A brewer, a separate grinder or kettle, and a defined preparation area | Whether this is space you can genuinely spare from everyday kitchen tasks |
For the narrowest option, reduce the number of permanent objects. Keep only the machine and the supplies used for the next drink. Store extra mugs in a nearby cabinet. Don’t try to squeeze in a frother, syrup display and decorative canisters simply because they look lovely together.
For a middle-sized option, choose the extra function carefully. If your household makes tea every day, a kettle may earn its place more readily than an occasional-use accessory. If you grind beans for every cup, plan around the grinder instead. Measure the actual combination, including handles and plugs.
For the wider option, protect the preparation area. Extra width is useful only if it remains available when you need it. A row of jars can consume the space that made the larger station comfortable in the first place. Leave a clear landing spot for the drink you are making.
A station can also use nearby storage without expanding its counter footprint. A drawer for spoons or a cabinet for tea does not have to sit inside the same rectangle as the brewer. Our small coffee station organization guide helps you decide where those supplies can live.
Avoid treating a shelf as free space for more equipment. Check its suitability, load limits, fixings, access and the appliance’s instructions before considering it. Don’t operate a hot appliance in an enclosed cupboard just because it fits with the door shut.
Check the Fit Before You Commit
A promising measurement becomes a useful station when the whole routine works without shuffling hot equipment. Use the following worksheet before ordering a tray, a shelf or another machine.
Coffee station fit worksheet
Copy this into a notebook or download the printable coffee station fit worksheet. Use inches or centimeters consistently.
| Check | Your measurement or answer |
|---|---|
| Counter width you can spare | __________ |
| Usable depth and overhead height | __________ |
| Exact appliance model and manual location | __________ |
| Closed equipment width × depth × height | __________ |
| Open-lid / lever height and refill direction | __________ |
| Manufacturer’s required clearances and surface requirements | __________ |
| Other equipment staying on the counter | __________ |
| Clear place to prepare and set down the drink | __________ |
| Nearby storage for mugs, tea and backup supplies | __________ |
| Door/drawer movement and cord route checked | __________ |
| Fits as drawn, needs simplifying, or needs another location? | __________ |
Use the instructions for your own model when checking setup and access. The Nespresso manual covering the Essenza Mini, for example, shows water-tank filling and the space needed to place a container beneath the coffee outlet. Check your exact model and regional manual for placement and safety requirements; a machine fitting on decorative furniture or a tray does not establish that the surface is suitable.
Before calling the plan finished, ask: Can I refill it, remove the parts I need to clean, reach the controls and finish the drink without moving a hot appliance? Does the station still leave the kitchen workable for everyone else?
If it doesn’t fit, simplify in this order: remove decorative extras, move backup supplies into storage, reconsider occasional-use equipment, then reassess the location or appliance choice. Keep the required clearances and a workable preparation area. They aren’t the bits to trim to make a purchase fit.
Your best footprint may be quite modest. A brewer with a clear place for one mug can feel more welcoming than a crowded display. Let the measurements decide the boundaries, then add the cozy details inside them.
As an Amazon Associate I earn from qualifying purchases. Shopping links in the related supplies section may earn a commission.
LITTLE COUNTER CAFE · Small-Space Coffee Station Essentials
Make room for your daily coffee ritual.
Space-saving organizers, compact brewing tools, and simple measuring essentials for planning a practical coffee corner.
As an Amazon Associate I earn from qualifying purchases. This is a paid link.