
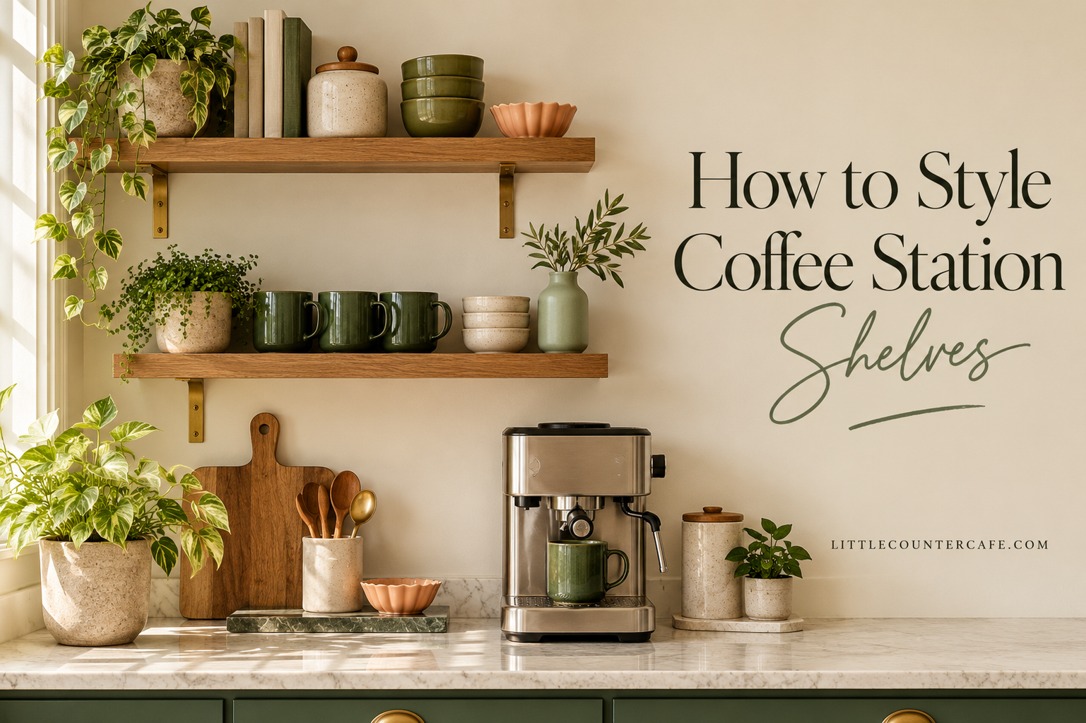
Coffee station shelves look their best when they make the morning easier. A pair of favorite mugs, a useful canister and one lovely detail can do more for a small corner than a shelf crowded with things you have to move every day.
I like to start with the pieces that earn their place: the cup you reach for, the tea you actually drink and the little tray that catches the spoon. Then the styling grows around them. You can create a warm, personal arrangement without replacing everything or buying a matching collection.
This guide is about arranging existing, properly installed shelves. The pictured arrangements are concept illustrations for inspiration, not measured installations or product tests. Use the printable coffee shelf planner to check your own shelf dimensions, reach and everyday routine before you move heavy pieces or shop.
The quick starting point: put everyday items within comfortable reach, group a few compatible pieces, repeat one accent color and leave visible empty space. Keep appliances on a suitable counter with the operating clearances their manuals require.
Start With Safe, Usable Shelves
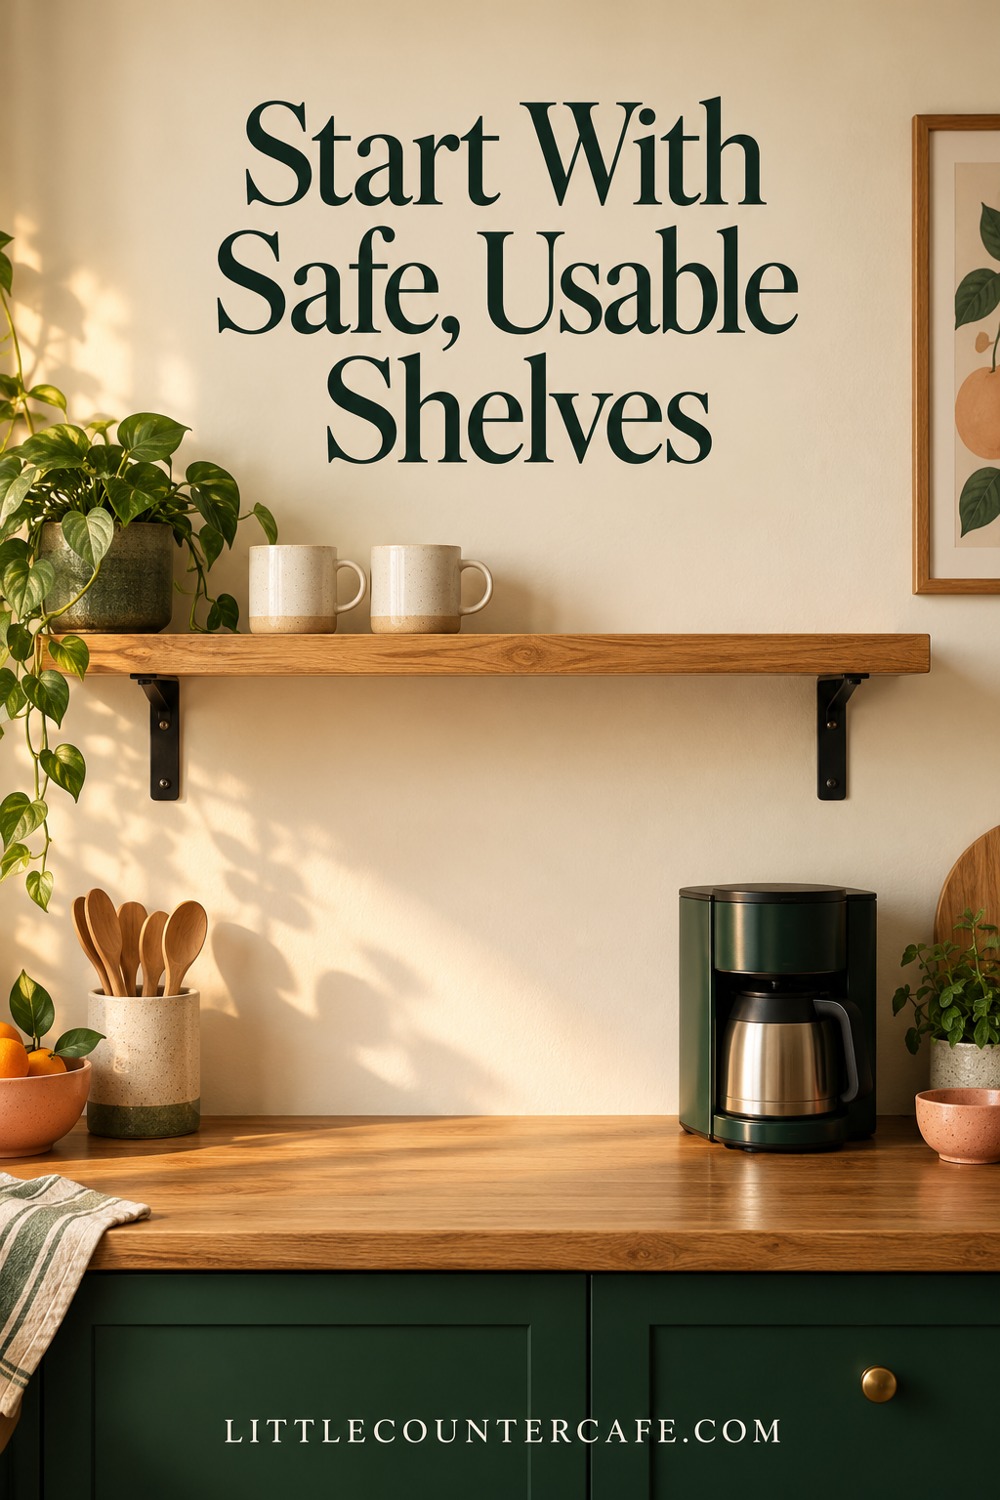
Before thinking about mug colors, check the shelf itself. A shelf that looks substantial can have a modest load limit, especially when its fixings depend on a particular wall material. Find the instructions for your exact shelf, brackets and installation. If you do not know how it is attached, get that checked before loading it with ceramics.
IKEA's LACK instructions illustrate why this matters: the permitted load and fastening method vary with the wall construction and product version. A rating for a different length, bracket or wall is not a substitute for your instructions. Do not use a styling photo as a mounting guide, and do not assume adhesive mounting is suitable for mugs or glassware.
Make a simple three-part fit check:
- Usable depth: measure the flat supporting surface and the base of each item. Keep the whole base supported and allow space to pick the item up without knocking its neighbor. Mug handles should not project into a busy route.
- Comfortable reach: with both feet on the floor and no hot drink in your hand, check where you can comfortably lift a mug. Put daily pieces there. Heavy containers and frequently used supplies belong lower down or in a cupboard if the shelf position makes them awkward.
- Working space below: open the appliance's lid, remove its reservoir if required, and check the instructions for ventilation and operating clearance. The space a closed machine occupies is not its full working area.
There is no universal safe distance between a brewer and a decorative shelf. For example, Moccamaster's Select manual says the appliance must not operate in a cabinet. That instruction belongs to that appliance; other models have their own requirements. Keep shelf decor away from escaping steam and do not box in equipment to make the display look tidier. If the arrangement and the manual disagree, change the arrangement.
Leave outlets accessible, keep cords away from hot surfaces and water, and avoid placing a shelf arrangement where a falling item could land on someone using the station. If a shelf sags, shifts or has loose hardware, unload it and have the installation assessed. Styling cannot fix a structural problem.
Your first decision: is this shelf for daily storage, occasional display, or a small amount of both? If you cannot reach it easily, treat it as a light display area and keep the working essentials elsewhere.
Give Each Shelf a Simple Job

A shelf feels less cluttered when you can explain its job in one sentence. Try “our everyday cups” for the lower shelf and “one quiet decorative moment” for the upper shelf. You do not need to fill every level with the same mix of mugs, jars, plants and signs.
For a one-shelf station, choose a small daily-use group and a small decorative group, separated by a clear gap. For two shelves, put the accessible working pieces on the lower one and lighter, less frequently handled decor above. This is an arrangement idea, not a load calculation: the actual shelf rating still decides what it can hold.
Here are three starting arrangements you can adapt:
| Shelf situation | A useful starting group | What to leave elsewhere |
|---|---|---|
| One narrow shelf | Two favorite mugs and one small decorative object, with a gap between groups | Extra mugs, bulky equipment and backup supplies |
| Two reachable shelves | Daily cups below; a small framed print and one lightweight accent above | Heavy jars and anything requiring an awkward reach |
| One high display shelf | A lightweight print and one modest accent within the verified load limit | Daily cups, glass containers and working ingredients |
These are starting examples, not required quantities. If two mugs already crowd your shelf, use one or move the cups to a drawer. The shelf does not have to store everything the station owns.
Let coffee and tea share the space naturally. A closed tea tin can sit beside a favorite mug, while filters stay in a clean covered container. If you display coffee, choose storage for freshness before appearance. The National Coffee Association's consumer guidance recommends an airtight, opaque container, protected from heat and light. A clear jar of exposed beans may look attractive in a photo, but it is not a reason to compromise how you keep your everyday coffee.
Keep refill stock in a cupboard or another suitable storage spot. A shelf lined with three spare bags, several syrup bottles and a tower of cups will be harder to dust and harder to use. Start with what you need for your normal day and refill from the backup area.
Try this before buying: clear the shelf and arrange only the pieces you used yesterday. Add one decorative item. If it already looks complete, stop there.
Build a Balanced Shelf Arrangement
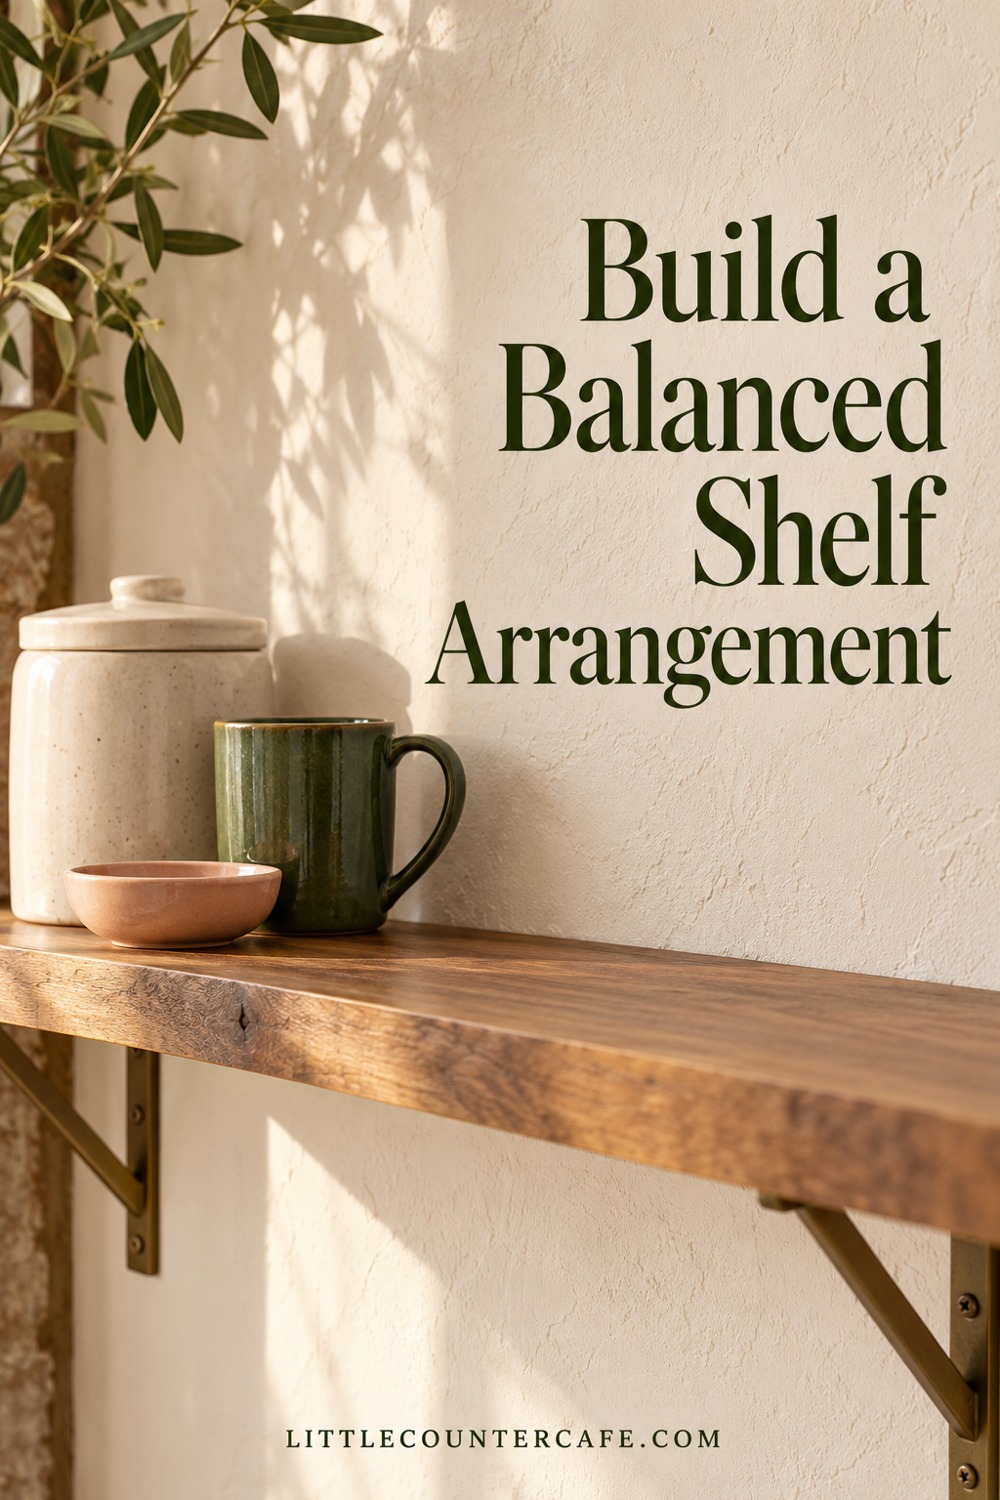
Once the practical pieces have a home, you can make the arrangement feel intentional. Think in small groups, with a little variation in height, finish and spacing. You are looking for a pleasing relationship between objects, not a perfectly mirrored shop display.
Start with a simple palette. Cream ceramics and warm wood create a soft base; forest green, sage or peach can provide one repeated accent. Pull that accent from something you already own, such as a mug or a small print. Repeat it in a second place if that helps the group feel connected. There is no need to introduce every brand color into one shelf.
Build one group at a time:
- Place the useful anchor first, such as the everyday mug pair or an opaque canister that safely fits.
- Add a lower or differently shaped item nearby, keeping both fully supported.
- Step back and leave some shelf surface visible before adding anything else.
Varying height does not mean stacking precariously. Avoid balancing cups on books, perching a large jar on a small riser or leaning a heavy frame where it can slide into glassware. Use pieces at their natural height. If you choose a riser, check its footprint, capacity and stability with the items it will actually support. Often you can create enough variation with a taller mug beside a small dish.
For a narrow shelf, one cluster toward an end and a clear gap can look calmer than evenly spaced objects across the entire length. On two shelves, offset the visual weight: if the stronger green accent is on the lower left, a small cream grouping above and toward the other side can keep everything from looking like a single crowded column. This is an editorial styling suggestion, not a rule you need to measure precisely.
A small framed print can supply height without another container to fill. Make sure it is stable and appropriate for the shelf; do not obstruct the safe use of the equipment below. If you add a plant, use a contained pot on a suitable saucer, keep water away from appliances and outlets, and prevent trailing stems from reaching hot equipment or controls. Choose a plant appropriate for your household, including any children or pets.
Here are three easy directions using the same basic pieces:
- Quiet and minimal: cream mugs, a wood shelf and one small framed print. Let the empty space be part of the look.
- Warm cafe: cocoa-toned ceramics, a cream canister and a peach accent, with the working pieces grouped together.
- Soft green: one forest green mug, a sage detail and cream pieces, keeping the stronger color to a small part of the display.
If everything feels busy, remove the smallest decorative pieces first. Several tiny objects can create more visual noise than one simple piece with a clear purpose. If the arrangement feels flat, change one object's height or position before adding more.
For broader color planning, see our guide to Coffee Corners. Keep the shelf connected to the room instead of making it a completely separate theme.
As an Amazon Associate I earn from qualifying purchases. If you need a finishing piece, the Decor & Styling list below gathers coffee-corner accents. Measure your space and check each item's material and intended use before buying. Start with what you already have; a complete shelf does not need a shopping list.

LITTLE COUNTER CAFE · Cozy Coffee Corner Decor
Give your coffee corner a little café charm.
Warm accents, attractive mugs, trays, and practical styling pieces for a welcoming coffee corner.
As an Amazon Associate I earn from qualifying purchases. This is a paid link.
Keep the Look Easy to Live With
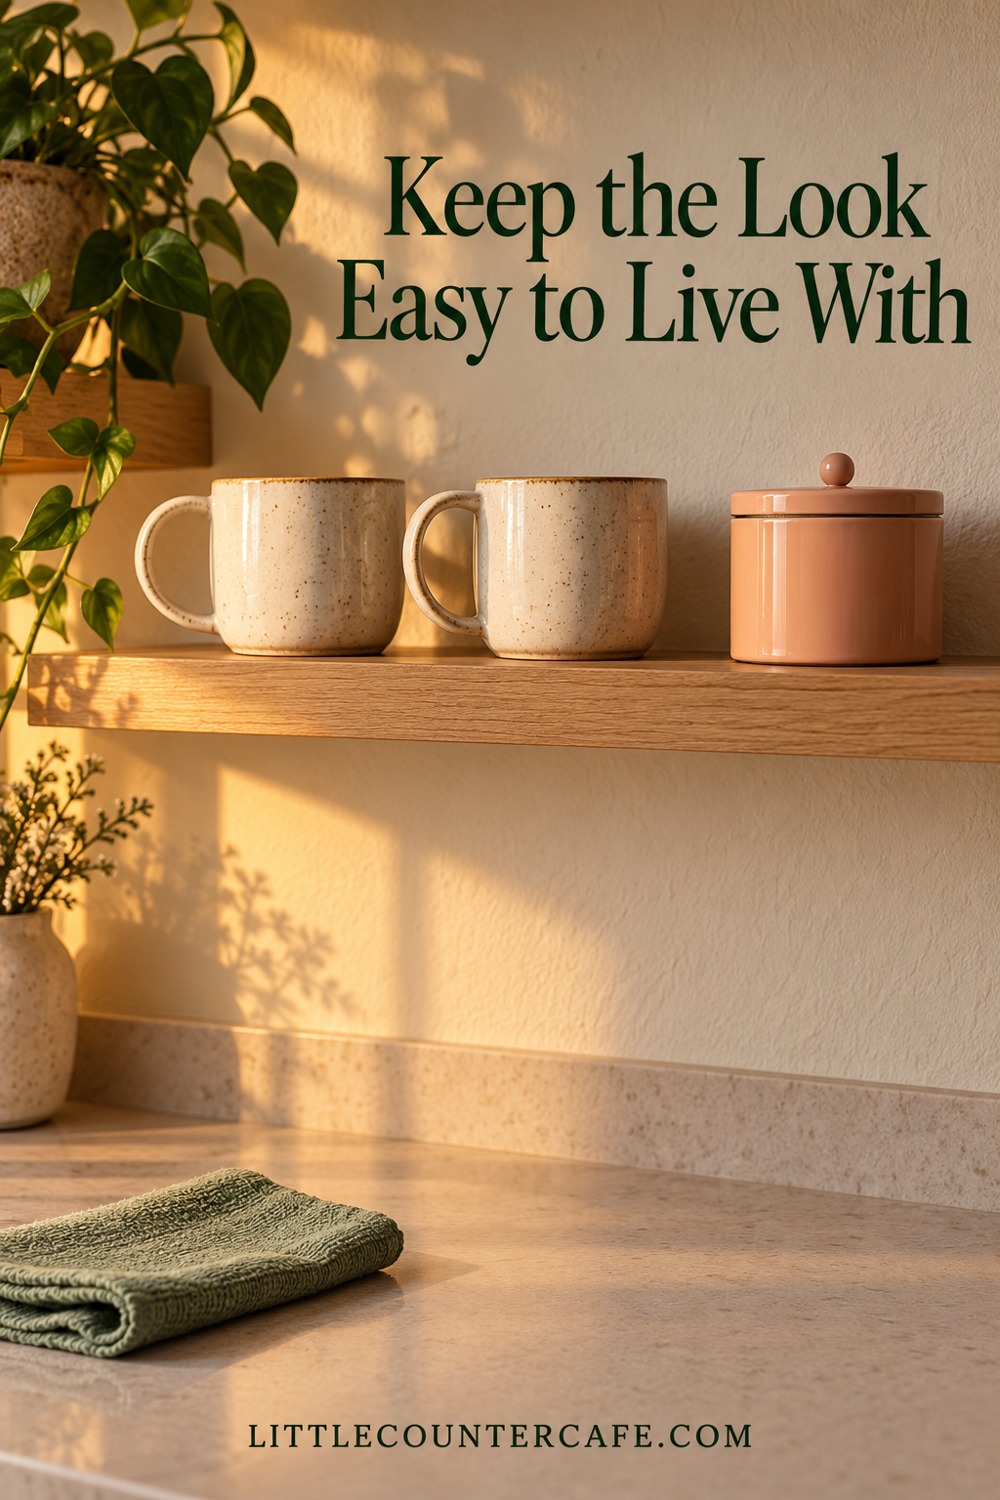
A useful shelf arrangement should survive a normal morning. Leave enough room to remove a mug without lifting a frame first, open a canister without brushing against another object, and return everything without rebuilding the display.
Try a simple dry run with cool, empty items. Reach for the mug, put it back, open the storage container and imagine where the spoon goes. If the daily sequence crosses in front of the machine or requires you to reach over hot equipment, relocate the items. Do not test an awkward arrangement while brewing.
Give the shelf a quick reset whenever you put the clean cups away. Return the everyday pieces to their places and remove anything that belongs in another room. Clean shelf surfaces and decor according to their material instructions, and dry them before returning food containers. Check for moisture beneath pots or containers and keep paper items away from damp areas.
To refresh the look, change one accent rather than the whole display. Swap the little print, bring out a different mug you already own or move the peach dish to the other side. Store the displaced piece instead of adding it to the same shelf. A seasonal detail works best when it replaces something, not when it becomes another layer to clean around.
Troubleshooting a shelf that never feels right:
- It looks full even after tidying: take everything off, return the daily pieces and add only one accent. Move backup supplies elsewhere.
- It looks attractive but is annoying to use: bring the daily items down to comfortable reach and keep the awkward shelf decorative.
- The mugs do not look coordinated: repeat one feature, such as a similar color or material, and allow the shapes to differ.
- The shelf gets damp: stop storing vulnerable items there and check the appliance's placement and instructions. Do not treat a decorative liner as a fix for repeated steam or moisture.
- There is no room for a plant or sign: leave them out. A clean, useful row of favorite cups can be enough.
Use the printable shelf planner to record the exact shelf and fixing information, usable dimensions, the everyday objects you want to reach, and the pieces you can remove. Its arrangement boxes are for planning your own space; they are not structural drawings or universal installation measurements.
Download the coffee shelf styling planner (PDF)
Before you finish, ask four questions: Is the shelf suitable and secure? Can I reach the everyday pieces comfortably? Can I operate the machine exactly as its instructions require? Is there room to lift, return and clean around each item? If those answers are yes, the arrangement has earned its place.
For more small-space inspiration, browse the Little Counter Cafe Journal. Start with one shelf, keep your favorite useful pieces and let the corner grow slowly.
Sources and useful checks
- IKEA LACK wall shelf instructions: example of wall-specific mounting and load instructions. Use the instructions for your own exact product.
- Moccamaster Select manual: model-specific operating precautions; not a universal clearance specification.
- National Coffee Association coffee storage guidance: airtight, opaque storage away from heat and light.