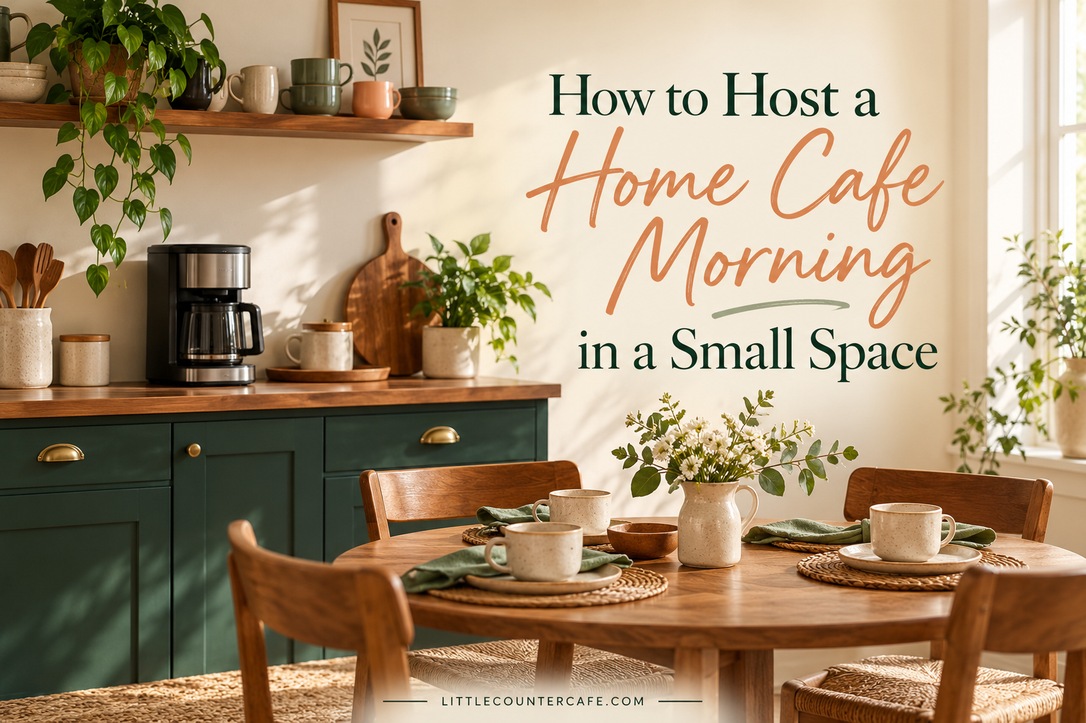
A home cafe morning can be as simple as a pot of coffee, a choice of tea, something lovely to eat, and a seat where you can actually talk. You do not need a second counter, a coordinated mug collection, or a menu that turns you into a full-time barista.
I love the idea of carrying the comfort of a little counter cafe into a catch-up with friends. The useful starting point is your room: where people will sit, where hot drinks will be made, and what you can prepare before the doorbell rings. Build the morning around those three things, then add a little color or a handwritten menu if you feel like it.
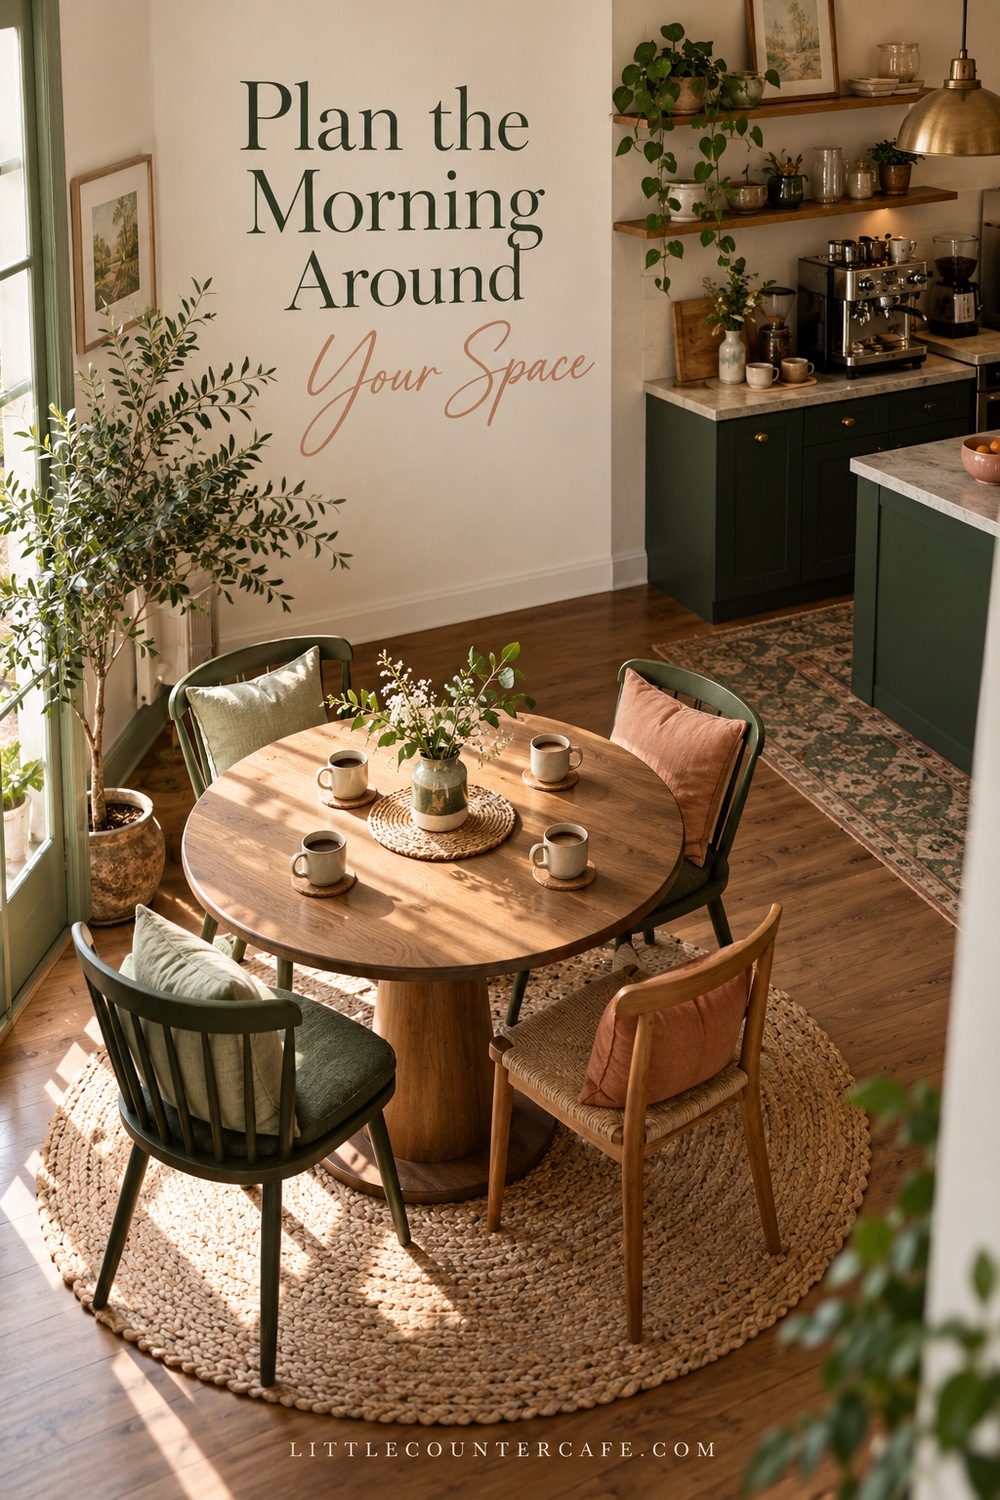
This guide uses an illustrative four-person gathering, including the host, to show how the plan works. Adjust it to your guests and your equipment. The accompanying room scenes are concept illustrations for inspiration, not photographs of a measured or tested hosting setup.
Plan the Morning Around Your Space
Choose a time and a manageable guest count before planning drinks. A 60- to 90-minute coffee catch-up is a useful planning example, especially when you want to offer a light snack rather than a full brunch. Tell people what to expect: “Come over for coffee, tea, and pastries at 10.” That makes the invitation feel easy and helps guests plan their morning.
Start with seats. Count the places people can sit comfortably with a drink and somewhere stable to put it down. Check whether a chair blocks the refrigerator or whether a pulled-out stool closes the route through the kitchen. A side table can be more useful than an extra decorative tray if it gives someone a safe place for a cup. Keep exits and walkways open.
Next, look at your working counter. You need room to fill and operate your brewer according to its manual, put down a mug, and handle a spill. An appliance that fits when switched off may need more room when its lid is open. Leave the manufacturer’s required clearance and keep cords, hot equipment, and drinks away from edges and children’s reach. Do not solve a cramped layout by trailing a power cord across the room.
Try a dry run with empty cups and an empty snack plate. Open the cabinet, refrigerator, and dishwasher you expect to use. Walk from the brewer to each seat. If the route feels awkward without guests, simplify it now. Our small-kitchen coffee station planning guide can help you think through the everyday layout before adapting it for company.
Set a spending limit before shopping. First check mugs, plates, napkins, a serving spoon, and a tray you already own. Borrow an extra chair or use mismatched cups deliberately. Spend on the drink and snack people will enjoy; matching accessories are optional.
Choose a Short Coffee and Tea Menu
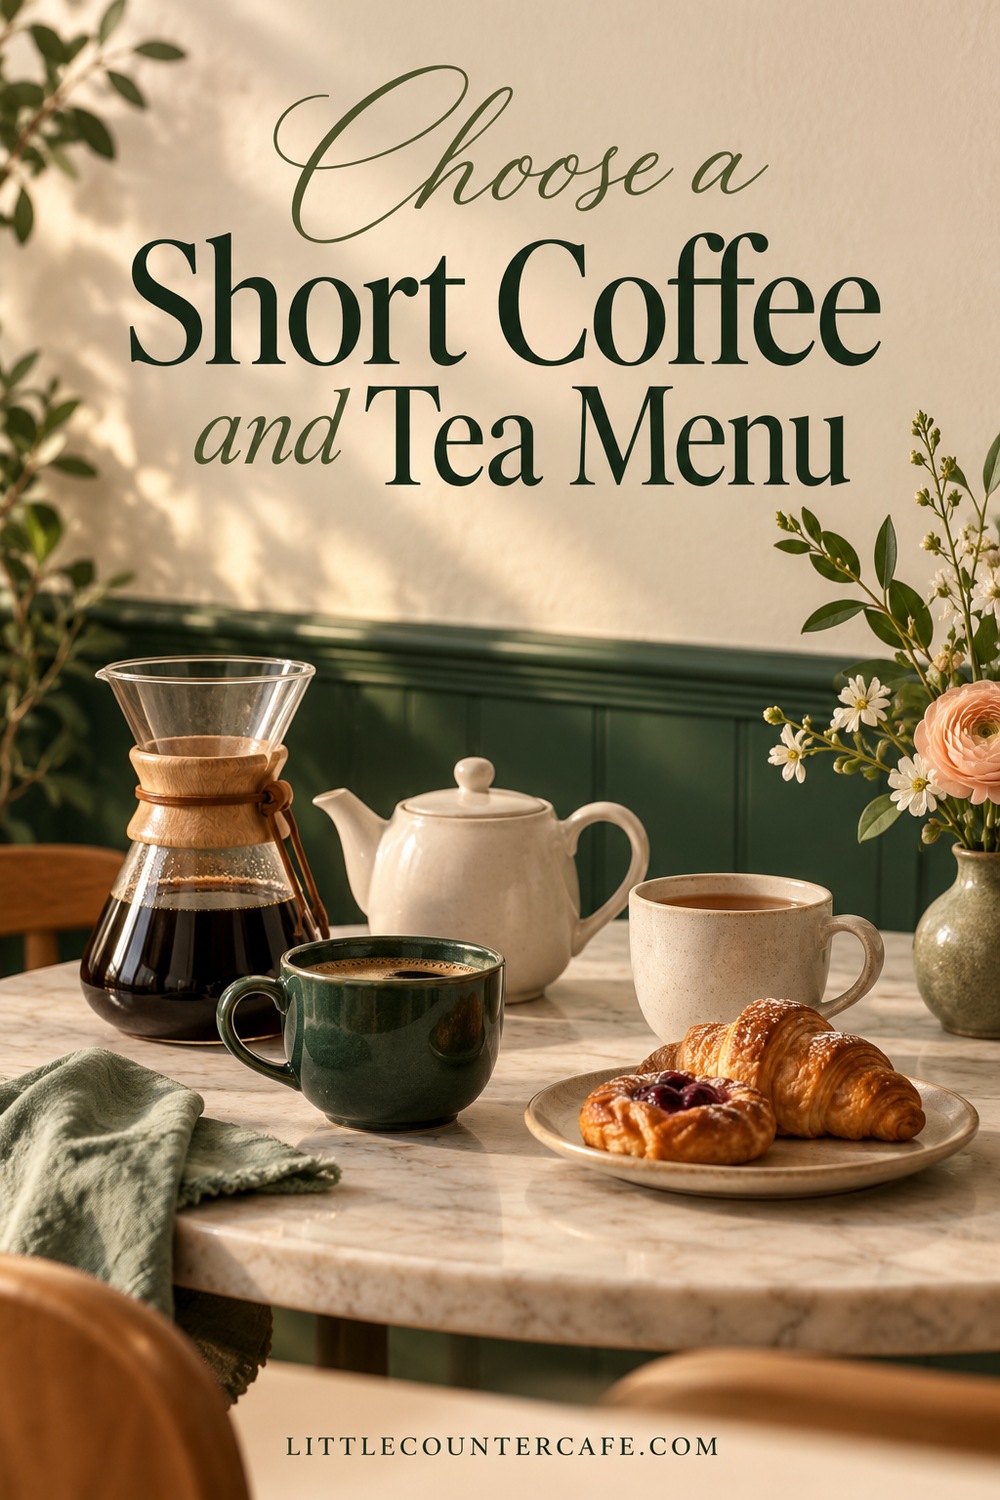
Offer one main coffee method, a tea option, and drinking water. That is a complete starting menu. Decaf can be helpful when guests want it, but ask ahead rather than buying several packages just for display. Ask about milk preferences, food allergies, and other dietary needs at the same time.
For a four-person example, you might offer freshly brewed filter coffee, tea bags with hot water prepared as needed, and a purchased pastry or familiar homemade bake. This is a suggested hosting menu, not a tested drink recipe. Use the brewer’s instructions and a method you already know rather than trying unfamiliar coffee ratios on the day.
Estimate the first round using the actual mugs. Four 8-fluid-ounce servings need 32 fluid ounces, or about 950 mL, of finished drink. That is serving arithmetic, not a brew-water recipe: coffee grounds retain water, and a machine’s marked “cup” may be smaller than a drinking mug. Check the manual’s capacity and never exceed its fill limit. If two guests want tea, reduce the planned coffee accordingly. Ask before making a second round so you avoid brewing a pot nobody wants.
An espresso machine can work for a small gathering, but a list of customized drinks creates a queue. Offer a narrower choice, tell guests that drinks will come one at a time, and serve the first person somewhere comfortable. If you want to spend the morning chatting, a familiar batch brewer may fit your plan better. You do not need to buy one for a single catch-up; borrowing or choosing a smaller gathering may be enough.
Keep the food similarly focused. One sweet option and, if wanted, one simple savory option are easier to store and serve than a brunch buffet. Check packages for storage instructions and ingredient information. Keep the original labels available for guests. The FDA’s food-allergy guidance explains why reading labels matters. Do not assume a plant-based milk or a gluten-free-looking snack is suitable for a particular guest. Discuss their needs directly, and be honest about shared equipment and what you can accommodate.
Separate Brewing From Guest Self-Service
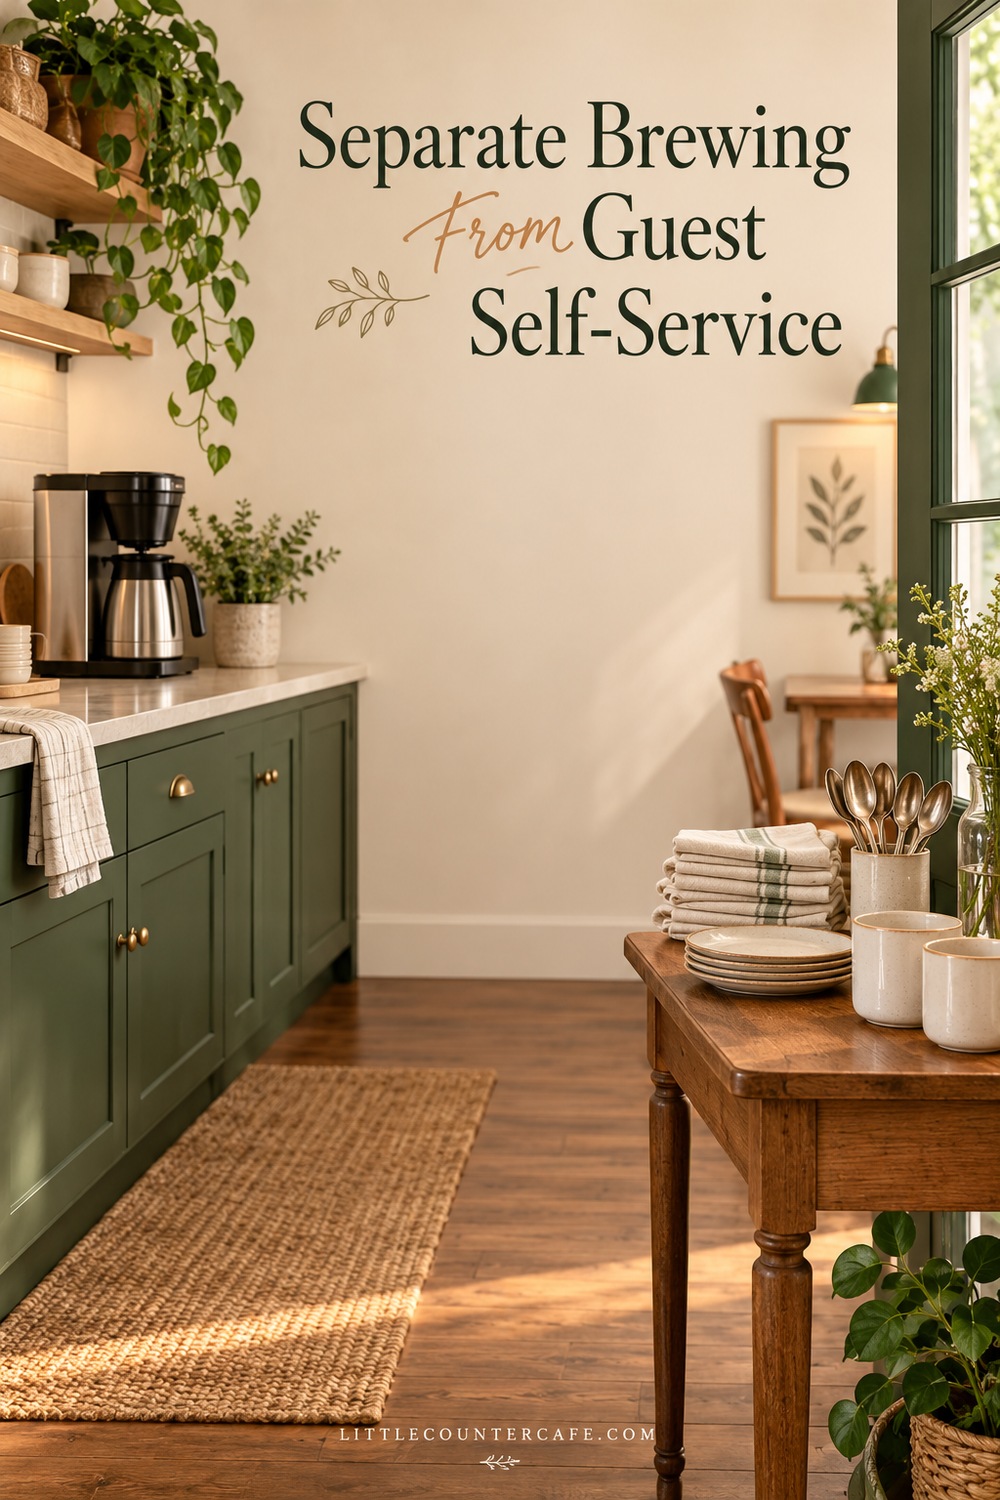
Think of the setup as three small jobs rather than one large coffee bar: making drinks, collecting extras, and sitting down. They do not need three pieces of furniture. They need enough separation that someone choosing a napkin is not leaning over a hot brewer.
Keep the brewing area under the host’s control. Put only the equipment and tools needed for the chosen drinks there. Leave a clear landing spot for a mug. Remove spare syrups, unopened coffee bags, decorative signs, and tomorrow’s lunch supplies. Our guide to what to keep on a coffee counter is useful if the station has gradually become a storage shelf.
Set out plates, napkins, and spoons on a nearby table or a stable surface away from the appliance. Guests can help themselves to these while you prepare drinks. Put water somewhere that does not require reaching across the hot-drink area. If you use a tray, test that it sits flat and does not overhang. Avoid stacking cups so high that people must steady the pile to take one.
Milk needs a plan, too. Keep the main container refrigerated and bring out a small amount when needed, following its label. For self-service over a longer period, use a setup that actually maintains a safe cold temperature; a decorative pitcher alone does not do that. Keep each milk option identifiable and use separate utensils where needed. Tell guests about shared frothing equipment rather than promising an allergen-free drink.
Finally, choose a discreet place for used cups and plates. A clear part of the dining table or a washable tray can work. Keep it separate from clean utensils and food. This gives guests somewhere to help without gathering around your sink or dishwasher.
Prepare Ahead and Keep Food Safe
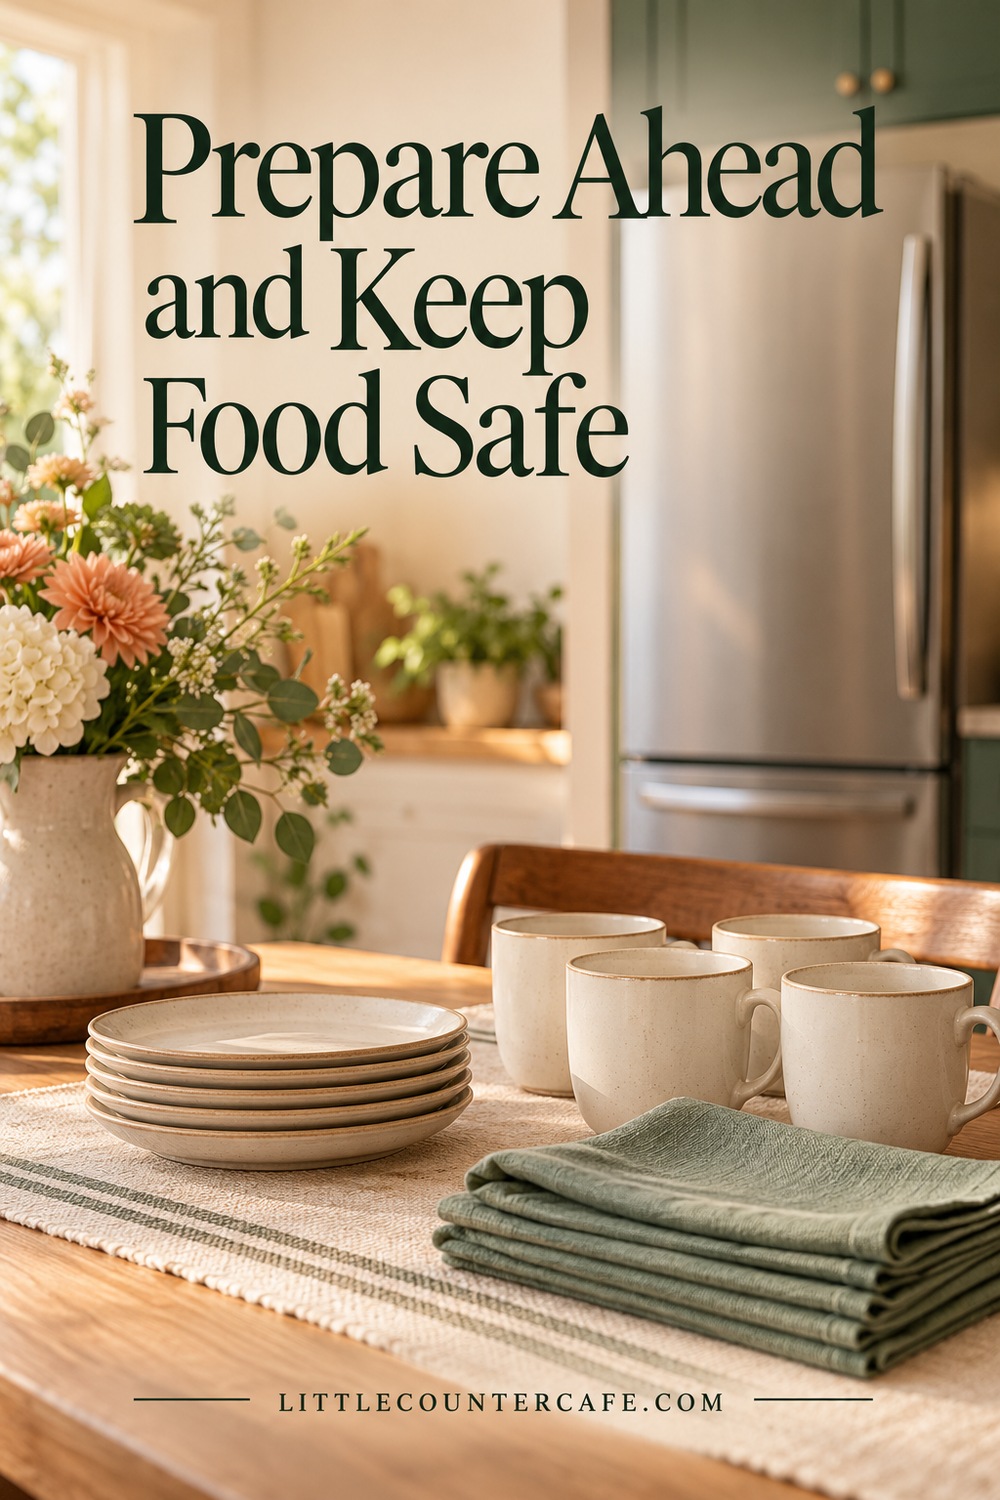
The day before, confirm your guest count and menu, check ingredients, clear refrigerator space, and gather the dishes. Clean the food-preparation area and follow the appliance manual for any equipment care. Lay out the empty serving pieces and check the walking route again. Do not fill your counter with perishable food overnight just to make the morning faster.
About 30 minutes before arrival, put out the shelf-stable serving items, prepare your seating, and set up the brewer without starting anything that will sit unnecessarily. Keep refrigerated items cold until they are needed. Just before guests arrive, begin the main drinks using your familiar method and arrange a small first serving of food. The timing is an example; adapt it to the actual brew cycle and food you are serving.
For perishables, follow the FDA’s home-buffet advice: keep cold food at 40°F (about 4°C) or below. Discard perishables left at room temperature for more than two hours, or one hour when the temperature is above 90°F (about 32°C), unless they have been held safely hot or cold. Count time spent preparing and setting out food as well as time with guests. Use small servings and replace dishes rather than topping up food already on the table. Refrigerate suitable leftovers promptly within the safe time limit.
Keep the plan light enough to follow. If you cannot manage hot food, skip it. If refrigerator space is tight, choose fewer chilled items. A short menu with clear storage instructions is more practical than balancing several dishes with different temperature needs.
Use this simple hosting checklist:
- Confirm the time, guest count, drink preferences, and dietary needs.
- Count seats and check a stable place for every drink.
- Choose one main coffee method, tea, water, and a small food menu.
- Check real mug volume and the brewer’s stated capacity.
- Clear the brewing area and keep guest extras away from hot equipment.
- Gather clean cups, plates, spoons, napkins, and serving utensils.
- Keep ingredient labels and refrigeration instructions available.
- Note when perishables leave refrigeration and set a reminder.
- Put out small portions, offer a second round, and refrigerate promptly.
- Leave the dishes until later when that lets you enjoy your guests.
The printable hosting planner included with this guide gives you space to record your menu, room layout, quantities, safety reminders, and preparation jobs. Fill it in before buying anything. It is a planning worksheet, so you can adapt it to your own room rather than follow a fixed counter measurement.
If the counter still feels crowded, remove a choice before adding more storage. If guests arrive together, offer water and seats while the first drinks are made. If someone wants a drink outside your menu, it is fine to explain what you can offer. A warm welcome and a comfortable place to sit do more for a home cafe morning than a long list of drinks.
As an Amazon Associate I earn from qualifying purchases. The hosting supplies collection below contains paid links; use what you already have first.

LITTLE COUNTER CAFE · Coffee Hosting & Gift Ideas
Make a small coffee moment feel special.
Thoughtful brewing gifts, serving pieces, and drink supplies for relaxed coffee catch-ups at home.
As an Amazon Associate I earn from qualifying purchases. This is a paid link.