
A coffee maker can look wonderfully compact online and still be awkward in your kitchen. The lid might hit a cabinet, the water tank might be hard to reach, or the grinder and milk frother might use the space you thought you had saved.
The most useful choice starts with your usual drink and the room you can comfortably give it. Choose the brewing style first, compare the complete setup, and then check the exact model against your counter. A smaller machine is only helpful if making coffee with it feels manageable.
I love a cozy coffee corner, but I want it to work on an ordinary morning too. Here is a practical way to narrow the options without buying extra equipment just because it looks lovely together. Tea drinkers can use the same process to protect room for their kettle and mugs.
This is a researched buying guide, rather than a hands-on product test or ranked list. The room scenes are styling concepts. The printable coffee maker comparison worksheet below gives you a place to record your own measurements and current model information.
Choose the Brewing Style You Will Actually Use
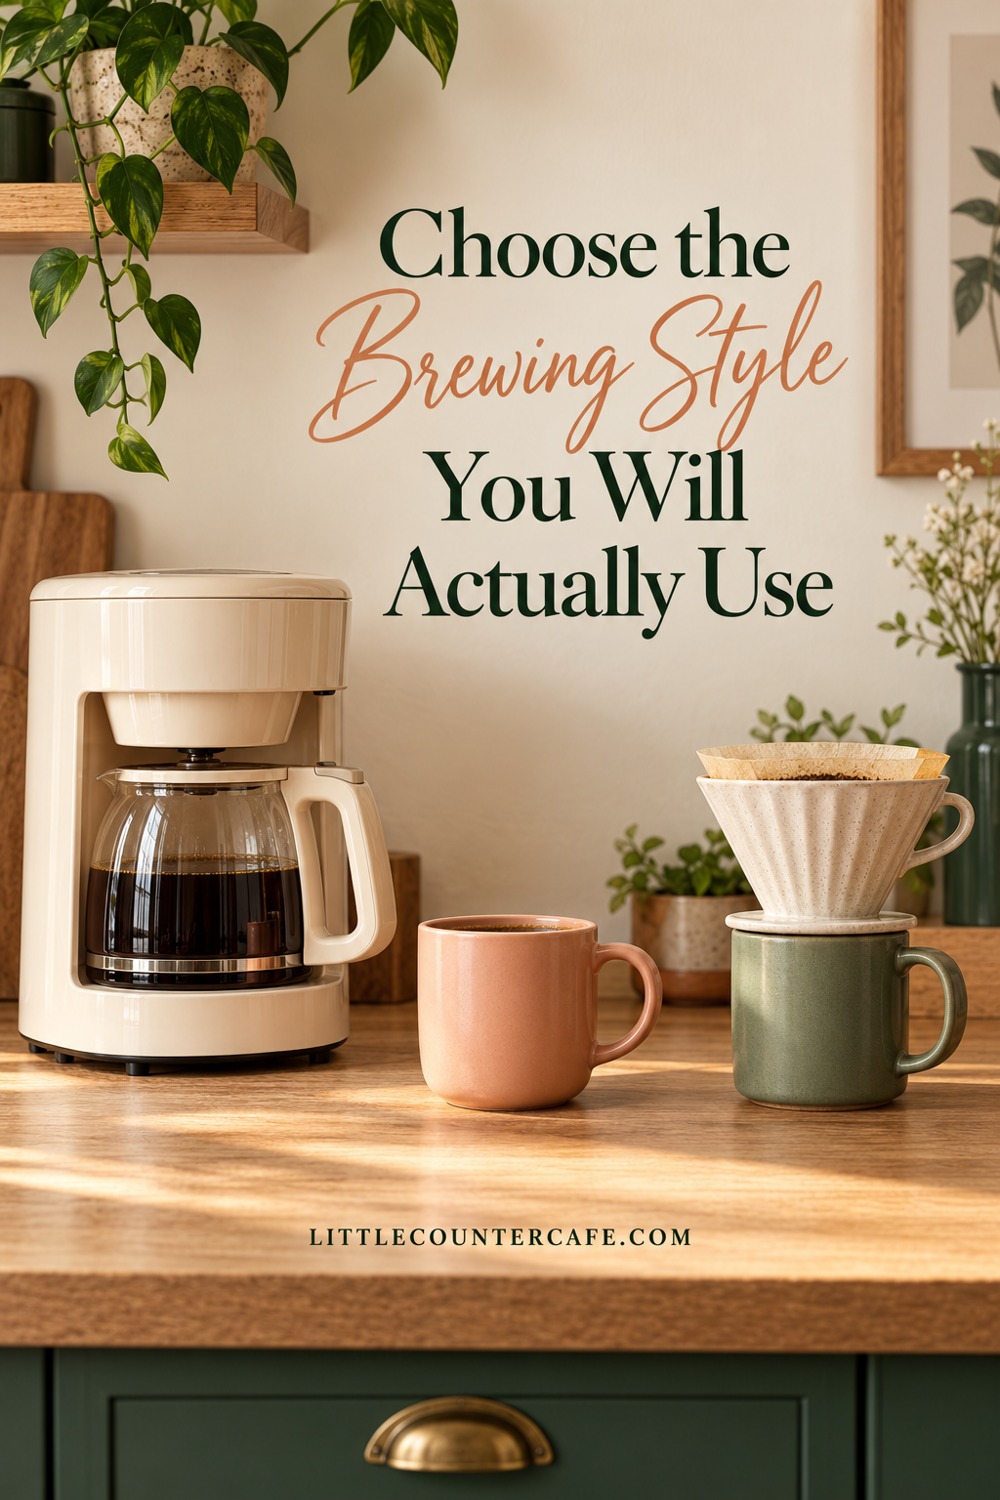
Start with three questions: What do you normally drink? How many servings do you need in one sitting? How much hands-on preparation do you enjoy? Your answers will rule out more unsuitable machines than a list of fashionable features.
For one ordinary mug at a time, compare a single-serve brewer with a manual option. A pod machine can keep the preparation simple, while a manual brewer can be put away when it is clean and dry. Neither choice removes the need to store coffee, dispose of used grounds or capsules, and clean the parts that touch the drink.
For several mugs together, look at the usable batch volume of a small drip brewer. Check the manufacturer’s ounce or milliliter capacity rather than assuming its advertised number of “cups” means your household’s mugs. A machine that requires repeat batches may take less room but add more work when everyone wants coffee together.
For espresso and milk drinks, decide whether you want a machine with a milk system or are happy with a separate frother. Add the frother, milk jug, grinder if needed, and preparation tools to the plan before calling the setup compact. If this is your direction, our compact espresso machine features comparison looks more closely at those tradeoffs.
For a counter that must return to meal preparation, consider a manual method that can be stored between uses. That still needs a suitable source of hot water and somewhere stable to brew. A manual brewer is not an espresso machine simply because it can make a concentrated, espresso-style drink.
| Brewing option | When it is worth considering | What else needs a home |
|---|---|---|
| Pod or capsule machine | One serving at a time with fewer preparation steps | Compatible coffee, used pods or capsules, refill access |
| Small drip brewer | More than one serving in the same batch | Filters if required, ground coffee, carafe handling space |
| Manual brewer | A setup you can put away and a routine you enjoy doing by hand | Hot-water source, filters if required, grounds and drying space |
| Compact espresso machine | Espresso-based drinks and willingness to manage the extra steps | Grinder where needed, milk tools, cleaning accessories |
This table is a starting point, not a verdict on taste. Keep the method you already enjoy in the running. Changing to a completely different drink just to save a little counter space can be an expensive disappointment.
If you also make tea, ask whether your kettle is staying. A new coffee machine will not automatically replace it. Put the kettle on your equipment list rather than discovering later that your shared coffee and tea corner no longer fits.
Compare the Whole Setup, Not Just the Machine
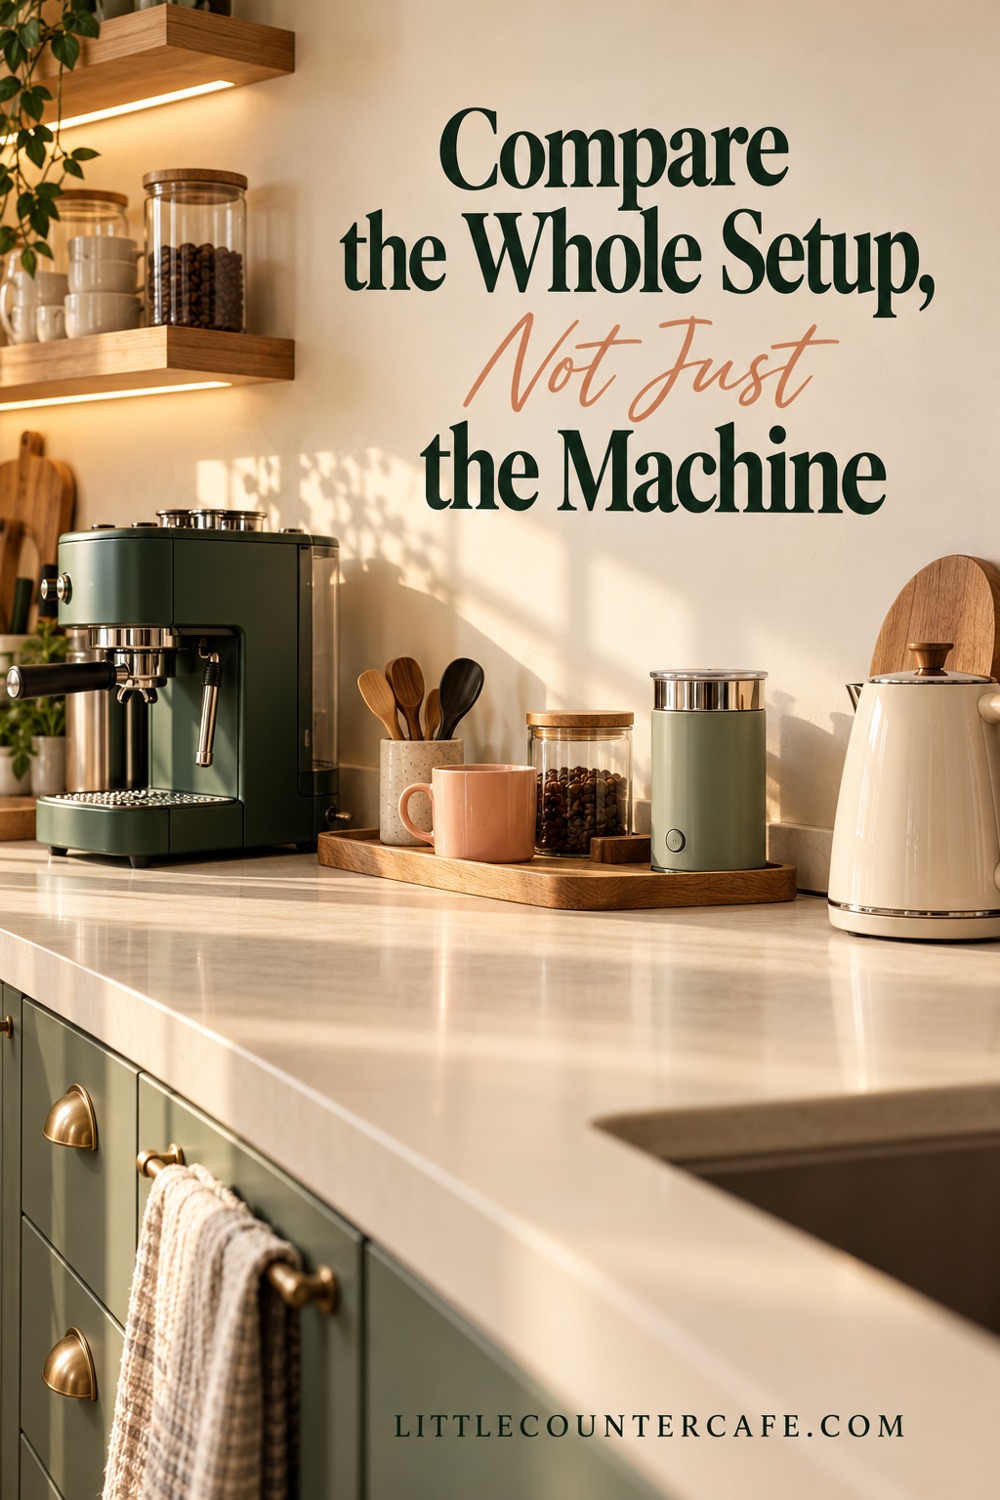
Think in two layers: the equipment that remains on the counter and the items that come out during use. A narrow machine can have a surprisingly large working area once you open it, fill it, set down a mug, and prepare milk.
Write down the things you actually need: brewer, kettle, grinder, frother, scale, mug, spoon rest, and coffee storage. Cross out anything you will not use. You do not need to purchase a complete matching collection to make a thoughtful little café corner.
Next, decide which pieces can live in a nearby cabinet. A manual grinder might come out only for brewing. Spare filters can sit with the coffee rather than in a separate countertop holder. A low tray can group accessories, but it should not become a reason to squeeze the machine into an unsuitable spot or cover a vent.
Leave a usable place to put down your cup. If the only open patch is behind the machine, the setup is not ready for everyday use. Think through the movement from filling to brewing to carrying the drink away, including where a second person might stand.
Use the manufacturer’s placement and clearance instructions for the exact model. Do not assume a tray makes an appliance safe beneath a low cabinet or that a gap that works for one brewer will work for another. Keep cords away from hot surfaces and places where they could be pulled or snagged; do not improvise electrical changes to make a machine fit.
For detailed measuring, use our guide to a coffee maker’s true counter footprint. In this buying process, the important step is recording the available space and rejecting any model whose full operation you cannot accommodate.
A useful paper check: mark a candidate’s closed footprint on paper using its stated width and depth. Place it on the counter without covering another appliance’s vents or controls. Then separately check open height, refill direction and the space for removable parts. The paper outline is a planning aid; it does not prove electrical suitability, heat clearance or stability.
If you would need to drag the machine forward for every refill, treat that as a decision to evaluate, not a minor detail to ignore. Check whether the manufacturer permits the planned placement and movement, and whether you could do it without spills or awkward lifting. A different tank position may be more useful than a smaller closed width.
Check Real Specifications Before You Buy
Use the current manufacturer’s product page and manual, noting the exact model, market and version. Similar names do not guarantee identical dimensions or features. If a retailer and manufacturer disagree, pause the purchase and ask the manufacturer to confirm the measurement you need.
Two current examples show why the headline size is only part of the decision. These are specification examples, not tested recommendations, and they are not necessarily the smallest options available.
| Manufacturer example | Published size or capacity | What to check in your kitchen |
|---|---|---|
| Keurig K-Mini Brew You Collection | 4.5 in wide × 11.3 in deep × 12.1 in high; 16.8 in high with handle open | Cabinet clearance and the room to open the handle; exact model and refill method |
| AeroPress Original | Manufacturer FAQ lists compressed brewer at 5.26 in high × 4.22 in across its widest part; a through-brew serving is 10 fl oz | A suitable sturdy mug, pressing height in use, hot-water equipment and storage for the separate pieces |
Keurig’s published example specifications illustrate a machine that is narrow but needs substantially more height when open. The approximate metric equivalents are 11.4 × 28.7 × 30.7 cm closed, rising to 42.7 cm with the handle open. These are product dimensions, not prescribed safety clearances. Confirm the current manual for the version you intend to buy.
The AeroPress Original manufacturer page illustrates a different tradeoff: a small stored brewer still needs a hot-water source, a suitable cup and room to operate. Its FAQ’s compressed dimensions are about 13.4 cm high and 10.7 cm across. AeroPress says to use a sturdy mug or carafe and never press into thin-walled glass. Do not treat the compressed size as its working height.
Beyond dimensions, record these checks on your worksheet:
- Drink amount: compare actual fluid ounces or milliliters with the mug you use, including room for milk.
- Mug fit: check the space under the outlet and what changes when a drip tray is removed. Do not assume every travel mug will fit.
- Water access: identify whether filling is from above, the front or a removable rear tank.
- Coffee compatibility: confirm the pod system, filter size or ground-coffee requirements before buying supplies.
- Care requirements: read which pieces need hand washing, the stated descaling instructions and the consumables required for that model.
- Support: check the warranty for your country, the seller’s return conditions and access to replacement parts.
If an essential specification is missing, leave the box unresolved. A guess is not a good reason to spend money. A return policy can be useful, but it should not replace checking whether the appliance can be used safely in your intended space.
Make a Shortlist That Fits Your Budget

Keep the shortlist to two or three realistic candidates. Comparing a long list can make small differences feel more important than the basics: the right drink, a workable fit and an upkeep routine you will actually follow.
Separate the purchase price from the cost of starting and continuing. The first total may include a grinder, frother, filters or milk jug. Ongoing costs might include coffee, compatible pods, filters, cleaning supplies and replacement parts. Use current local prices for the products you would genuinely buy; a low advertised machine price does not tell you the ongoing cost of your routine.
For a simple comparison, calculate coffee cost per serving from a pack you would use, then multiply by your expected servings. If you drink one serving daily, a 30-day example uses 30 servings. If two people drink two servings each day, the same example uses 120. Keep milk, filters and other extras separate so you can see what the calculation includes. These are planning examples, not estimates of anyone’s spending.
Use three non-negotiable checks before scoring extras:
- The exact model fits and can be operated according to its instructions.
- It makes the type and amount of coffee you want, using supplies you can obtain.
- The complete setup and ongoing costs fit the budget you have set.
Reject a candidate that fails one of those checks. Then compare the remaining options for refill convenience, cleaning, storage and the appearance you enjoy. Color is a lovely final choice; it should not have to compensate for a machine that is difficult to use.
Common sticking points: If every machine feels too large, reconsider the brewing method or nearby storage before adding furniture. If the setup needs more accessories than expected, price the complete collection before buying the main machine. If two candidates are close, choose the practical feature you will use every day rather than the occasional feature you might never need.
Download the printable comparison worksheet and fill it out before ordering. It includes the counter checks, three candidate columns, starting and ongoing costs, and a final unresolved-questions box. Keep it with the exact model links so you can recheck a specification if the listing changes.
A comfortable little coffee station does not need the most features. It needs equipment that suits your drinks, enough room to use it, and a routine that makes your next cup feel easy.
As an Amazon Associate I earn from qualifying purchases. The related shopping list contains paid links.
Download the coffee maker comparison worksheet (PDF)
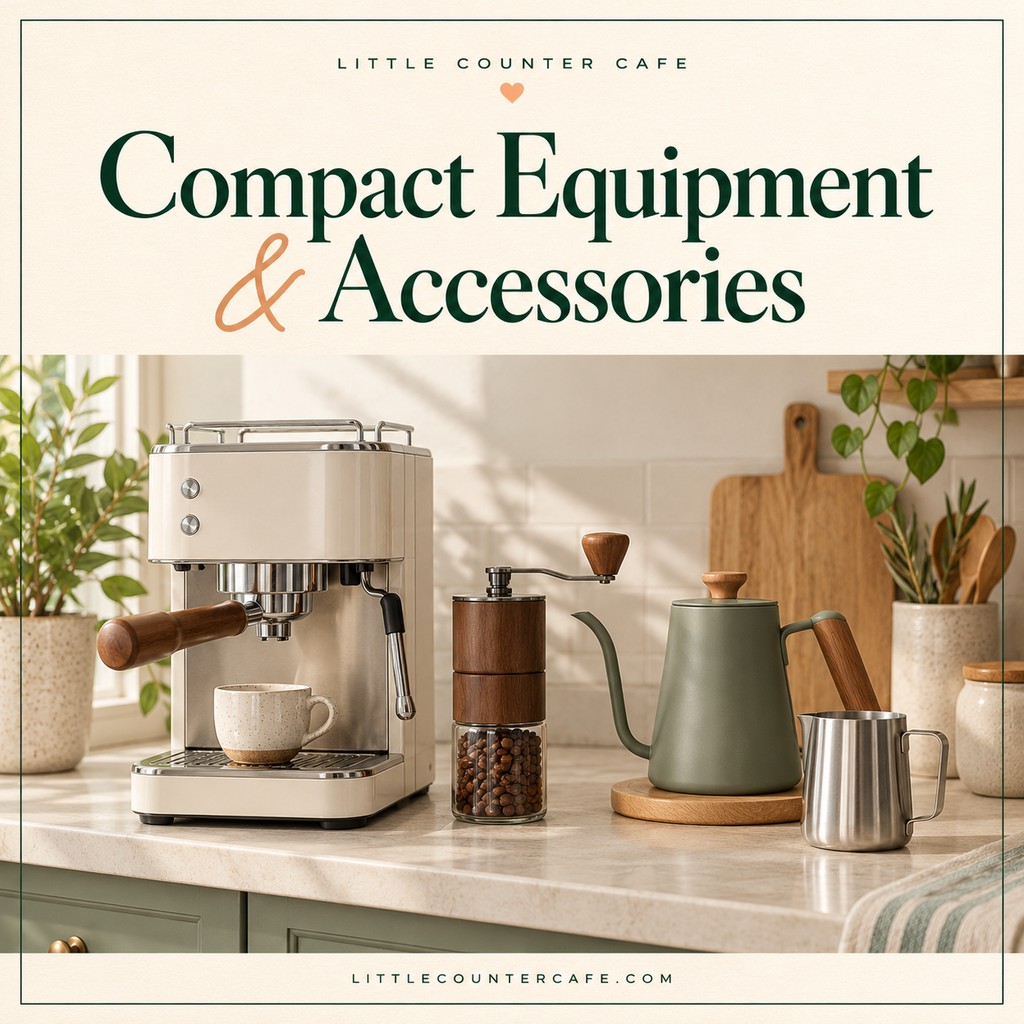
LITTLE COUNTER CAFE · Compact Coffee Makers & Accessories
Find the tools that fit your counter.
Compact brewers, useful preparation tools, and accessories to help you choose a setup for your space.
As an Amazon Associate I earn from qualifying purchases. This is a paid link.