

A summer coffee station can feel lighter without taking over another inch of your kitchen. A favorite iced coffee glass, a peach-colored mug, and a clear place to prepare your drink can do more than a counter full of seasonal decorations.
I like a little counter café that makes the first cup feel inviting and the next kitchen job easy. For summer, start with the drinks you actually make, then give their everyday tools a simple home. Keep the coffee maker you enjoy using, store cold ingredients where they belong, and let one or two useful pieces carry the seasonal look.
The arrangements pictured here are concept illustrations, not measured installations. Use the printable Summer Coffee Corner Planner to check your own equipment, available space, and storage before moving or buying anything. This is a station-planning guide, rather than a tested iced coffee recipe.
Make Room for Your Summer Drinks
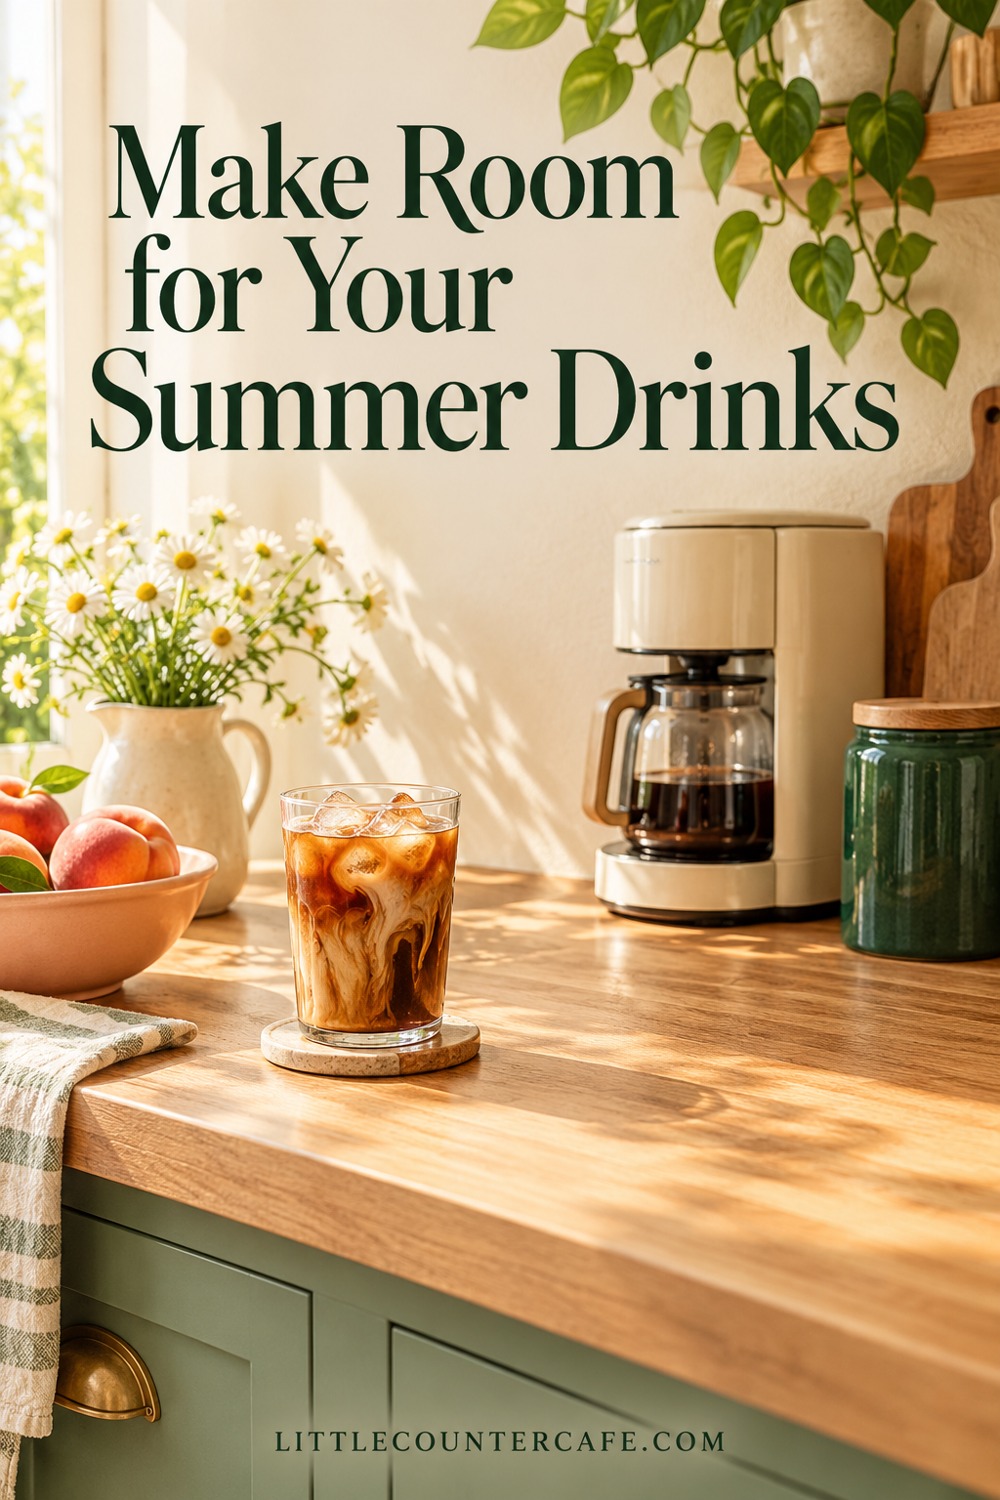
Start by making your usual drink with your current setup. Notice where you put the glass, where you reach for a spoon, and whether the milk has an easy route back to the refrigerator. You are looking for awkward steps, not a reason to replace everything.
A tall iced drink may need a different landing spot from a short coffee cup. Check the actual glass with its coaster and any reusable straw. Include the space your hand needs to lift it, and make sure a cupboard door cannot knock it over. If a tall glass does not fit under your coffee maker, follow the machine’s instructions for compatible cups and drip-tray adjustments. Do not force a glass into place or remove parts that are meant to remain fitted.
Think in three small zones: a brewing position, an empty preparation spot, and storage for the few tools you use daily. These zones can be beside one another, but they do not all need their own tray. A narrow kitchen often works better when the machine stays on the counter, glasses live in a cupboard, and a small organizer holds only spoons and tea bags.
Try one of these illustrative arrangements:
- The one-glass setup: Leave a clear, stable landing spot beside the machine. Bring out one glass from the cupboard when you need it. Keep the remaining drinkware stored.
- The shared coffee-and-tea spot: Give the coffee maker its required working room, then store a mug, tea infuser, and teaspoon together nearby. Use one preparation area for both drinks rather than building two complete stations.
- The removable summer tray: Place a glass, a spoon rest, and a small napkin stack on a tray that can be lifted away before meal preparation. The tray is for accessories; it is not automatically an appropriate platform for an appliance.
Before deciding where the machine belongs, check its own manual for placement, ventilation, access, and electrical requirements. The Nespresso Inissia manual, for example, calls for a stable, level surface resistant to heat and fluids and warns against nearby hot surfaces. That is model-specific guidance, not a clearance rule for every coffee maker. Keep textiles and decorations away from appliance vents and hot parts, and never route a cord across the sink or a walking path.
Measure the equipment with lids and water tanks opened as needed, not just when everything is closed. Leave access for refilling, removing used capsules or grounds, and wiping the counter. If a summer accessory makes one of those jobs harder, store it elsewhere. Our guide to measuring a coffee maker’s true counter footprint can help you record the working space.
Choose a Light Summer Look

You do not need a whole collection of summer-themed supplies. Choose a small color story and repeat it in pieces that earn their place. Cream, sage, and peach work well with wood and many existing kitchen finishes, but the best starting point is something you already own and enjoy seeing.
For a peach-and-sage corner, keep the counter background simple, use one peach mug or napkin, and add sage through a tray or storage tin. For a cream-and-wood corner, bring in summer with a clear drinking glass and a lighter-colored dish towel stored away from the machine. For a green-and-glass corner, keep an existing forest-green appliance as the anchor and use a plain glass and cream coaster beside it.
Choose one focal point. It might be a lovely iced drink glass or a small framed print on an existing safe display spot. Avoid adding a sign, a flower arrangement, a decorative jar, and a second tray just because each one looks seasonal on its own. Their combined footprint is what matters.
Useful swaps are easier to live with than extra layers. Swap a bulky mug rack for a few favorite mugs in an accessible cupboard. Replace a large catch-all tray with a smaller washable spoon rest. Put away winter decorations before adding one summer accent. If you have to move three objects to refill the water tank, the arrangement needs simplifying.
Be selective about textures, too. Woven baskets can suit a dry cupboard, while a washable container may be easier around splashes. Check care labels and the countertop manufacturer’s guidance before choosing mats, adhesive accessories, or protective pads. A decorative placemat is not proof of heat protection or moisture compatibility.
Keep coffee storage practical even when the room looks sunny. The National Coffee Association recommends cool, airtight storage and opaque containers to protect coffee from light. An opaque canister in a suitable cool cupboard is often a better choice than a clear bean jar in a bright window. Do not move your coffee into sunlight just to complete the display.
Start with a no-spend refresh: clear the counter, wash and dry suitable accessories according to their care instructions, shop your own cupboards, and try the arrangement for several normal mornings. Buy only to solve an identified problem, such as a coaster that fits your glass or a container that fits your shelf. For help narrowing your choices, see how to choose a color palette for your home cafe.
Keep Cold Ingredients in the Refrigerator
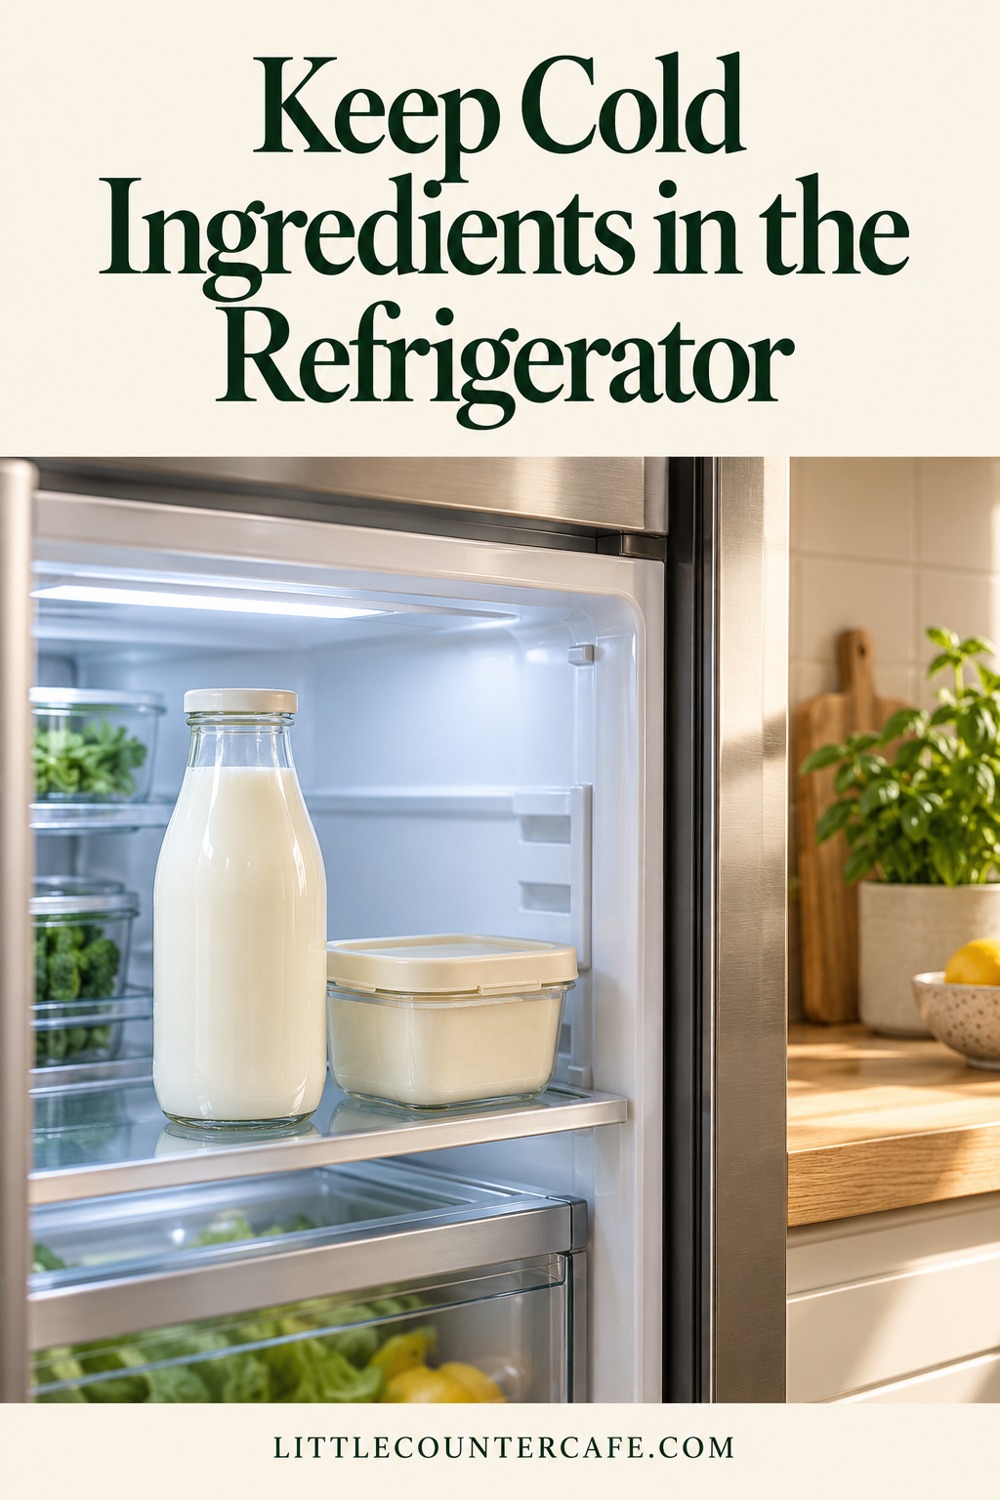
A summer station can hold the tools for an iced drink without holding all its ingredients. Keep the counter as a preparation area and the refrigerator as the home for foods that need chilling. A pretty bottle does not make milk or homemade syrup safe to store at room temperature.
Set aside a small, clearly visible area in the refrigerator for your usual milk or plant-based alternative and any other ingredients whose labels require refrigeration. Keep them in their appropriate containers and follow each product’s storage directions. Unopened shelf-stable products may have different instructions from the same products after opening. Label any transferred food so its identity and relevant dates are not lost.
Take cold ingredients out when you need them and return them promptly after making the drink. The FDA recommends a refrigerator temperature of 40°F or below, approximately 4°C. Perishable foods should not sit at room temperature for more than two hours, or one hour when the air temperature is above 90°F, approximately 32°C. These are maximum limits, not a target for leaving milk on the counter. Follow stricter product directions and discard food when safe storage cannot be established.
Do not treat a bowl of ice or a decorative bottle cooler as proof that a perishable ingredient is staying at a safe temperature. For a normal morning drink, keeping the carton refrigerated between uses is simpler than staging a milk display. When guests visit, serve small amounts and replenish from properly refrigerated supplies rather than leaving a large quantity out.
Keep homemade syrup storage specific to the recipe and its reliable food-safety guidance. Sugar content, additional ingredients, preparation, and handling affect what advice applies. This guide does not establish a universal shelf life for homemade syrups or cold brew. Avoid copying an expiry date from a different recipe or assuming a commercial bottle’s instructions apply to a homemade version.
Use clean drinkware and utensils, and keep ice protected from splashes and dirty hands. Store reusable straws and their cleaning tools according to their care instructions, allowing them to dry appropriately before putting them away. A small dry container in a drawer can be more useful than an open cup of tools beside the sink.
For the rest of your supplies, separate one day’s useful tools from reserves. Keep extra straws, napkins, and unopened ingredients in their proper storage areas. The station only needs enough accessible equipment to make your next drink comfortably; it does not need to display your entire summer menu.
Reset Your Station After Each Drink
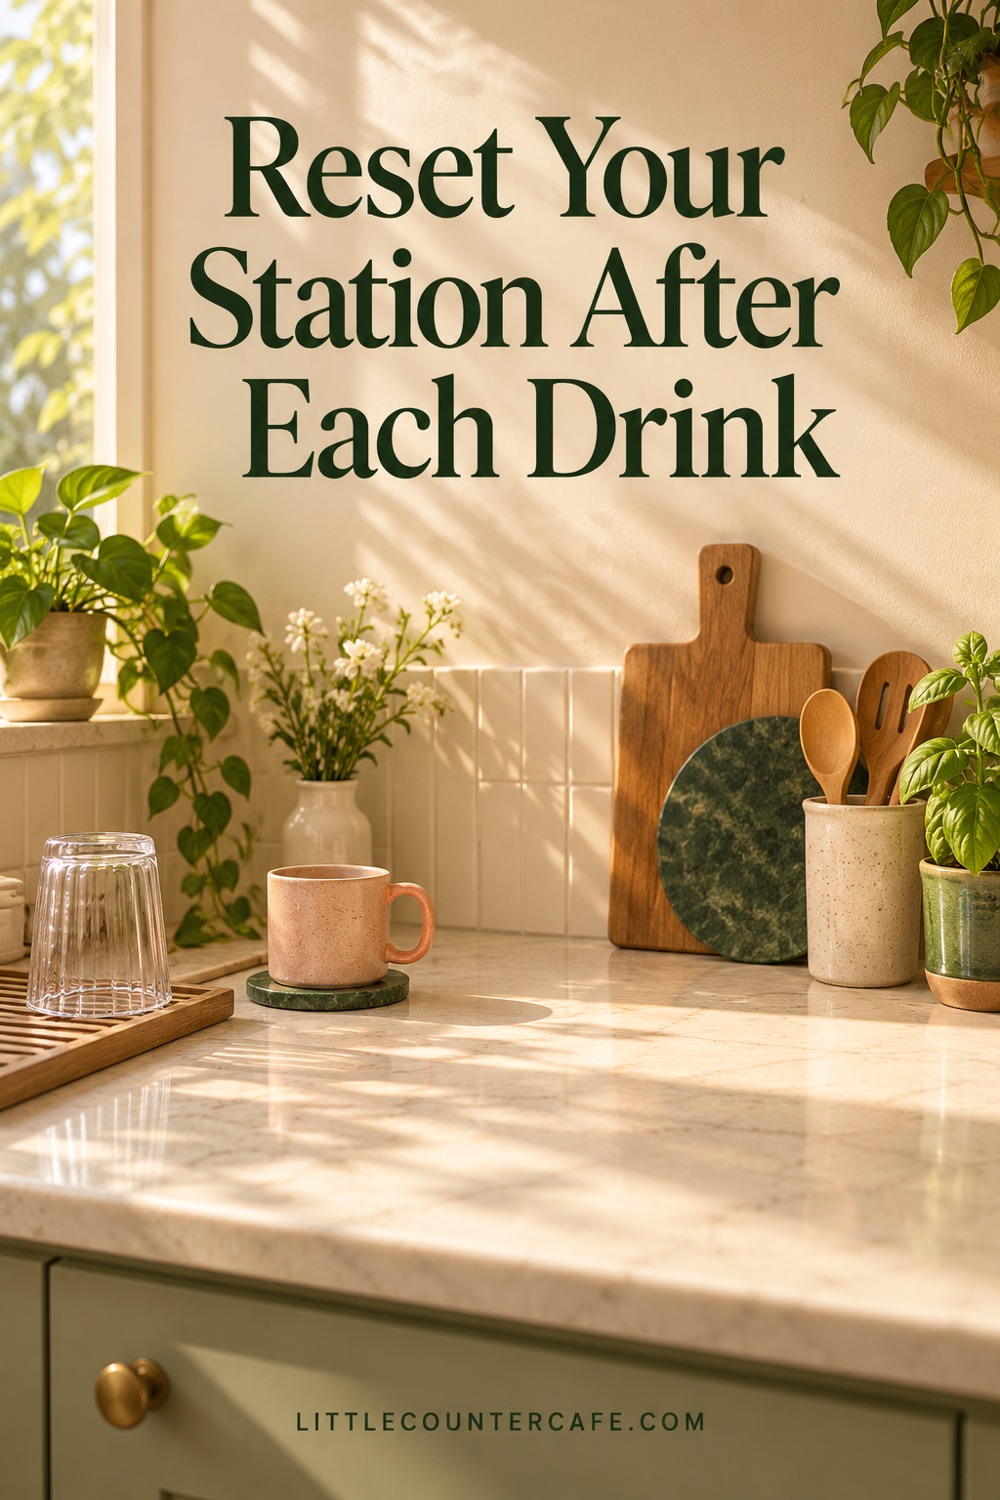
The easiest summer coffee corner to enjoy tomorrow is one that is ready after today’s drink. Make the reset part of the same routine: return chilled ingredients, deal with used tools, check for condensation, and leave the preparation spot clear.
Start with the cold items. Put them back before you sit down with your drink. Then follow your appliance’s instructions for used grounds, capsules, drip trays, and any milk-contact parts. Different machines have different cleaning requirements; avoid universal descaling products or methods. Switch off, unplug, and allow cooling whenever the manual requires it before cleaning.
Wipe splashes using a method compatible with the counter and appliance exterior, then dry lingering moisture. Check underneath a coaster or accessory tray, where condensation may collect unnoticed. If the same spot stays wet every morning, change the arrangement rather than covering the moisture with another mat. Keep appliance electrical parts and connections dry.
Use this short reset checklist:
- Refrigerated ingredients returned promptly and stored as directed.
- Used glass, spoon, and straw moved to their proper cleaning area.
- Appliance care completed according to its manual.
- Counter, coaster, and accessory tray checked for moisture.
- Next drink’s preparation spot left empty.
- Supplies running low added to the shopping list instead of piled on the counter.
If the station feels crowded again after a few days, remove one accessory before buying another organizer. If guests cannot find what they need, group the clean cups and utensils together for the visit, then put extras away afterward. If summer decorations are collecting splashes, move them to a dry display area or choose a simpler useful accent.
Download the Summer Coffee Corner Planner below and fill it out before making changes. Record your usual drink and drinkware, the machine’s working dimensions and manual requirements, what belongs in the refrigerator, the accent you will reuse, and the one purchase you might actually need. Sketch the setup, then test the reach and door movements with your own items. Leave the purchase line blank if the arrangement works already.
A welcoming summer station does not need to look fully styled at every moment. It needs somewhere stable to make your drink, supplies you can find, and enough clear space for the rest of kitchen life. Let the season show up in a few thoughtful details, and let the empty counter do some of the decorating.
Download the Summer Coffee Corner Planner (PDF)

LITTLE COUNTER CAFE · Seasonal Coffee Bar Styling & Drink Staples
Refresh your little café with the season.
Flexible styling pieces and drink-making staples to use across seasonal coffee menus and counter refreshes.
As an Amazon Associate I earn from qualifying purchases. This is a paid link.
Sources: FDA food storage guidance, FDA safe food handling, National Coffee Association storage guidance, and the Nespresso Inissia manual. Check your own appliance manual for its requirements.