

Coffee and toast belong to the same part of the morning, so giving them a shared stretch of counter can make sense. The arrangement works best when you plan the two jobs separately: somewhere to brew and finish a drink, somewhere to toast, and a clear place to set breakfast down.
Start with the appliances you already own. A matching set or an oversized tray will not solve a crowded counter if you still have to reach across a hot toaster to get a mug. You can make the corner feel coordinated with a few useful pieces while leaving the appliances their proper working space.
This guide is a planning approach, not a measured installation or a hands-on appliance test. Any concept illustrations are inspiration; use your own appliance instructions and measurements to decide whether a layout fits. It covers a pop-up toaster, not a toaster oven, which has different operating requirements.
Check Both Appliances Before Choosing the Spot

Before arranging anything, find the model numbers and manuals for your toaster and coffee maker. Note where each appliance can operate, what needs to stay clear, and how you reach its controls, water tank, lid and removable parts. A closed appliance footprint is only the beginning.
For example, the Cuisinart CPT-122C instruction booklet rules out operation beneath a wall cabinet or inside an appliance garage. That is model-specific evidence, not a universal clearance measurement. Check the manual supplied for your own model and country. If it does not explain a placement you are considering, ask the manufacturer before using that spot.
Measure the usable counter width and depth after excluding the sink, stove, edge hazards and the space you need for ordinary food preparation. Then record the appliance bodies and their access requirements. Can you lift the coffee maker’s lid fully? Remove its water reservoir? Pull out the toaster’s crumb tray? Reach a plug without reaching over a hot appliance? Your coffee maker footprint worksheet guide can help with the brewing side.
Think about power before styling, too. NFPA’s electrical safety guidance recommends one heat-producing appliance plugged into a receptacle outlet at a time. Do not assume the two sockets of one wall receptacle, or two nearby wall outlets, provide independent capacity. An electrician can assess your kitchen if you are unsure. A power strip or extension cord is not a layout solution for running a toaster and coffee maker together.
Plan a sequential breakfast routine when appropriate: finish brewing, follow the manufacturer’s shutdown instructions, then use the toaster from a suitable supply. Some coffee makers continue drawing power to keep a plate warm, so a finished brew is not necessarily an appliance that is off. Keep the toaster attended while it runs.
The Electrical Safety Foundation’s kitchen guidance also recommends GFCI-protected outlets for countertop appliances, locating appliances away from the sink and keeping cords away from hot surfaces. Leave electrical alterations to a qualified electrician.
A useful first decision: if the available spot cannot satisfy both manuals and the electrical plan, separate the appliances. Sharing a breakfast routine does not require sharing one narrow counter.
Plan Separate Coffee and Toast Working Zones
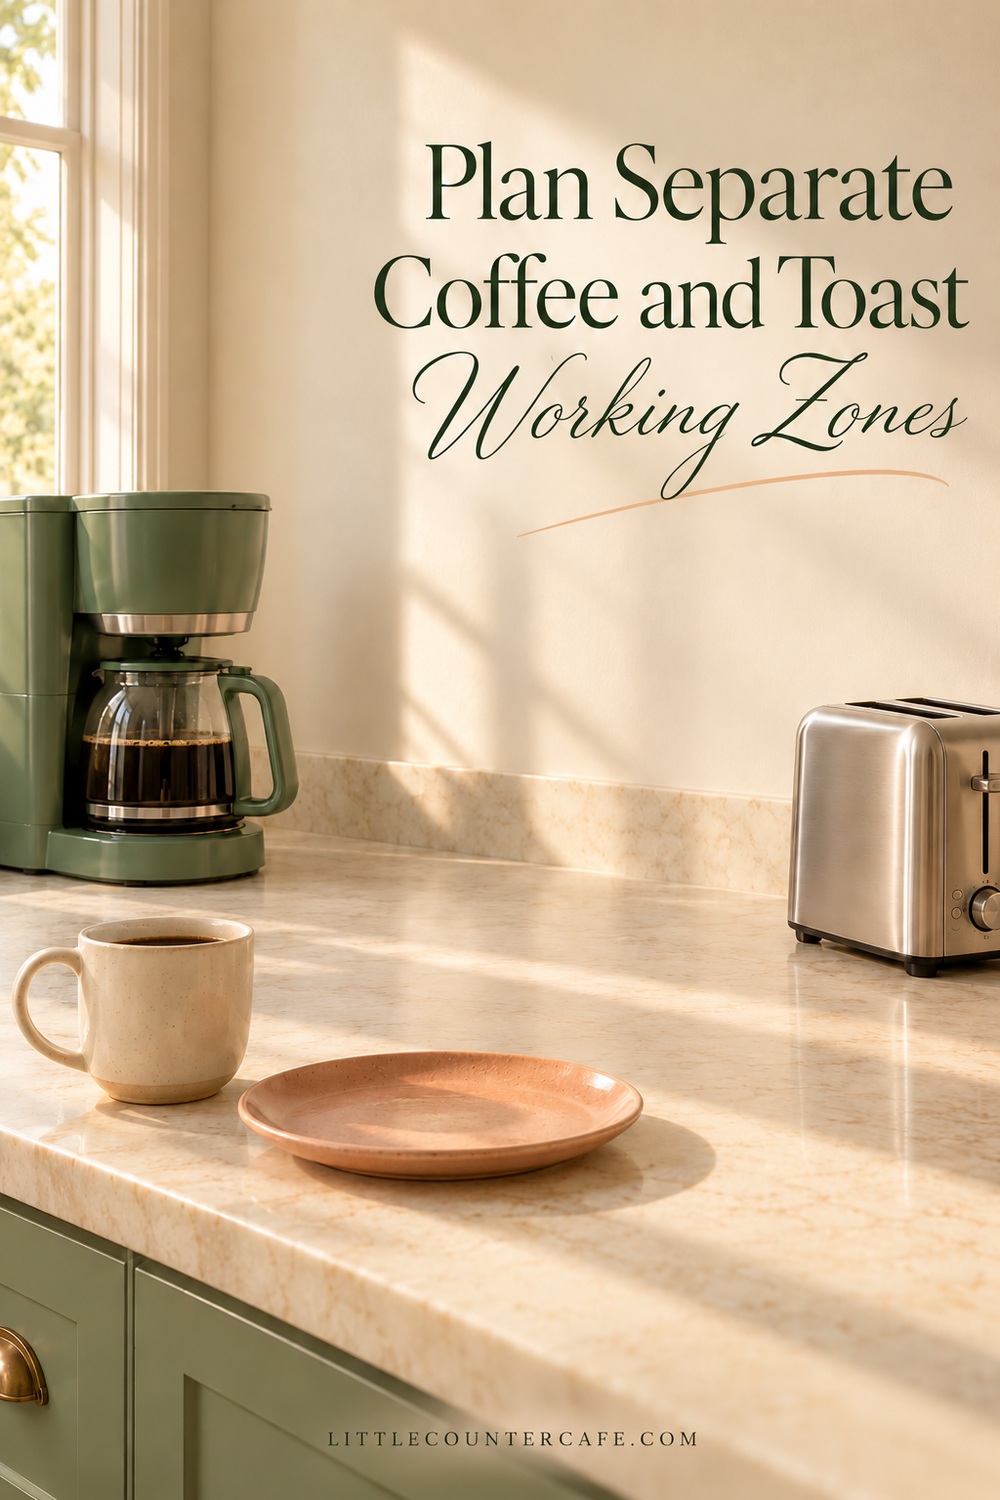
Give each job a clear path. The coffee side needs access to the brewer plus a landing place for a cup. The toast side needs its required open space and somewhere to put a plate after removing the toast. Do not use the toaster’s top as a resting place for a board, cup or towel.
Imagine the sequence with everything unplugged and cool. Set down an empty mug, open the coffee lid and put a plate where you would actually use it. If the plate blocks a button or your arm crosses the toaster to reach the sugar, rearrange the supplies. This dry layout check can reveal awkward reaches without operating either appliance.
Keep the crumb-prone task away from open coffee supplies. Store beans, grounds, tea and sweeteners in their appropriate closed containers or original packaging. Put bread and a butter knife at the toast landing area only when preparing breakfast; do not leave loose packaging beside the toaster. Return perishable spreads and milk to their proper storage after use.
Use a small, liftable tray for mugs or dry supplies if it makes the reset easier. Keep operating appliances on the surfaces permitted by their manufacturers, rather than assuming a wood tray, cork mat or decorative riser is suitable beneath them. A tray should organize movable supplies, not remove needed clearance or hide crumbs beneath hot equipment.
One shared mug shelf can be useful if it is safely positioned outside both appliances’ heat, steam and access spaces. Avoid adding storage directly above the toaster to recover counter space. The upper area may need to stay completely open under your model’s instructions. A nearby cabinet or drawer is often the more practical home for spare cups.
For a family counter, keep controls, cords and hot items away from children’s reach. Give anyone helping with breakfast a separate plate-setting or cup-selection task at a safe location. The station should not require someone to squeeze between another person and a hot appliance.
Choose a Layout That Fits Your Morning

There is no single width that makes a coffee-and-toast station safe or comfortable. Appliance sizes, operating instructions, outlets and the work you want to do all change the answer. Choose a layout on paper, then verify it against your own space.
Two ends of an open counter. Put the brewer and toaster toward opposite ends of a suitable stretch, with an open breakfast landing area between them. This can keep their access paths separate. It works only if both ends satisfy the manuals, the appliances are safely set back from edges, and the power plan is suitable. The middle gap is usable workspace, not a substitute for required clearances.
Coffee supplies together, toaster in a separate open spot. Keep mugs and drink supplies near the coffee maker, and give the toaster its own compliant operating location elsewhere on the same counter run. Repeat one color in a mug and a bread plate to connect the look. This is useful when a favorite coffee corner sits beneath a cabinet but the toaster cannot operate there.
One work surface used in sequence. If counter space is genuinely limited, one appliance may have a nearby storage home while the other uses the suitable operating area. Only move or store equipment when it is unplugged, cool and handled according to its manual. Avoid this arrangement if lifting is difficult, storage is unstable or you would be tempted to move a hot toaster to get the next task done. The best small-space layout is one you can use consistently without taking shortcuts.
For two people getting breakfast at once, separate the landing places as well as the appliances. One person can prepare a plate at a different clear counter while the other makes a drink. Put shared spoons or sweeteners where neither person must reach across the other person’s task. If two people cannot pass comfortably, use a simple turn-taking routine instead of adding another organizer.
Tea drinkers need the same planning attention. A kettle introduces another heated appliance and another pouring task. It is not a free extra that can occupy the toaster’s clearance area. Include its manual and electrical needs in the plan, or keep the tea setup elsewhere.
Before shopping, try an arrangement with your existing mugs, a plate and an empty tray. Use the shared breakfast counter worksheet to record the usable space, access checks and operating sequence. If you need more help defining the entire station, see how much counter space a coffee station needs.
Keep Shared Supplies Easy to Reset
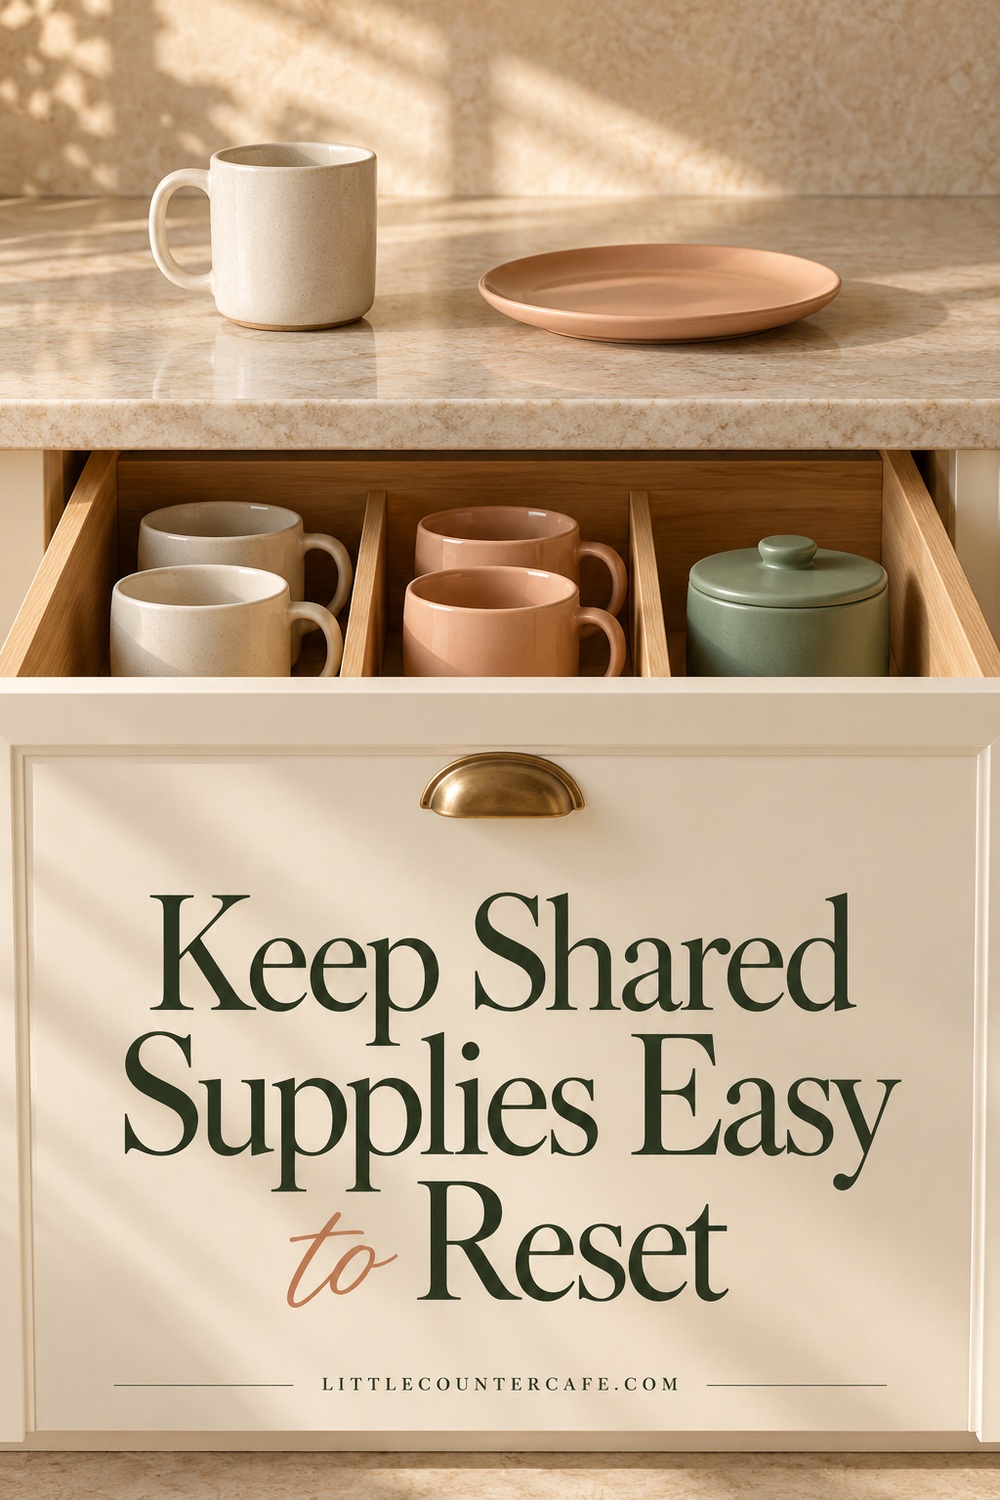
A breakfast corner is easier to maintain when everything has a specific destination after the meal. Keep the daily mug allowance small enough for the people using the station, put reserve supplies in a nearby cabinet, and leave the landing area available for tomorrow.
Choose one place for clean spoons and a separate route for used dishes. A small washable dish can hold a used spoon during drink preparation, but it should not become a permanent pile beside the toaster. Put bread away, close coffee supplies and return refrigerated ingredients promptly. Wipe up spills only when it is safe to do so around the equipment.
Build toaster maintenance into the arrangement rather than treating it as an awkward extra. Its crumb tray needs to be accessible. Follow your model’s cleaning instructions and let it cool and unplug it before cleaning or handling. Do not spray cleaner into slots or insert tools to reach crumbs. This guide does not replace the appliance’s cleaning procedure.
If the counter feels crowded again, remove one category of stored extras first. Extra mugs, spare filters, unopened coffee and decorative jars do not all need to live beside the appliances. Keep the pieces you use during one ordinary breakfast and give the rest a reliable home. You can still make the space feel warm with a favorite cup and a coordinated container away from heat.
Quick layout troubleshooting: if a coffee lid hits a shelf, move the brewer to a suitable location with proper access. If the crumb tray cannot come out, rethink the toaster’s location before the next use. If you keep moving a hot appliance to prepare food, the layout needs changing. If outlets are warm, damaged or repeatedly trip, stop using the affected setup and get qualified help rather than changing plugs around.
Use this final check before calling the corner finished:
- Both manuals support the intended operating locations.
- The power arrangement and operating sequence are suitable.
- Heat, steam, lids, controls, plugs and removable trays have clear access.
- Coffee supplies, bread packaging and cloths stay away from toaster heat.
- Cups and plates have landing places without crossing hot equipment.
- Supplies can be put away without moving a hot appliance.
You do not need a large breakfast bar to make the morning feel organized. Give each appliance the conditions it needs, keep a useful patch of counter open, and let a few everyday pieces bring the coffee and toast corner together.
As an Amazon Associate I earn from qualifying purchases. The optional Small-Space Layouts list below contains paid links. Choose organizers only after checking your actual space and appliance instructions.
LITTLE COUNTER CAFE · Small-Space Coffee Station Essentials
Make room for your daily coffee ritual.
Space-saving organizers, compact brewing tools, and simple measuring essentials for planning a practical coffee corner.
As an Amazon Associate I earn from qualifying purchases. This is a paid link.