
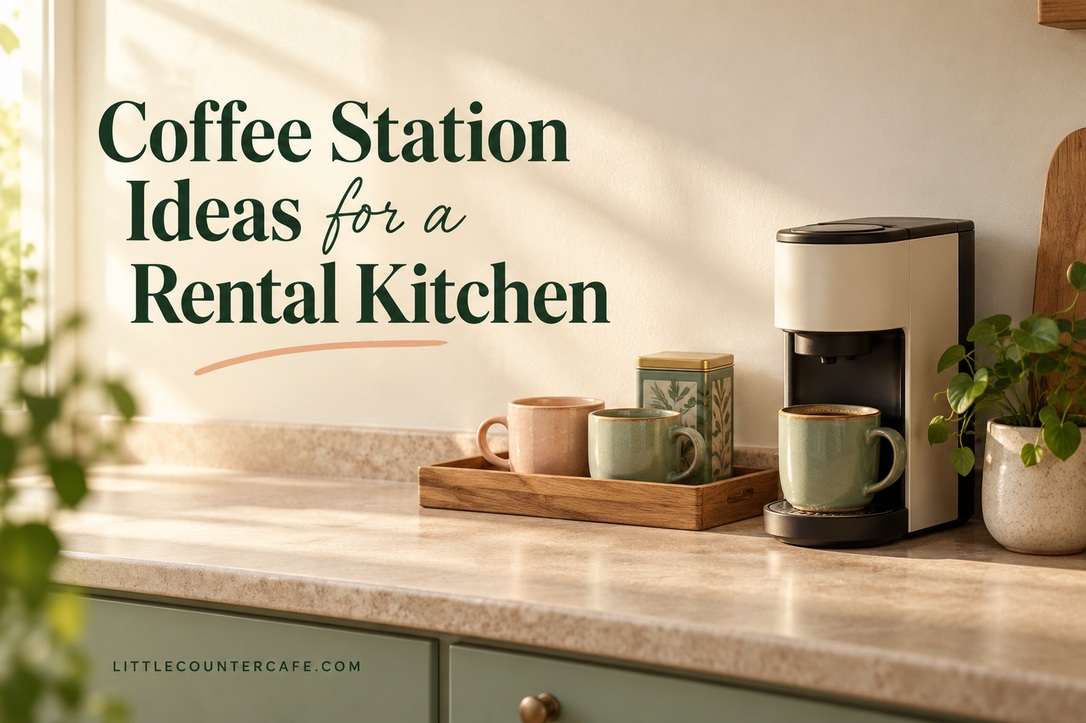
A rental kitchen can feel like an awkward place to make something your own. The cabinets are already there, the counter is smaller than you would like, and a lovely coffee corner can quickly turn into a list of changes you cannot make. Start with what can move: a tray, your favorite cups, a small supply basket and a clear place to prepare a drink.
The most useful rental coffee station is one you can enjoy every morning, clean underneath and pack when your lease ends. It does not need a new backsplash or a wall of shelves. Below are three portable arrangements, ways to work with the existing cabinets, and a printable planner to help you choose before buying anything.
The pictured arrangements are illustrative styling concepts. Check your own appliance instructions, surfaces, dimensions and rental requirements before copying a setup.
Some shopping links on this site are affiliate links. As an Amazon Associate I earn from qualifying purchases.
Choose a Spot That Works With Your Rental
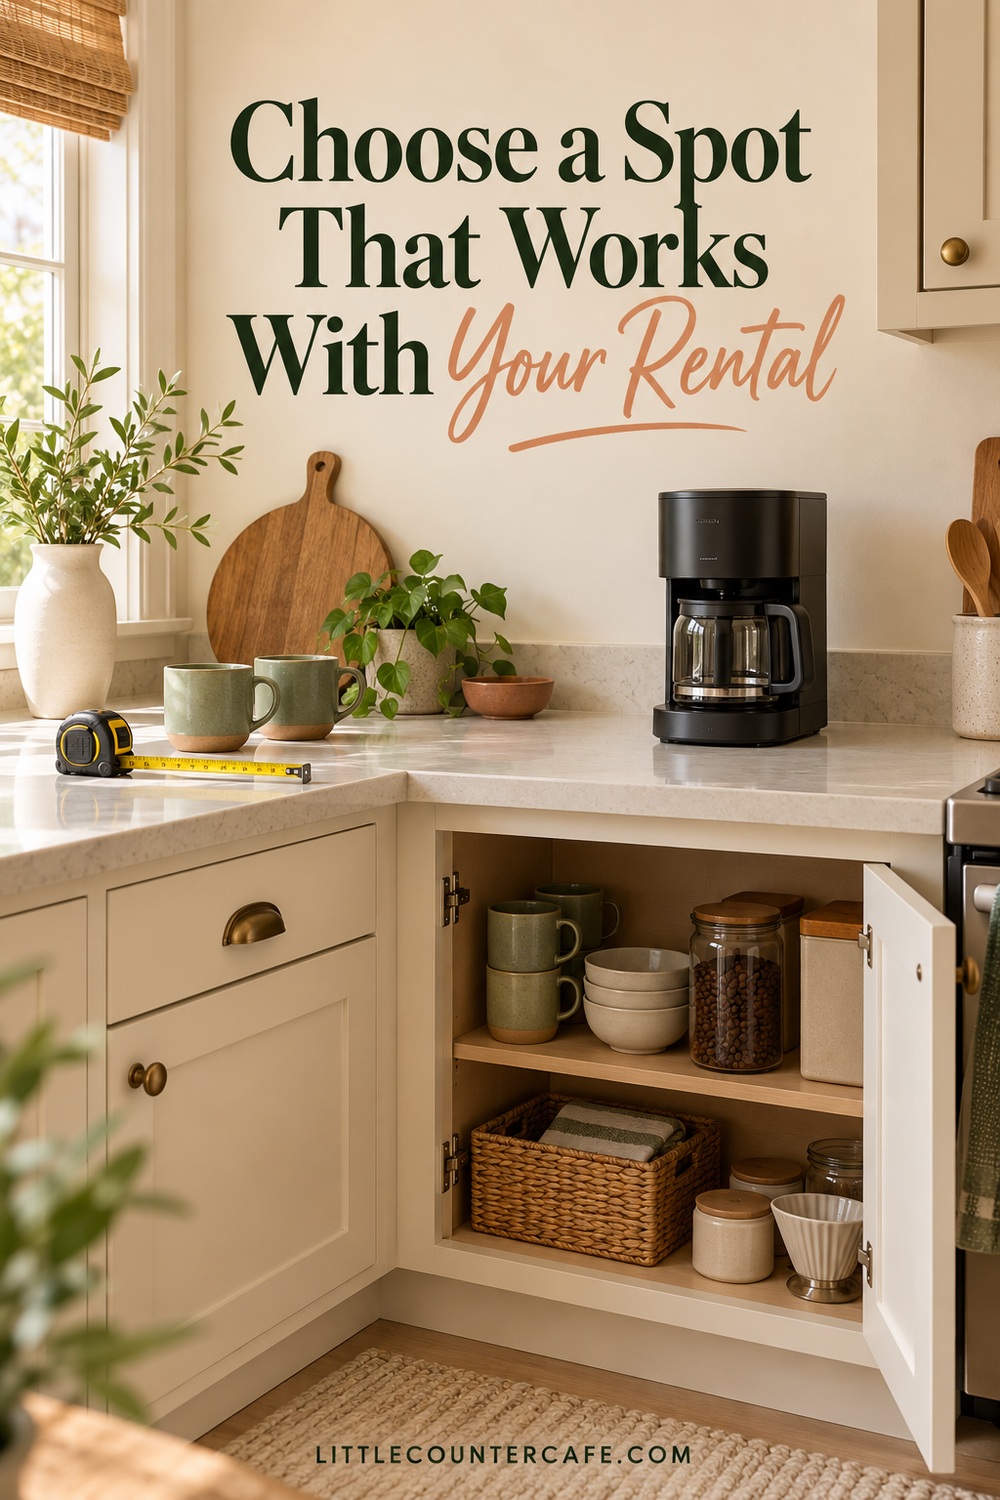
Start with the kitchen you actually use
Pick a dry, stable section of counter where making coffee or tea will not take over your main food-preparation area. Imagine the whole routine: bring over water, fill the appliance, reach for a cup, prepare your drink, and carry used items to the sink. A corner that looks lovely but makes each step awkward is not the best home for your daily cup.
Keep door swings in the plan. Open the refrigerator, dishwasher and nearest cabinet doors before settling on a spot. Check that another person can get past while you stand there. If the only available surface is the main chopping area, consider a small supply tray that returns to a cabinet after use, while the appliance stays in an appropriate operating position.
Before choosing furniture or organizers, read our guide to how much counter space a coffee station needs. The useful measurement includes preparing and refilling, not just the appliance’s closed footprint.
Check operating space and power
Measure the appliance itself, then check what opens, lifts out or needs room during use. Allow access to the water tank, grounds or capsule compartment, drip tray and plug. Follow the exact model’s instructions for clearance, ventilation and suitable surfaces; there is no single spacing rule that covers every coffee maker and kettle.
For example, the Breville Bambino BES450 US instruction book calls for a stable, dry, level surface resistant to heat and water, away from the counter edge and heat sources. That is an example of a model-specific requirement, not a clearance specification for every machine. A decorative tray, cloth or furniture top is not automatically an appropriate base for an operating appliance.
Choose a position near a suitable existing outlet so the appliance’s cord reaches without crossing a walkway, sink or hot area. Do not build the arrangement around a stretched lead or hidden extension cord. Follow the appliance’s electrical instructions, and ask the property manager to arrange qualified help if the outlet or cord is damaged or the proposed location needs electrical work. Do not alter wiring yourself. The US Fire Administration’s appliance guidance also recommends unplugging small appliances when they are not in use.
Separate decorating from alterations
Read your lease and property instructions before attaching anything, painting, replacing hardware or covering a surface. Ask the property manager about any change you are considering and keep the written response. Requirements vary, so a product described as removable is not permission to use it in your rental.
Take dated photos of the proposed area and note existing marks before setting up. That creates a useful personal record; it does not guarantee how a deposit or damage question will be decided. You can avoid many installation decisions by choosing the portable layouts below.
Try Three Portable Coffee Station Layouts
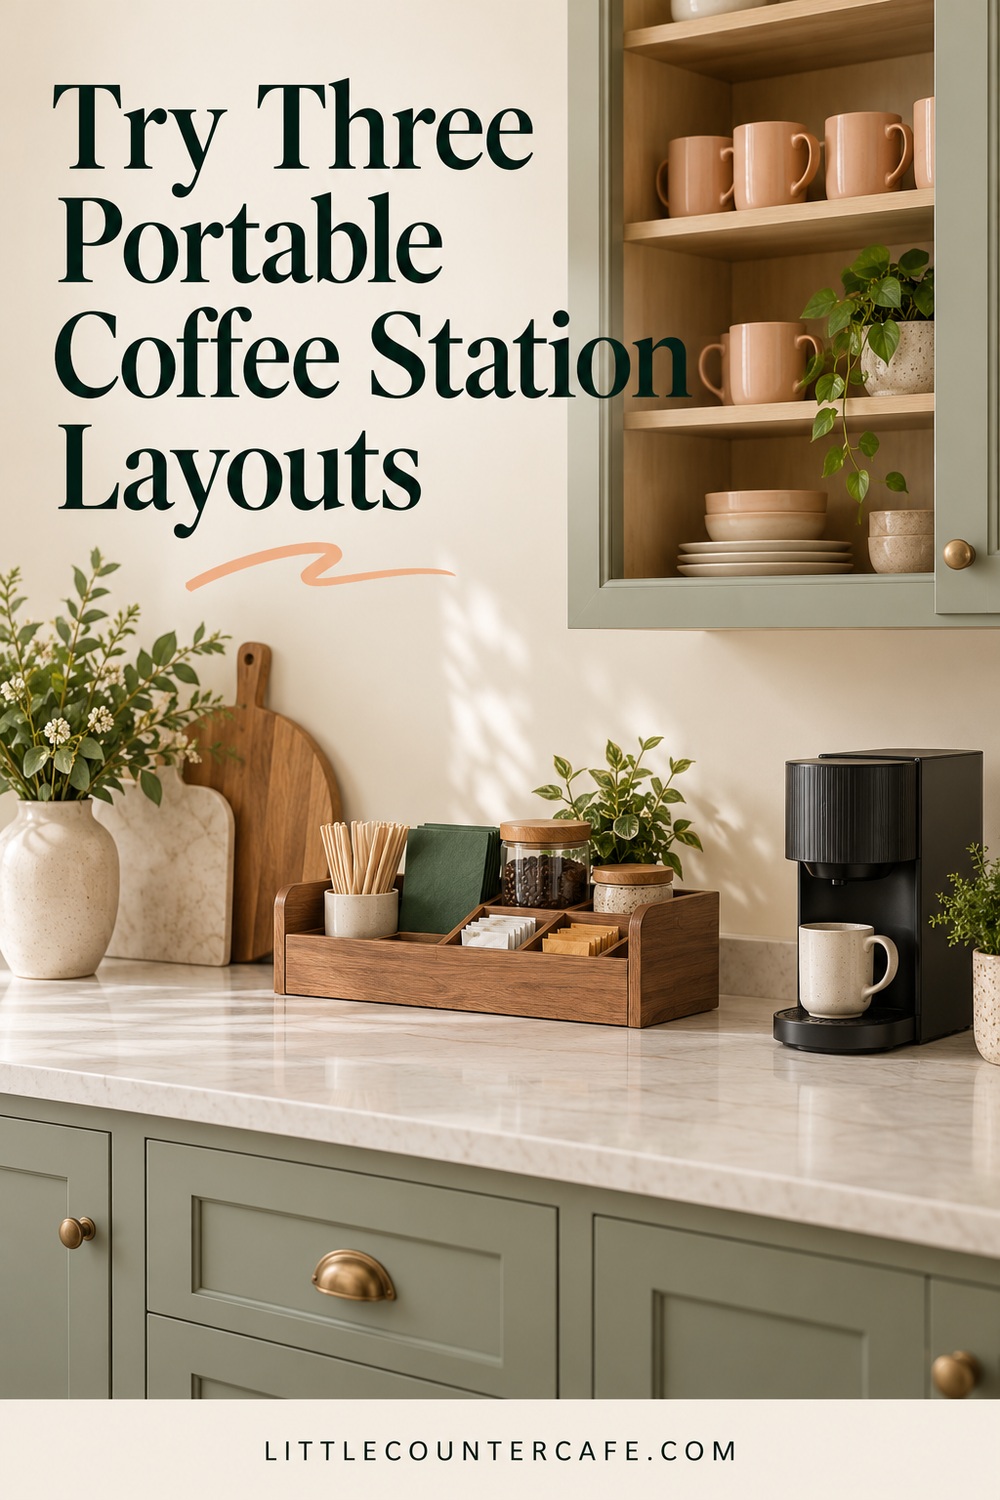
1. The appliance-and-supply-tray counter
Keep the appliance directly on its suitable operating surface, with a separate shallow tray for cups, teaspoons and a small closed supply tin. Place the tray to one side so it does not block refilling, steam, controls or the drip tray. Leave an open spot where you can set down your drink.
This arrangement works well when you want the coffee area to look intentional without adding furniture. A tray you already own is a sensible first trial. Put only the cups you actually use on it; extra mugs can stay in a cabinet. Choose a tray that can be lifted comfortably when empty and cleaned according to its care instructions.
The tray is for gathering small supplies, not carrying a hot appliance or a collection of full cups. Remove hot drinks and fragile items before lifting it to clean underneath. If the tray keeps filling with unrelated kitchen items, reduce it to a cup, a spoon dish and your daily coffee or tea supply.
2. The cabinet-and-counter pairing
Reserve a reachable section of an existing cabinet for mugs and dry drink supplies. Keep only the appliance and the small preparation area on the counter. Use a freestanding shelf riser inside the cabinet if its dimensions, stability and load rating suit the cups you own.
Measure the cabinet opening as well as the interior. A basket that fits inside may still catch on a hinge or handle. Check that the door closes without touching a mug, and that you can remove the back items without balancing a stack in one hand. Keep heavy or frequently used pieces where they are easy to reach.
A tea drinker can use the same arrangement with tea, an infuser and a mug in the cabinet, while the kettle has a suitable clear operating place. Dry storage inside a cabinet does not mean the appliance should run inside it. Bring preparation into the open and follow the manufacturer’s operating instructions.
3. The pack-away supply caddy
If every inch of counter is shared, gather your non-electrical supplies in a small open caddy or basket. Bring it out when preparing a drink, then return it to a dry cabinet or shelf. Give each item a home so putting it away is one simple step.
This is particularly useful for a single daily cup, a shared kitchen or someone who wants a tea corner without a permanent display. Keep the daily amount small enough to see what is running low. Store backup supplies elsewhere rather than filling the caddy until it is awkward to lift.
A rolling cart can store supplies if the floor space, load limits and stability suit your home. It is not automatically a suitable brewing surface. A cart that requires wall anchoring, blocks a walkway or moves when handled is a poor shortcut around limited counter space. Use an appropriate fixed operating location for the appliance and let the portable piece carry storage only when needed.
Add Storage and Style Without Installing Anything
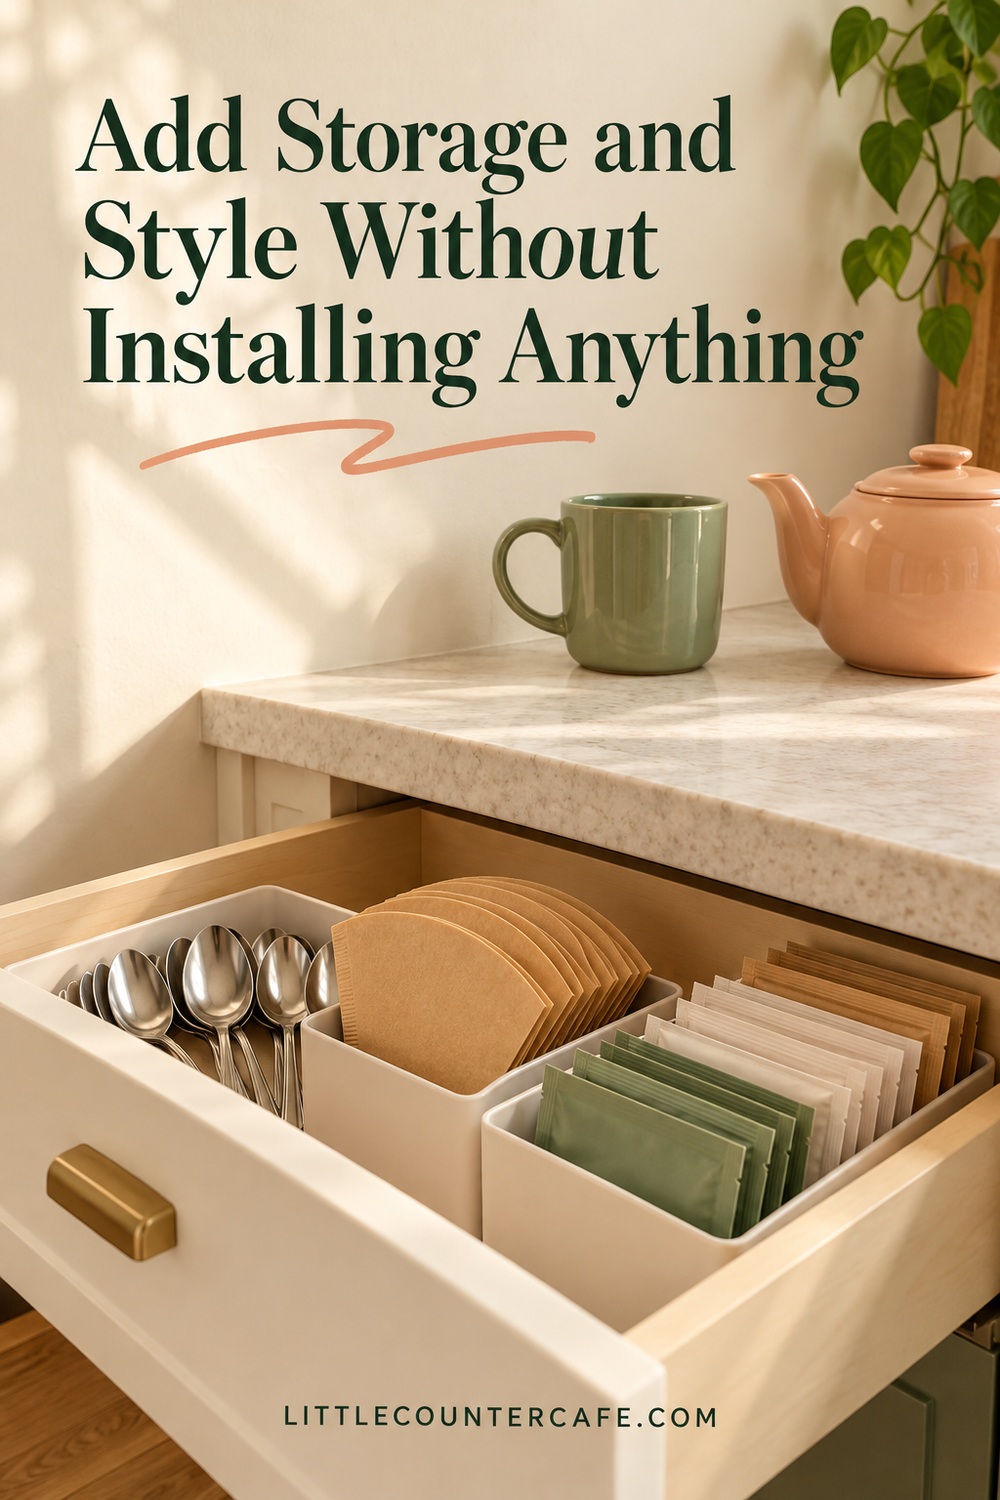
Work inward before working upward
Try the existing drawer and cabinet space before adding things to the wall. A divided drawer can hold teaspoons, filters and sealed tea packets. A shallow basket can gather spare supplies. A freestanding mug organizer can work inside a sufficiently roomy cabinet, provided it is stable and used within its instructions.
Avoid buying a full matching set before checking the fit. Use a box or another container you already own to judge how much space you need, without treating it as a heat-safe appliance base. Then measure the outside dimensions, usable interior and handle clearance of any organizer you might buy.
Our guide to dividing daily and backup coffee supplies can help if one small corner is trying to hold your entire pantry.
Let useful pieces supply the color
Choose two or three colors already present in your kitchen. Cream cabinets can look warm with a peach mug and a wood tray; a sage tin can soften a darker counter. You do not need to disguise every surface to make the corner feel personal.
Use a mug, tea tin or small freestanding frame as the decorative detail. Keep a frame stable and outside the appliance’s working space. A towel belongs away from heat and steam, and a plant should not trail into controls, vents or the preparation area. If decoration makes it harder to wipe the counter, remove one piece and see whether the corner feels better.
Avoid placing a loose decorative board behind an appliance where it could fall, trap moisture or interfere with the manufacturer’s required spacing. A portable look should still feel secure in daily use.
Treat removable adhesives as a separate decision
No-install storage is the simplest place to begin. If you later consider adhesive hooks or a removable backsplash, check the specific product instructions, the surface and your property’s requirements. Do not assume all products remove in the same way or work on the same paint.
Command’s US FAQs identify compatible smooth surfaces and important exclusions, including wallpaper and textured surfaces. Follow the exact package’s preparation, curing, weight, waiting and removal directions. Even a carefully chosen product is not a guarantee for an unknown rental finish. Keep breakable mugs off an unverified hanging arrangement, and choose cabinet storage if permission or compatibility is uncertain.
Keep the Setup Easy to Reset and Move
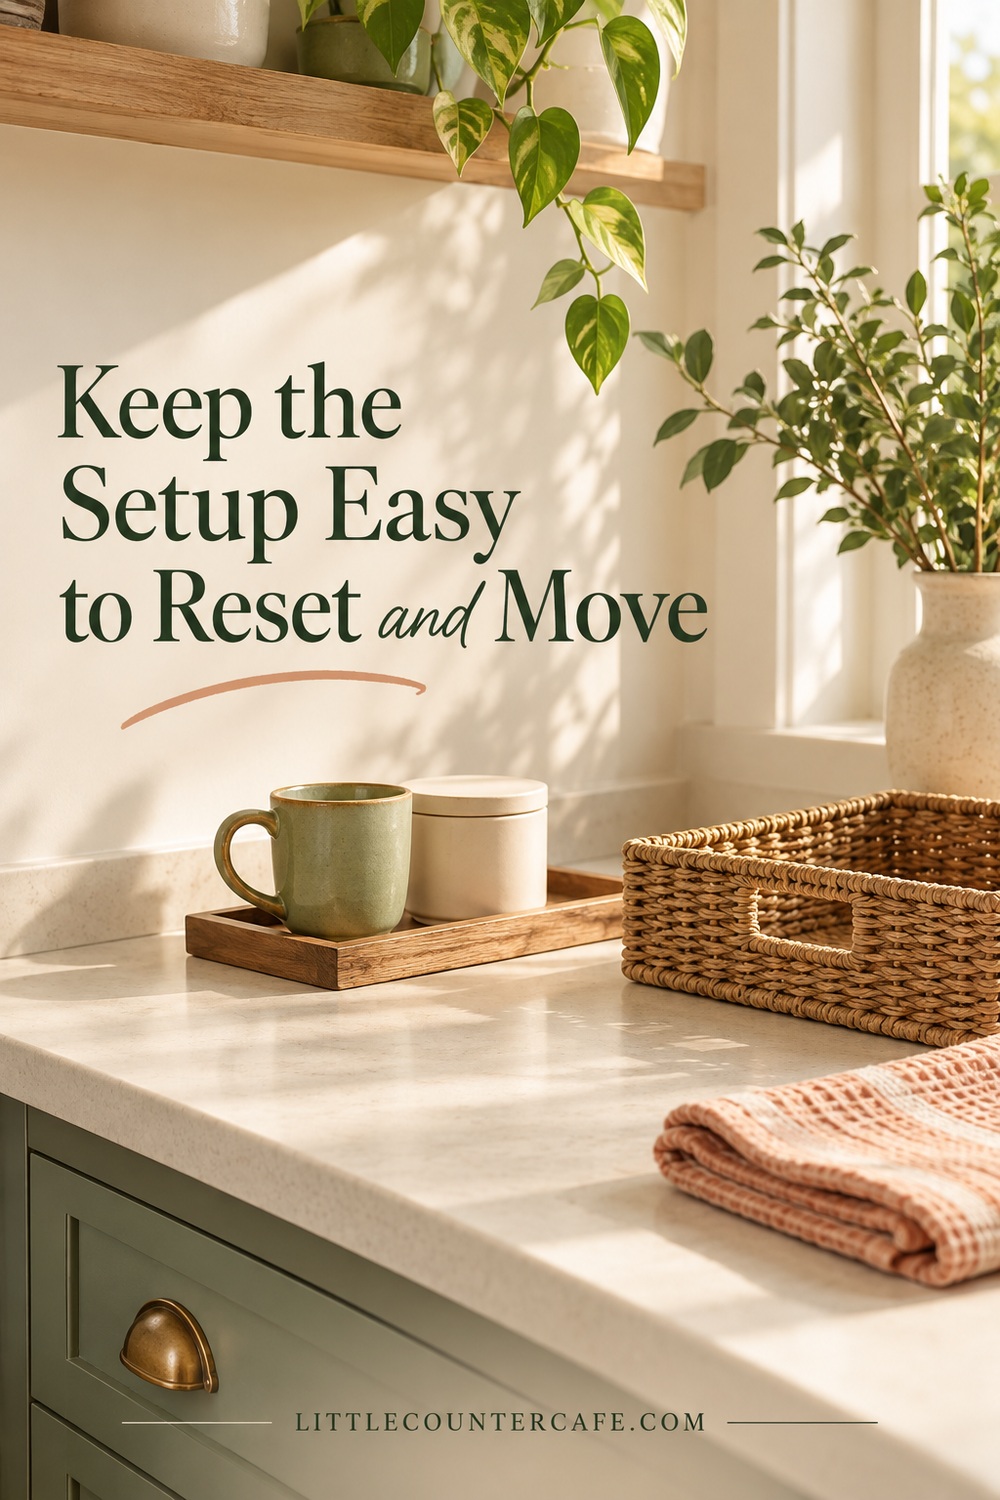
Give the corner a simple daily reset
After making your drink, return the spoon, put away supplies and deal with splashes using a method suitable for the counter and appliance. Follow the appliance’s shutdown and cooling instructions before cleaning or moving it. Dry the counter and the bottom of the supply tray before putting everything back, rather than trapping moisture beneath an organizer.
Once a week, check the area under removable supplies and look for damp patches, transferred color, crumbs or marks. Use surface-compatible care instructions; do not experiment with adhesive removers or abrasive cleaners on an unknown finish. If something begins to mark the surface, stop using it there and ask for appropriate care guidance.
If the reset takes more effort than the corner is worth, make it smaller. Keep fewer display mugs, move backup stock into the cabinet and remove the accessory you rarely reach for. A pleasant rental coffee station should make the morning easier.
Plan your exit while choosing the pieces
Prefer pieces you could use in a different kitchen: a modest tray, an ordinary basket and mugs you enjoy. Avoid building the whole station around one unusually shaped gap unless you are happy for the organizer to serve another purpose later.
Keep care instructions, any written permissions and relevant product removal directions together. When moving, follow those directions and your rental’s handover requirements. Do not cover new damage or make an unapproved repair to make it look ready for inspection.
Use the free rental coffee station planner
The two-page planner below has space for your counter measurements, appliance access checks, chosen layout, existing supplies and any permission questions. The second page helps you plan the daily reset and record what will move with you. It is a practical planning worksheet, not a property condition report or an appliance approval.
Download the rental coffee station planner
Start by trying one of the layouts with things you already own. If the cups are easy to reach, the preparation space stays usable and everything has a place to return, you have a good foundation. Add the pretty details only when they earn their spot.
LITTLE COUNTER CAFE · Small-Space Coffee Station Essentials
Make room for your daily coffee ritual.
Space-saving organizers, compact brewing tools, and simple measuring essentials for planning a practical coffee corner.
As an Amazon Associate I earn from qualifying purchases. This is a paid link.