
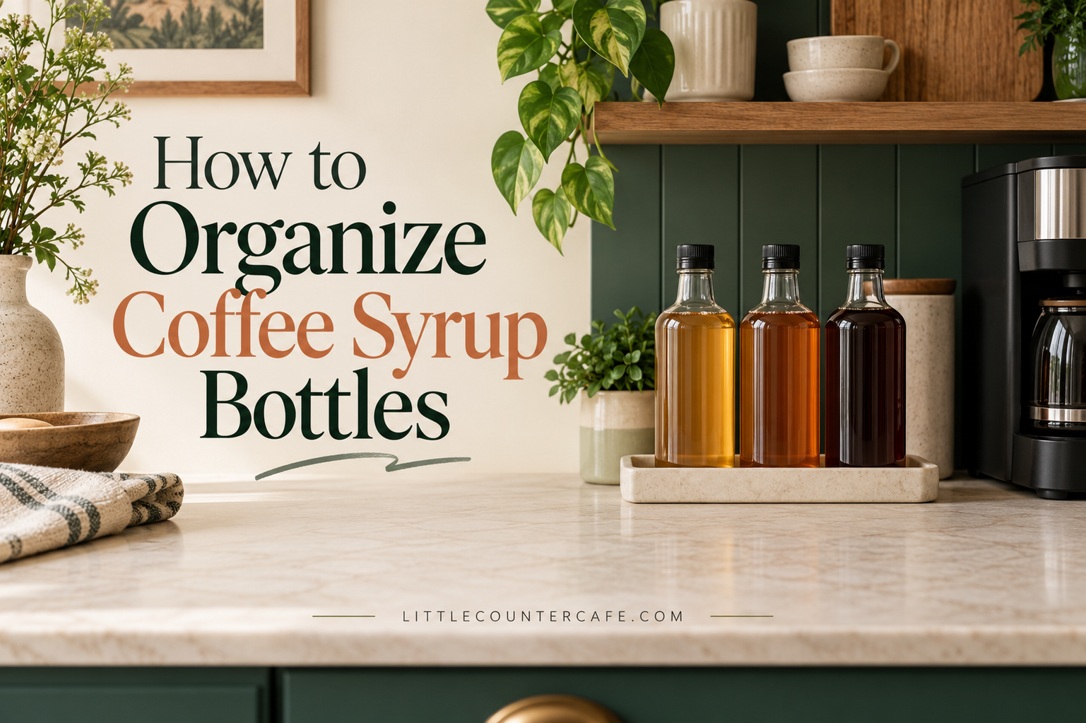
A coffee corner can feel crowded surprisingly quickly: one vanilla bottle becomes a caramel, a seasonal flavor and a backup you forgot you already owned. The useful fix is to organize around the bottles you actually use, the space they need and the instructions on their labels.
Start by checking every bottle, choose a small everyday group, then measure before buying a rack or tray. Keep the original product information available and give the extras a separate home. You can create a lovely little flavor station without turning your whole counter into a café supply shelf.
The arrangements shown here are concept illustrations for planning your own space. Bottle shapes and sizes vary; measure your actual bottles and fitted pumps. The free two-page Syrup Storage Planner includes an inventory, storage-instruction log and fit checklist.
Sort Your Bottles Before Choosing Storage
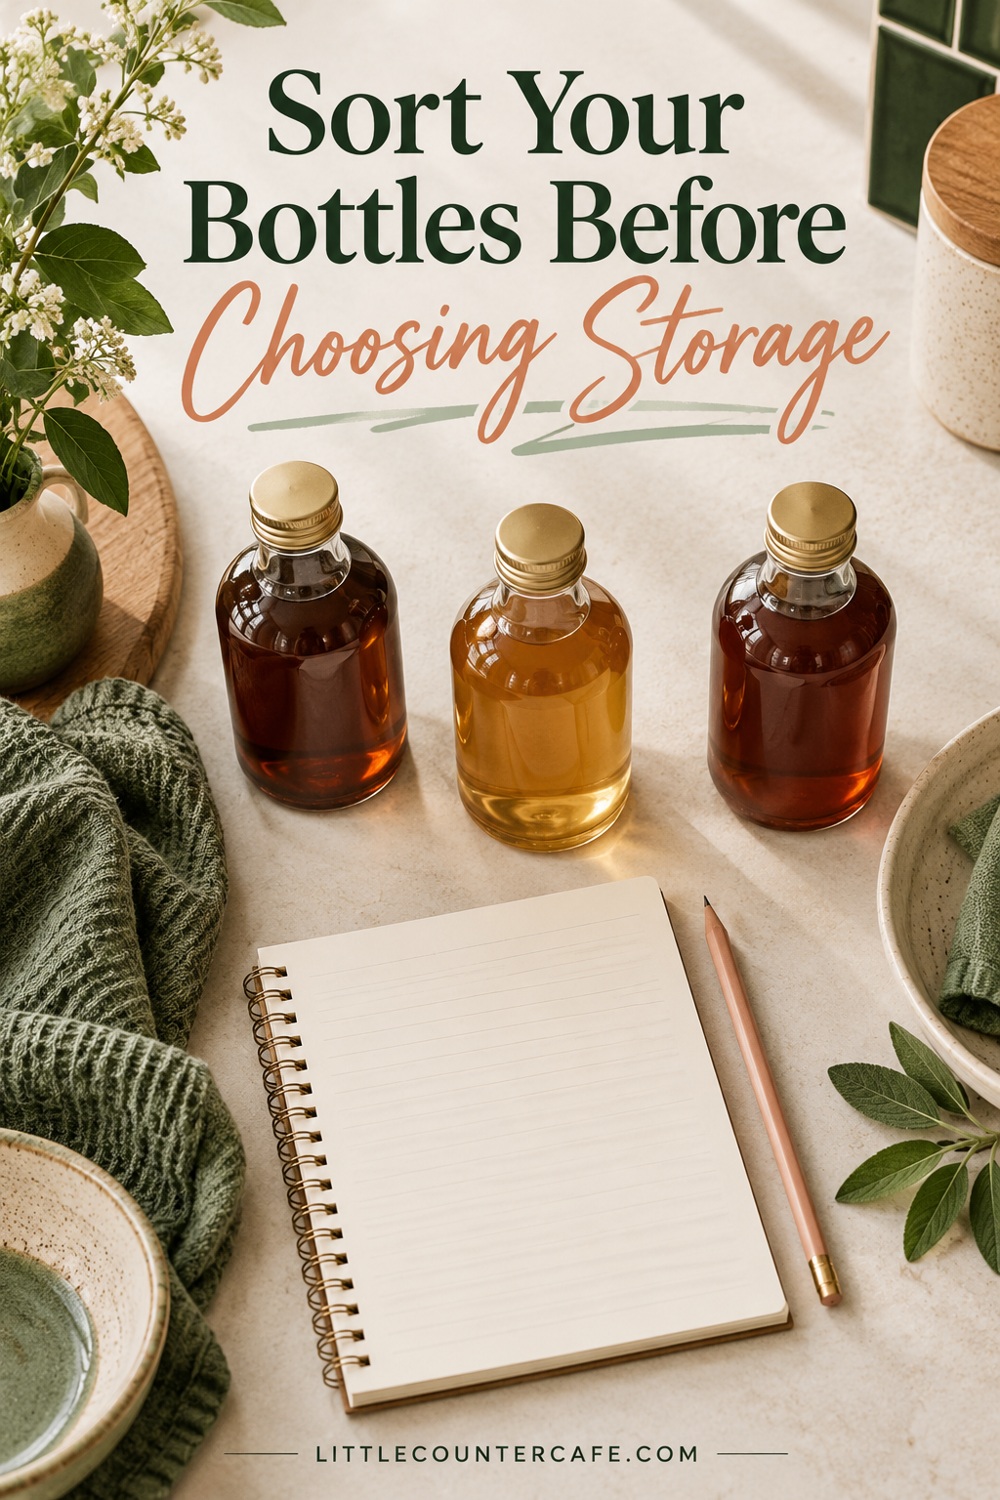
Gather your coffee syrups from the counter, pantry and any other storage spots. Leave refrigerated products in their required storage while you record them. Check the product name, whether it is opened, the printed date and the storage directions. A coffee syrup, chocolate sauce and homemade sweetener should not automatically share the same storage plan.
Make three working groups: regular favorites, occasional flavors and unopened backups. This is an organizing choice, not a food-safety classification. A bottle that needs refrigeration belongs in the refrigerator regardless of how often you use it. If a date or instruction is unclear, check with the manufacturer before deciding where it belongs.
For the everyday group, begin with the flavors you reach for most often. Two or three bottles may suit one household; another may need only one. There is no ideal bottle count. The goal is to reach your favorites without shuffling a second row or surrendering your drink-preparation space.
Let each product’s instructions decide its home
Monin’s US FAQ recommends a clean, dry location away from direct heat, sunlight and high humidity, and distinguishes capped storage from pump use. That difference matters when you are deciding how many bottles to open. Torani’s FAQ recommends using its Puremade syrups within 30 days of opening. These are product-specific examples, not a universal expiry rule for your collection.
Record the actual instruction for each bottle. Do not use an unopened shelf-life statement as an after-opening allowance. Keep homemade products separate and follow the storage directions of the specific reliable recipe you used; a commercial syrup’s advice does not establish a homemade syrup’s shelf life.
Keep the information that makes a bottle identifiable
Original bottles are an easy starting point because their ingredient, allergen, date and storage information stays with the product. A flavor name alone does not tell you whether a product contains a particular allergen. Both manufacturers direct readers to current product labels for relevant ingredient or allergen details.
If you already use decorative dispensers, keep a reliable record of the exact product, original label and dates, and check that the container and dispensing system are suitable for that product. Do not combine a new bottle with unidentified leftovers just to make the station look full. Matching glassware is optional; knowing what is inside is useful every day.
Measure for Bottles, Pumps and Everyday Access
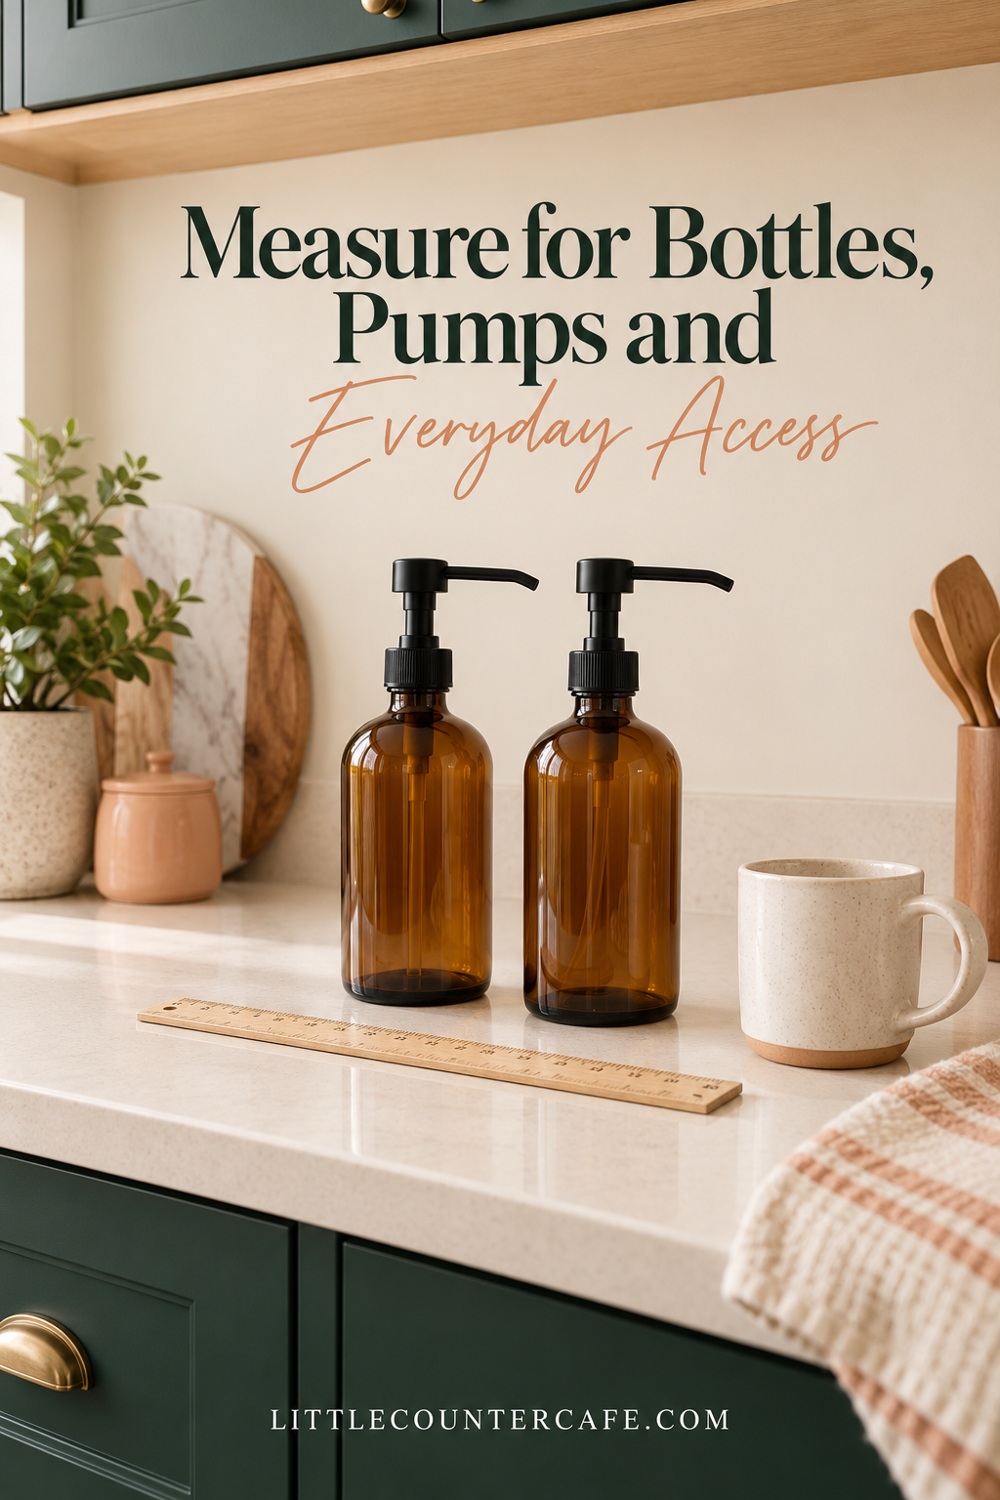
Choose the likely storage spot before comparing organizers. A tray that fits beside your machine may still leave no place to set a mug. A rack that fits inside a cabinet may make the tallest pump impossible to use or remove.
Measure the usable width and depth, then the height below the cabinet or shelf. Account for hinges, shelf supports, door movement and the front lip of a tray. Next measure your widest bottle and your tallest bottle with its actual cap or pump attached. A bottle’s stated volume is not its outside measurement.
Check the movement as well as the footprint
Try the sequence you will use: reach for the bottle, position the cup, dispense or pour, replace the bottle and put the cup down. With pumps, check the height and direction of the spout, the hand space needed to press it and whether the cup can sit comfortably below. Do not force a pump under a low shelf or lean a tall bottle to make it fit.
For a cabinet arrangement, you may prefer to remove a capped bottle and pour at the counter. That can be more practical than trying to operate a pump inside a confined cupboard. Keep heavy or awkward bottles where you can retrieve them comfortably without reaching over hot equipment.
Use paper footprints or an empty tray to test the layout before shopping. Leave breathing room between bottles so you can grip them. The paper exercise checks space only: confirm the organizer’s load rating, stability and compatibility with your full bottles separately. Do not use an unsteady decorative riser to support heavy glass.
Compare usable dimensions
Check an organizer’s outside dimensions for the counter fit and its inside dimensions for the bottles. Raised edges, dividers and sloping sides reduce usable space. For a turntable, consider the full circle it sweeps, not just the bases of the bottles. For a tiered rack, include the combined height of the back tier, bottle and pump.
Choose a finish you can care for according to its instructions and that suits the counter surface below it. If you are comparing bins or trays, our guide to coffee station baskets and sizes that fit explains why outside fit and usable interior space are different checks.
Choose a Simple Syrup Storage Layout
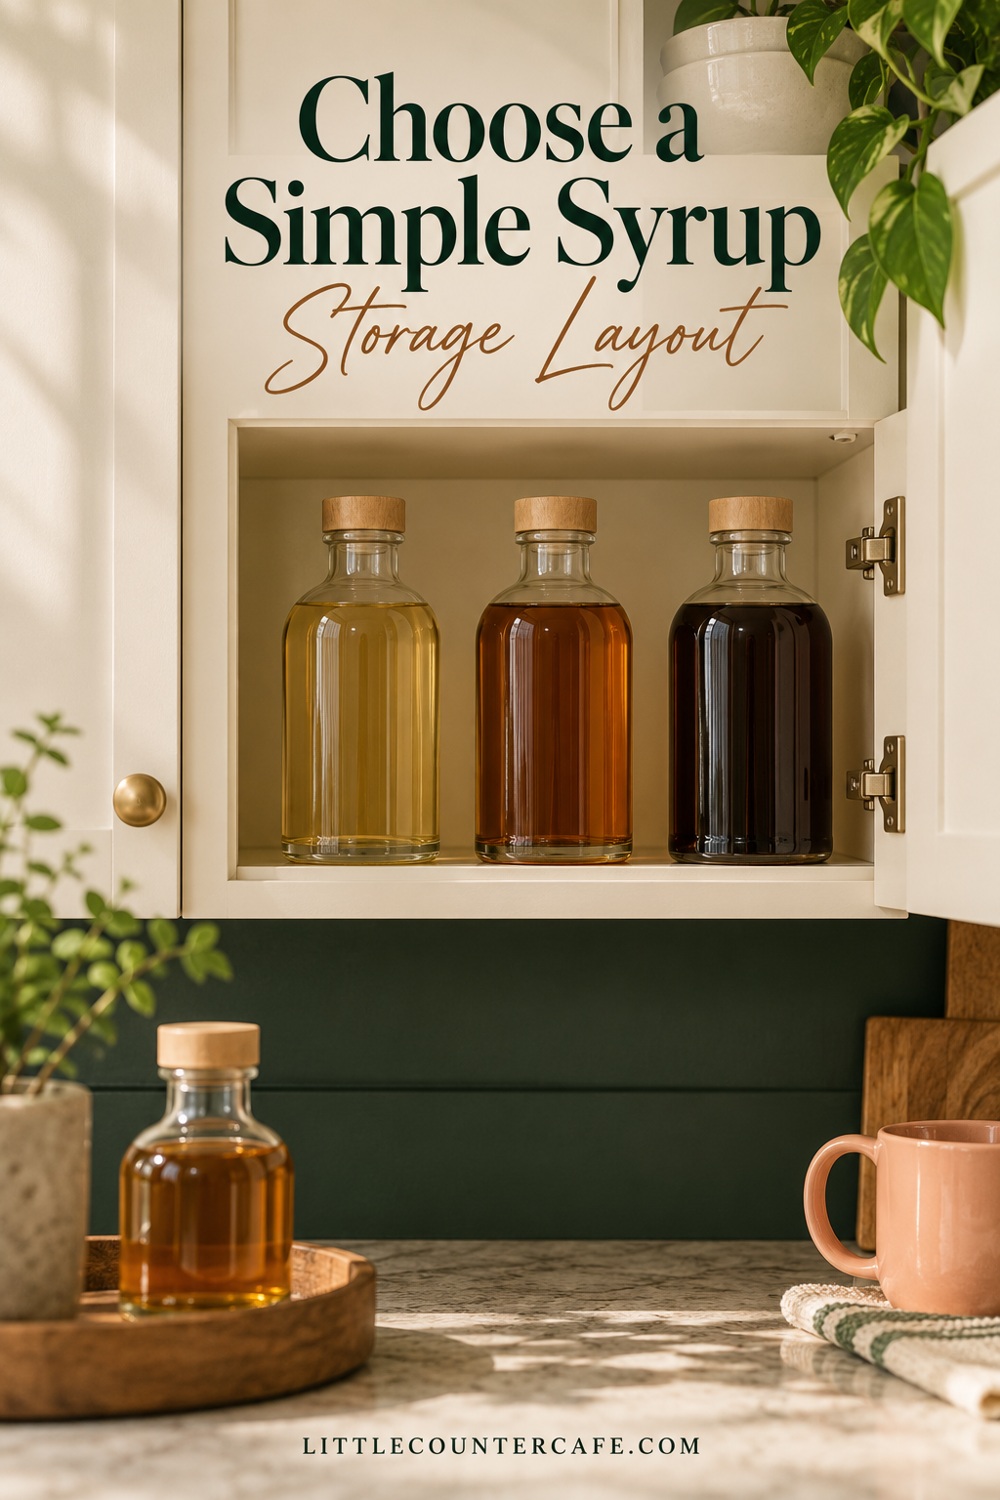
The best layout is the one that leaves your drink-making routine easy. Start with an organizer you already own if it is stable, suitable for the load and compatible with the surface. You do not need to buy a matching rack before you can put the bottles in a sensible order.
A low tray for a few daily favorites
A shallow tray gives a small group of bottles a defined home. Place labels toward you and keep the tray out of appliance ventilation, heat and refill paths. A tray can help contain small drips, but it still needs to be lifted and cleaned underneath. Keep the mug landing area beside it clear.
Do not assume a tray is safe to carry when full. Move bottles individually if the tray is not intended for that weight, particularly with tall glass bottles. If reaching the rear bottle means knocking the front one, reduce the group or change the arrangement.
A cabinet zone for occasional bottles
Use a suitable cabinet shelf when counter space is tight. Group flavors where labels remain visible, with daily favorites at the accessible front. A stable turntable can help when it rotates freely with the doors open; a simple row is often enough for a narrow shelf. Keep bottles upright and confirm the shelf can support the load.
Avoid stacking bottles on one another. If capped bottles fit but fitted pumps do not, decide whether keeping the original caps and pouring at the counter is simpler. Follow the product and pump instructions when changing dispensing methods; keep removed caps clean and identifiable.
A separate home for unopened backups
Store backups according to their labels and list the quantity you already own. Put the bottle that needs attention first where you will see it, using the actual dates and after-opening directions to guide rotation. Do not open several duplicates just to fill empty spaces on a rack.
For a very small station, keep one daily syrup on the counter and everything else in appropriate storage. Tea syrups and sweeteners can share the organizing system, but each product still needs its own storage check. Our guide to daily and backup coffee supplies can help you extend that separation to the rest of your café corner.
If you choose to shop, the storage collection below is a starting point for comparing organizers. Check the dimensions, material instructions and load suitability for your own bottles. As an Amazon Associate I earn from qualifying purchases.
LITTLE COUNTER CAFE · Coffee & Tea Storage Favorites
A calmer counter starts with a place for everything.
Canisters, tea storage, shelf organizers, and small accessories to keep everyday café supplies easy to reach.
As an Amazon Associate I earn from qualifying purchases. This is a paid link.
Label, Rotate and Reset Your Syrup Station
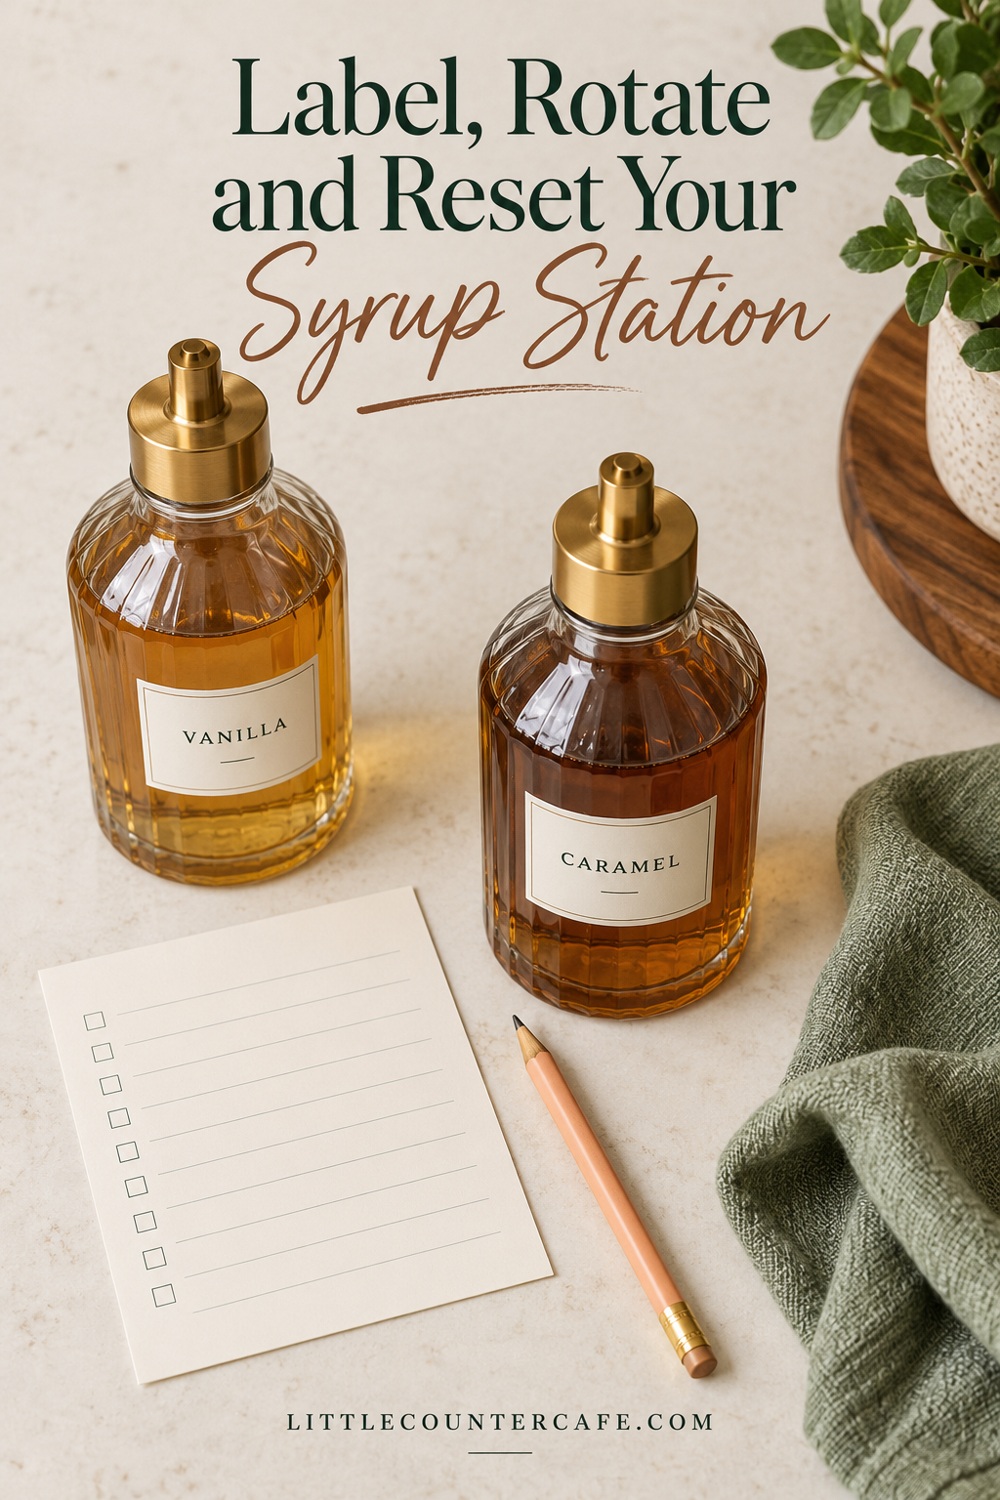
A useful label adds information without hiding the manufacturer’s label. Add an opened-on date where it is easy to read. If you record a use-by date derived from manufacturer guidance, note the source and the relevant condition, such as capped or pumped storage. An invented date or a general internet rule is not a substitute for product instructions.
Use clear words for regular and sugar-free varieties rather than relying on bottle color. Keep the flavor and product line visible. A small shelf label can identify a storage spot, while the bottle keeps its original ingredient information. If several people use the station, make the system understandable without an explanation each morning.
Keep pump care product-specific
Follow the maker’s directions for pump compatibility, covering, cleaning and replacement. For example, Monin advises covering pump openings and cautions that washing pumps can introduce water or detergent if they are not fully dry. Its guidance should not be replaced with a blanket instruction to rinse every syrup pump. Check the directions for the exact system you own.
Keep bottles and organizers free of sticky residue using care methods appropriate to their materials. Clean the surrounding tray and counter without getting cleaning liquid into bottle openings. Let the storage surface dry before returning bottles. If a pump is damaged or its condition is uncertain, consult its manufacturer rather than trying to hide the problem behind a new label.
Use a quick weekly check
Once a week, look at the bottles you opened, read the relevant dates and update your inventory. Check for drips under the tray, make sure the labels are visible and add only genuinely needed replacements to your shopping list. This is a planning rhythm; it does not extend any product’s recommended storage time.
If your counter still feels crowded, remove the least-used flavor before buying a bigger organizer. If a cabinet bottle is always forgotten, put it on the inventory where you plan your drinks. If you keep buying duplicates, check the backup list before adding another bottle to the cart.
Put your printable to work
Use page one of the Syrup Storage Planner to record each product, opened date, label instructions, location and backup quantity. Page two walks through counter or cabinet measurements, pump clearance, load and access checks, then gives you a place to choose your daily group and next reset date.
Begin with one decision today: which bottles deserve your easiest-to-reach space? Put those in a workable arrangement, store the rest appropriately and leave room for the cup you came to make.