
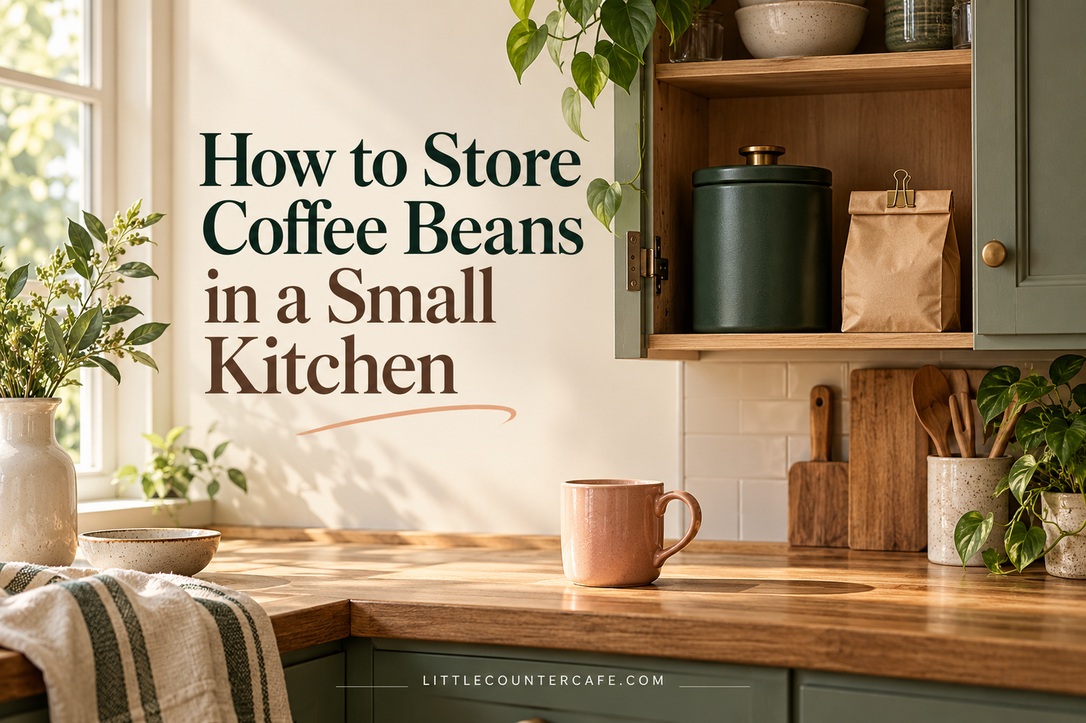
A small kitchen can have a lovely coffee corner without giving every bag of beans a permanent place on the counter. The useful question is where your coffee will stay protected while remaining easy to reach when you are ready to brew.
Start with one current coffee, a container or bag that closes properly, and a cupboard location that stays cool and dry. Add reserve storage only when your household actually needs it. A matching row of canisters is optional; an easy routine matters much more.
This guide covers whole roasted beans for everyday home use. The arrangements shown are concept illustrations to help you plan your own space, rather than measured installations or product tests. Use the free Bean Storage Planner to check your location, record your usual dose and avoid buying more coffee than you can comfortably use.
Download the free two-page Bean Storage Planner (PDF).
This article includes paid links. As an Amazon Associate I earn from qualifying purchases.
Choose a Cool, Dry Home for Your Beans
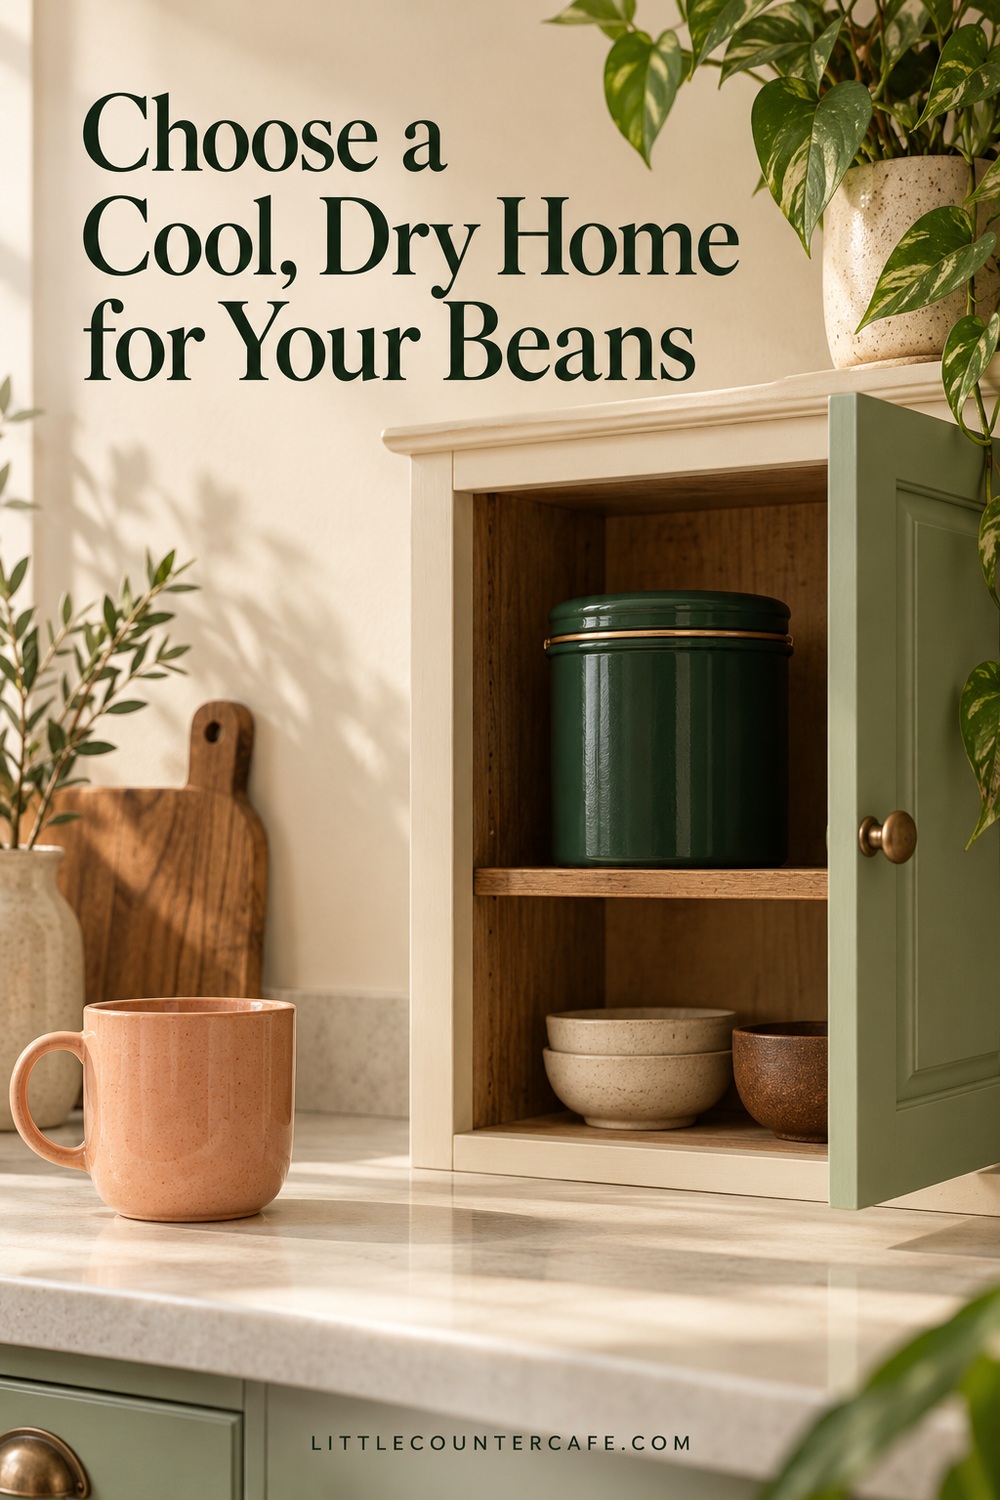
Begin by finding a good location before shopping for a new container. Blue Bottle recommends a cool, dry cupboard or cabinet away from heat, with coffee kept in its original packaging or another airtight container. That gives you a useful starting point even when your counter is already full.
Open two or three possible cupboards and consider what happens around them during an ordinary day. Does afternoon sunlight reach the shelf? Does the area become warm when the oven or dishwasher runs? Does steam drift into the cupboard when someone uses the kettle? Choose the location that avoids those conditions while allowing a comfortable reach.
A narrow shelf beside your everyday mugs may work better than the cupboard directly above the machine. Being close to brewing equipment is convenient, but it is not a reason to store beans beside a hot surface or in a steamy corner. Keep the machine’s ventilation space clear and follow its manual for placement.
Try this simple space check:
- Put the closed bag or empty container in the proposed spot.
- Open the cupboard door fully and check that nothing catches.
- Lift the container out, set it down and open it as you would when making coffee.
- Return it without moving a stack of mugs or balancing anything overhead.
- Leave the surrounding shelf clear enough to notice a spill or a damaged bag.
If you have one shared shelf for coffee and tea, give each a defined place. Keep strong-smelling household products elsewhere. There is no need to fill the entire shelf: a little open space makes daily handling easier.
For a kitchen with almost no cupboard space, use one opaque, well-sealing container in the coolest practical shaded location, away from splashes and heat. Move decorative extras before you sacrifice a sensible home for the coffee itself. Our guide to what to keep on a coffee counter can help with that decision.
Match the Container to Your Actual Supply
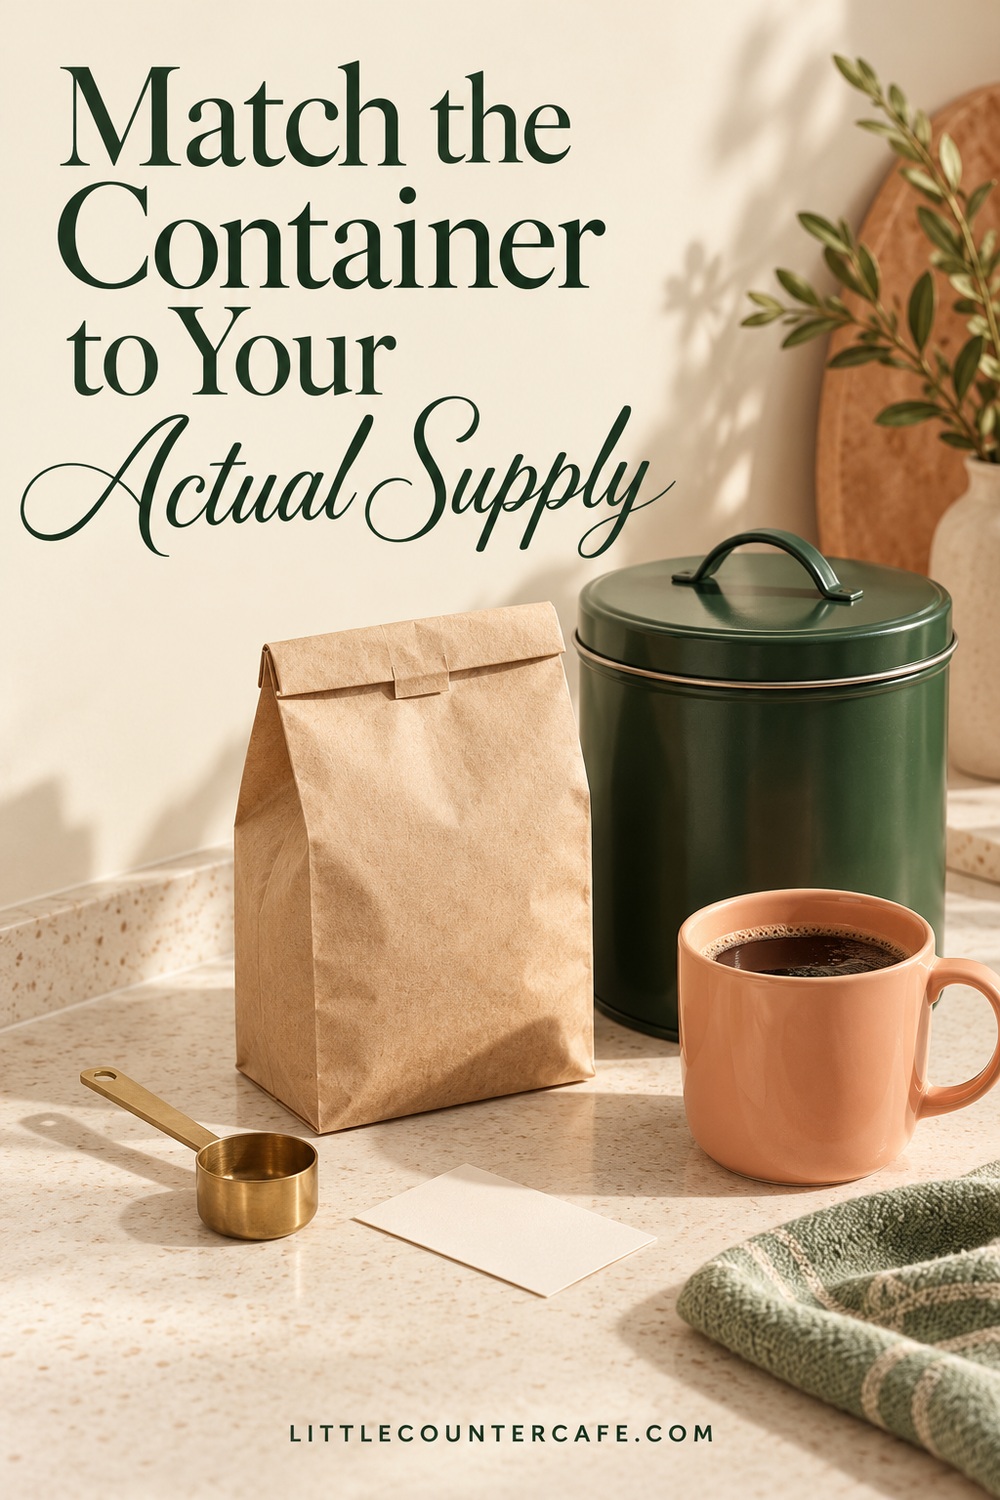
You do not need to decant coffee simply because a canister looks attractive. Check the bag first. Can it close securely after each use? Is the material intact? Does the roaster provide specific storage directions? Blue Bottle allows its original packaging as an option, so keeping a suitable bag inside a cupboard can be a practical choice.
If the opening will not close properly, choose a food-storage container with a dependable seal. Look for a lid you can open comfortably, a shape that fits your shelf, and surfaces you can clean according to the maker’s instructions. A container that is awkward every morning is unlikely to improve your routine.
The National Coffee Association recommends opaque containers and protection from air, moisture, heat and light. If you already own a clear airtight jar, placing it inside a dark cupboard is a more useful first step than leaving it in a bright window for display. You can keep the visible coffee corner pretty with a favorite mug instead.
Check the container’s usable capacity with your usual bag of beans, rather than assuming that milliliters of container volume equal grams of coffee. Bean size and shape vary. Leave enough room to close the lid properly, but avoid choosing a huge canister just to match another item on the shelf. Record the width, depth and height you can accommodate before buying.
Vacuum canisters are an optional equipment choice. Read the exact product’s care and use directions, including what can go inside it. For example, Fellow says not to use its Atmos canister for ground coffee because particles can clog the lid. That restriction belongs to that design; it should not be turned into a rule for every coffee container.
When you transfer beans, keep the original information. Write the coffee name, roast date if supplied, opened date and any roaster instructions on a removable label, or keep the empty bag nearby in your inventory folder. Regular and decaf should be easy to distinguish at a glance.
Before a refill, finish the previous batch and check that the container is clean and fully dry. Follow its care instructions; do not guess that a vacuum lid is dishwasher-safe. Avoid continually topping old beans with new ones, because you lose track of what is left at the bottom. A tidy label and a clear refill point are more helpful than a complicated tracking system.
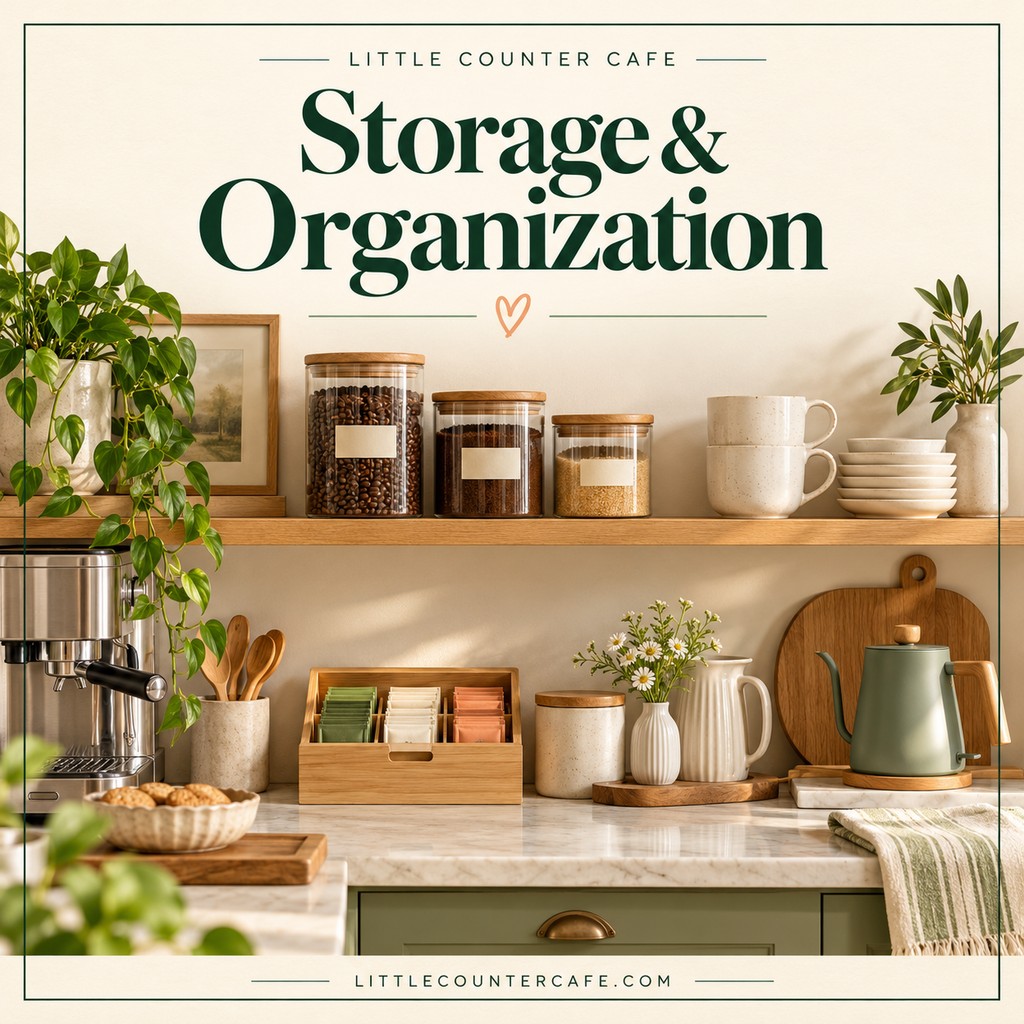
LITTLE COUNTER CAFE · Coffee & Tea Storage Favorites
A calmer counter starts with a place for everything.
Canisters, tea storage, shelf organizers, and small accessories to keep everyday café supplies easy to reach.
As an Amazon Associate I earn from qualifying purchases. This is a paid link.
Buy and Rotate an Amount You Can Use

The simplest way to reduce storage pressure is to reduce the number of open bags. Choose one everyday coffee first. Keep a second open bag only if it serves a real purpose, such as decaf for another household member, rather than opening several varieties because they happen to be available.
Work from the amount you actually brew. Use your established dose or the recipe you already follow, and multiply it by the number of brews you expect. This is an inventory calculation, not a new brewing recommendation.
For example, if your existing method uses 18 grams per brew and you make two brews each day, you use about 36 grams daily. A 250-gram bag would cover roughly seven days at that pace. If you make one brew on four days of the week, the same bag lasts much longer. Include weekends, guests and days away when estimating your own needs.
Use the printable planner to note:
- Your normal grams per brew and expected brews each week.
- The size of the bag you normally buy.
- How much remains when you usually place the next order.
- Delivery time or the day you can collect another bag.
- Whether a smaller bag would suit you better.
The National Coffee Association suggests buying modest quantities, around one or two weeks’ use, for freshness. Treat that as purchasing guidance, rather than a guarantee that every bean tastes the same for a fixed number of days. Follow your roaster’s advice, and distinguish flavor changes from food-safety concerns.
Store unopened reserve bags behind the current supply, with their labels facing forward. A small bin can gather bags on a deep shelf, but the bin is an organizer, not a substitute for protective packaging. Avoid squeezing coffee into a spot where seals are repeatedly bent or packets disappear behind taller items.
If two people buy coffee, agree on one shopping note and a visible reorder point. The note might simply say which bag is open and whether one reserve is already waiting. For a broader system, see how to divide daily and backup coffee supplies.
Keep the Routine Simple and Fix Storage Problems
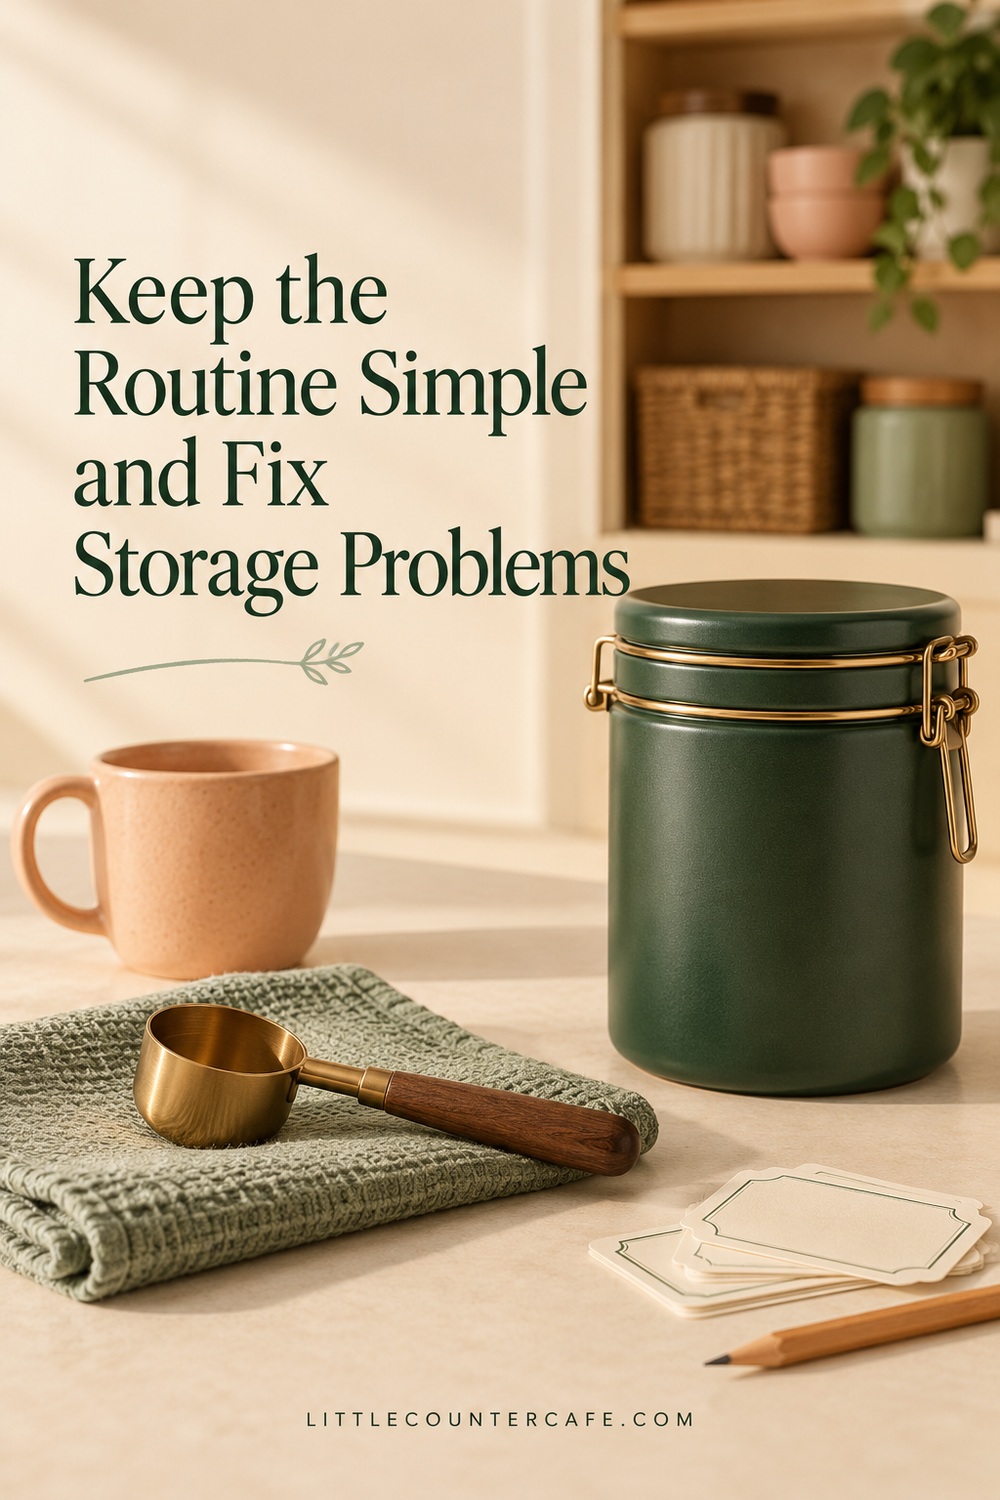
After measuring your beans, close their container before you continue brewing. Use a dry tool and keep the storage area separate from the wet part of the preparation routine. Grind the amount you need close to brewing time, rather than grinding a whole bag to make the shelf look organized.
If a grinder has a hopper, follow the grinder maker’s instructions for filling, emptying and cleaning it. Do not assume that its hopper is designed to be your long-term storage container. Keep the rest of your supply in the chosen bag or canister.
What about the refrigerator or freezer? Advice differs. Blue Bottle discourages both because of moisture concerns. Capresso describes freezing surplus whole beans in separate weekly portions and warns against repeated freezing and thawing. The practical conclusion for a small everyday supply is to start with the cool, dry cupboard routine. If you need longer storage, follow your roaster’s guidance and use packaging intended for that purpose; do not repeatedly move the same open container between the freezer and counter.
Use these quick checks when something is not working:
- The cupboard is inconvenient: move everyday mugs or an occasional-use item so the beans have one easy path in and out.
- The container does not fit: measure the shelf opening and the space needed to remove the lid, not just the container’s base.
- You keep finding forgotten bags: reduce the number you buy, group unopened reserves together and check them before shopping.
- Coffee tastes flatter than expected: review purchase size, the seal and the storage location before buying another accessory. Taste also depends on brewing and the coffee itself, so storage is only one possibility.
- Beans became wet or show mold: discard them. Do not treat brewing as a way to rescue moisture-damaged coffee.
- Decaf and regular get confused: use separate, clear labels and keep each coffee in its own closed packaging.
The free Bean Storage Planner includes a location checklist, shelf-fit notes, a weekly-use calculation and a simple inventory table. Fill it in before buying containers, then review it when your household’s coffee habits change. It is designed for your own measurements and routine; the example calculation does not prescribe a dose.
You can have a warm, inviting coffee corner while keeping the beans behind a cupboard door. Give the coffee a protective home, keep your supply manageable and make the next refill easy to understand. Those small decisions leave more counter space for the enjoyable part: making your next cup.
Sources: Blue Bottle storage advice, National Coffee Association storage guidance, Capresso storage guide, and Fellow Atmos instructions. Accessed October 25, 2026.