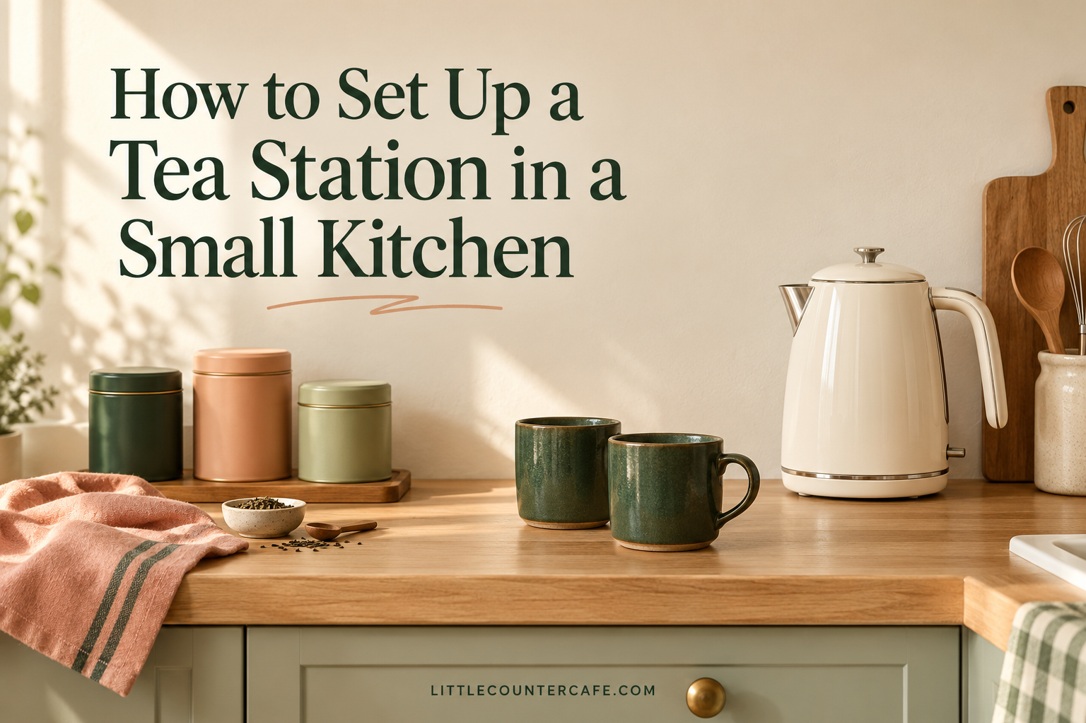
A tea station can be as simple as a kettle in a suitable spot, your favorite mug, and a small container of tea nearby. You do not need matching canisters or a spare stretch of countertop to make the routine feel lovely. The useful part is knowing where everything lives, especially when the kitchen is already busy.
Start with the way you actually make tea. If you use tea bags, your station may need only a mug, a spoon, and a dry place for the packets. Loose-leaf tea adds an infuser and somewhere to put it after steeping. A teapot is optional; it should earn its space through regular use.
This guide offers layout ideas to adapt to your own kitchen. The styled scenes are concept illustrations, rather than measured installations. Check your kettle’s manual, your storage dimensions, and your usual movements before deciding what fits. The free Tea Station Fit and Reset Planner below gives you a place to record those checks.
Choose a Safe Place to Heat and Pour

Choose the kettle’s operating position before buying a tray or arranging the tea. The kettle, its base, and the space needed to lift and pour it are the least flexible parts of the station. A decorative arrangement that fits while everything is cold may still be awkward when the kettle is full.
Look for a stable, level, dry countertop away from the edge, the sink’s splash zone, and other heat sources. Keep the plug accessible and the cord away from a walking route or places where someone might pull it. Follow your model’s instructions about outlets and cords; a crowded corner is a reason to reconsider the layout, rather than improvise an electrical arrangement.
Read the clearance instructions for your exact kettle. For example, the Breville Temp Select manual specifies at least 8 inches from heat- or steam-sensitive materials. That is a model-specific instruction, not a universal measurement for every kettle. Its manual also says to keep the operating surface level and dry and not to use a sink drain board. Your own instructions determine what is suitable in your kitchen.
Do a cold fit check with the kettle unplugged and empty. Open the lid, lift it from the base, and trace the movement toward an empty mug. Check whether the upper cabinet, a shelf, a tin, or another person’s route gets in the way. Leave the kettle in its approved operating position; avoid a setup that depends on sliding a filled, hot appliance around.
A tea station can be split across two nearby places. Keep the kettle on the suitable countertop, with dry tea and mugs in a neighboring cabinet or drawer. The parts do not have to touch to function as one station. If the only attractive nook is too confined for the kettle, use it for tea storage and keep heating water elsewhere.
Three useful layouts to compare:
- Counter plus cabinet: the kettle has its clear operating area, while mugs and tea live behind a nearby door. This keeps the visible counter simple.
- Counter plus drawer: the kettle stays on the counter and tea packets, dry spoons, and an infuser live in a shallow drawer. Check drawer travel and cupboard-door access.
- A movable supply tray: mugs and sealed tea travel on a small tray, while the kettle stays in its safe operating spot. Set the tray down before preparing a drink; it is a supply carrier, not a hot-water workstation.
Measure the available surface and storage separately. Record width, depth, overhead clearance, lid-opening space, and the room needed to lift and pour. Do not assume the kettle’s catalog footprint describes all of the space it needs in use. If you share the area with coffee equipment, see our guide to minimalist coffee corner ideas for reducing the visible collection.
Keep Your Everyday Tea Kit Small

Put out the items needed for an ordinary cup, rather than the contents of your entire tea cupboard. A useful starting kit is your regular mug, the tea you are drinking now, a teaspoon, and an infuser if your tea needs one. Add a small washable dish for the used bag or infuser if that solves a real problem in your routine.
For one daily tea drinker, one accessible mug may be enough. For two people, keep each person’s usual mug and preferred tea easy to reach. Extra guest cups can stay with the rest of the kitchen cups. The aim is a short, comfortable sequence: choose tea, prepare the cup, steep, and clear away.
Tea bags and loose leaf need slightly different arrangements. Individually wrapped bags can sit upright in a small dry box so the variety names remain visible. Loose-leaf tea needs its packaging or a suitable closed container, a dry scoop or spoon, and an infuser that works with your cup. A tea chest is optional, and deep compartments can be inconvenient if you have to lift several packets to find one blend.
Keep the brewing instructions available. If you remove tea from its original box, retain the blend name, ingredients, date information, and preparation directions with it. Different teas need different water temperatures and steeping times; use the tea’s own directions instead of one permanent timing rule for everything.
Choose a tray only after arranging the actual kit. Measure its outside dimensions, then check the usable inside area, including handles and raised edges. A pretty tray that makes a mug wobble or hides a kettle control is not a good fit. In many small kitchens, the better arrangement is a tray for dry supplies beside a separate clear kettle area. Do not put an operating kettle on a decorative tray unless both the appliance instructions and the tray’s suitability support it.
Before buying organizers, try a clean container you already own. A small food-storage box can hold wrapped tea bags; a sturdy shallow dish can collect dry utensils. Keep ordinary drinking mugs and use decor on pieces you do not drink from. If a thrifted mug’s food-contact suitability is uncertain, leave it as a decorative piece rather than making it part of the drinking kit.
If you would like to browse tools, our approved tea and cocoa collection below is a starting point. Check the actual dimensions and care directions before ordering. The station does not require every item in the list.
As an Amazon Associate I earn from qualifying purchases. The shopping collection below contains a paid link.

LITTLE COUNTER CAFE · Matcha, Tea & Hot Chocolate Essentials
There’s room for more than coffee here.
Tea infusers, matcha tools, cocoa, and serving pieces for a cozy home café with something for everyone.
As an Amazon Associate I earn from qualifying purchases. This is a paid link.
Store Tea Where It Stays Dry and Easy to Find

Give dry tea a home away from the kettle’s steam, the stove, direct sunlight, and strong kitchen smells. A tin tucked behind a kettle may look tidy, but it is inconvenient to open during heating and puts the tea close to a source of moisture and warmth.
Twinings recommends an opaque, airtight container in a cool, dark place for loose-leaf tea. A nearby cabinet can therefore work better than a row of glass jars in a bright window. You can also keep tea in its suitable original packaging, closed according to the producer’s guidance. Decanting is an option, not a requirement for an organized station.
Separate the small selection you use frequently from occasional blends and unopened backups. For example, keep a breakfast tea and an evening infusion in the easy-access spot, with other varieties grouped in the cabinet. That is an organizing example, not a rule about what you should drink. Check labels if caffeine content or ingredients matter; an unfamiliar herbal blend should not be assumed to suit every guest.
Use labels that help you find and use the tea: blend name, whether it is loose leaf or bags, and any information you need from the package. Keep original ingredient details accessible for guests. Avoid a display where every container is labeled simply “tea,” because it makes the contents harder to distinguish.
For a drawer, measure the clear interior height and confirm the closed tins fit below it. Pull the drawer out fully and check the space behind its front panel. Use dividers only where they stop packets or tools from sliding into a heap. Do not fill every compartment just because it is available.
For a cabinet, put the regular tea where it is easy to identify and reach without moving a stack of mugs. Keep heavy or breakable pieces in a position you can handle comfortably. Shelf risers should suit the shelf and their intended load; adding one is unnecessary if a single row already works.
Keep any milk that requires refrigeration in the refrigerator, bringing it out only when needed. Follow the package’s storage directions, including after opening plant-based or shelf-stable drinks. FDA guidance says foods requiring refrigeration should not stay at room temperature for more than two hours, or one hour above 90°F. A permanent countertop milk bottle is therefore not part of this dry-supply station.
Make the Station Easy to Reset

An easy reset gives each item a clear destination. Empty the used bag or leaves appropriately, wash the infuser and spoon according to their care instructions, and let them dry before storage. A damp infuser should not go straight into the dry-tea box. Wipe up splashes using a method suitable for the counter, keeping water away from electrical parts.
Follow your kettle’s instructions for switching off, unplugging, cooling, filling, and cleaning. This is a layout routine, not a replacement for appliance maintenance guidance. Do not add a universal vinegar or descaling recipe to the station checklist; materials and manufacturer instructions differ.
Leave the next cup’s space clear. A small dish can hold a used infuser temporarily, but it needs emptying and washing rather than becoming a permanent pile. Return the milk to the refrigerator promptly, close the tea packaging, and put guest cups away when they are no longer needed.
Try the arrangement during your normal routine before buying anything else. If tea tins repeatedly migrate beside the mug, move their storage closer without compromising kettle clearances. If the supply tray has to be shifted every time you prepare food, reduce its size or move it into storage between uses. If the infuser is always missing, give it one dedicated dry compartment instead of adding more accessories.
A shared station benefits from simple agreements: which tea belongs in the daily spot, where the clean infuser goes, and who checks supplies. Refill according to actual use, keeping the original packaging information. A long shopping list is less useful than noticing which blend you finish and which one stays untouched.
Use the free planner to make your own arrangement concrete. Page one records the kettle’s manual requirements, the cold fit check, and a quick sketch of the two storage zones. Page two lists your everyday kit, where each item returns, and what needs changing after you try the setup. Print at actual size on US Letter paper or use your printer’s fit-to-page option for A4.
Download the free Tea Station Fit and Reset Planner.
For more mug placement options, read mug storage ideas for small kitchens. Choose one change to begin with: clear the kettle’s operating space, gather the tea you use most, and give the wet tools somewhere to dry. A cozy tea corner grows from that comfortable routine.