
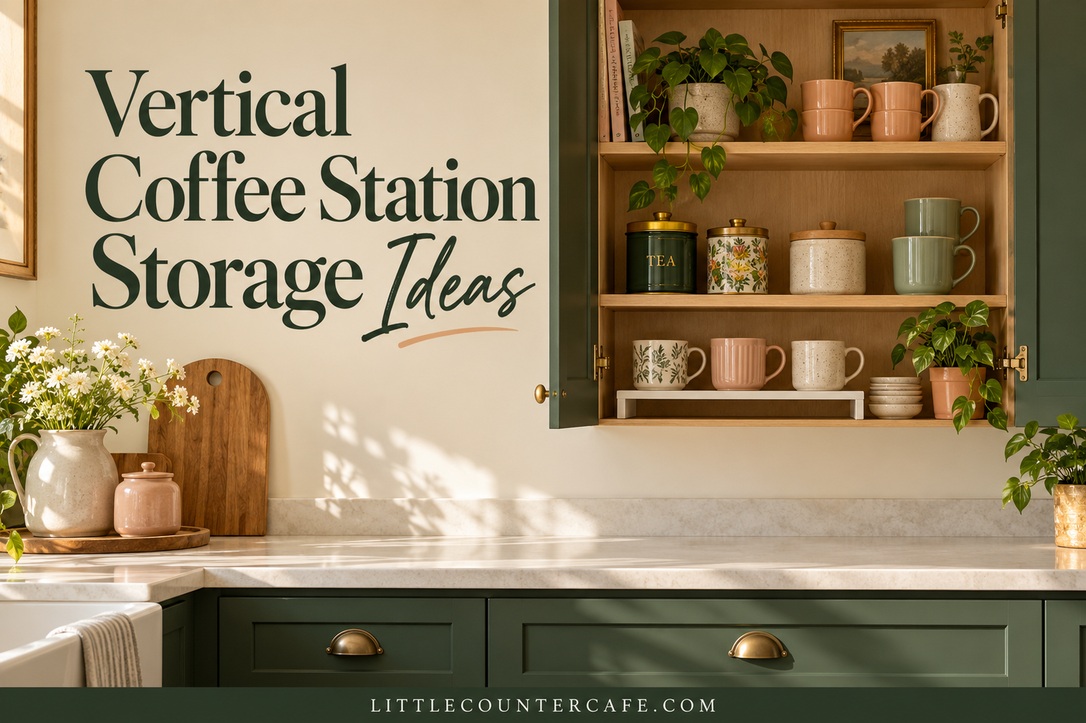
A small coffee corner can feel full even when it holds only a few useful things. The problem is often the empty space above those things: tall cabinet shelves with one short row of mugs, a deep cupboard with filters hidden at the back, or a wall that could hold a little storage beside the brewing area.
The most useful vertical coffee station storage gives everyday supplies a second level without making your first cup harder to prepare. Start inside an existing cabinet, keep heavy pieces low, and choose a wall-mounted option only when its installation and reach make sense for your home. You do not need to fill every inch above the counter.
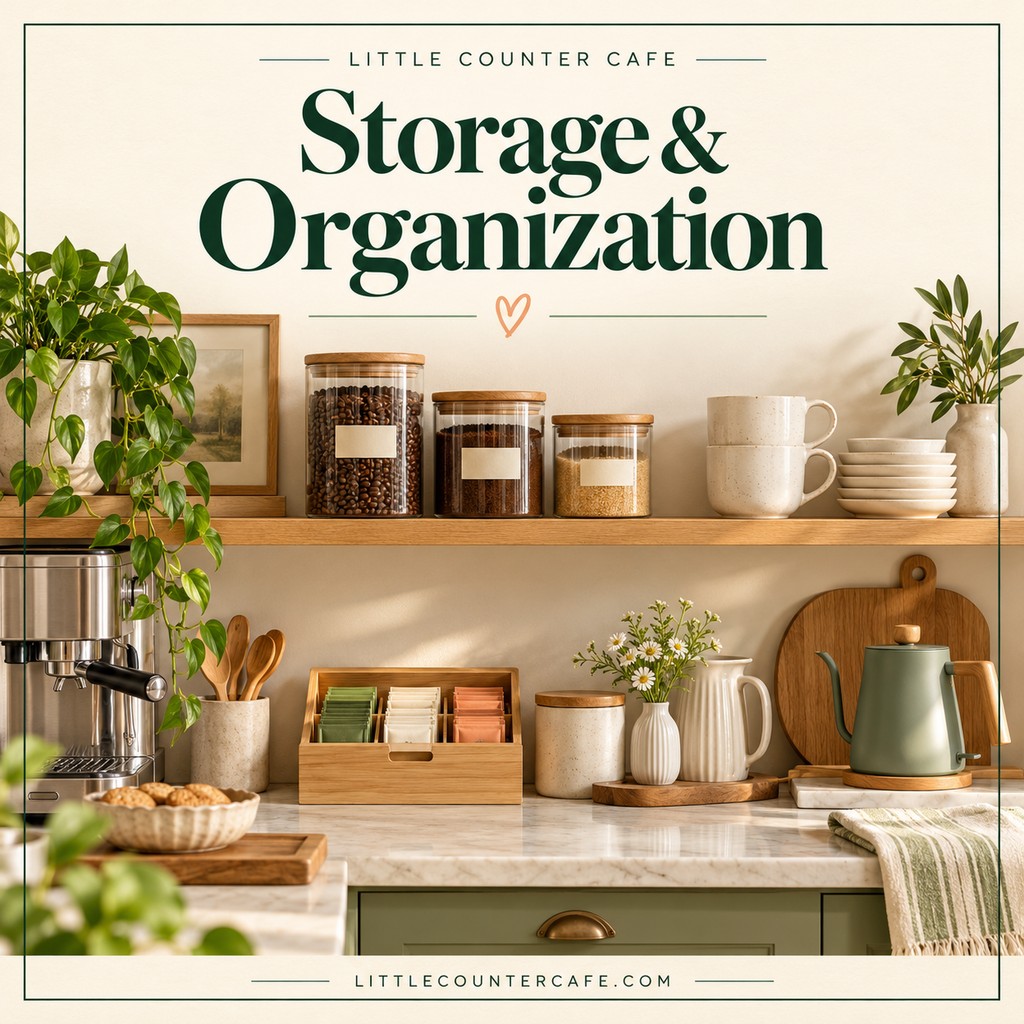
Below are eight ideas grouped by where they work best, plus a printable storage-fit worksheet. The arrangements shown are concept illustrations for planning your own space; they are not measured installations or product tests. Coffee, tea and cocoa supplies can share the same system.
Start With the Space You Can Reach
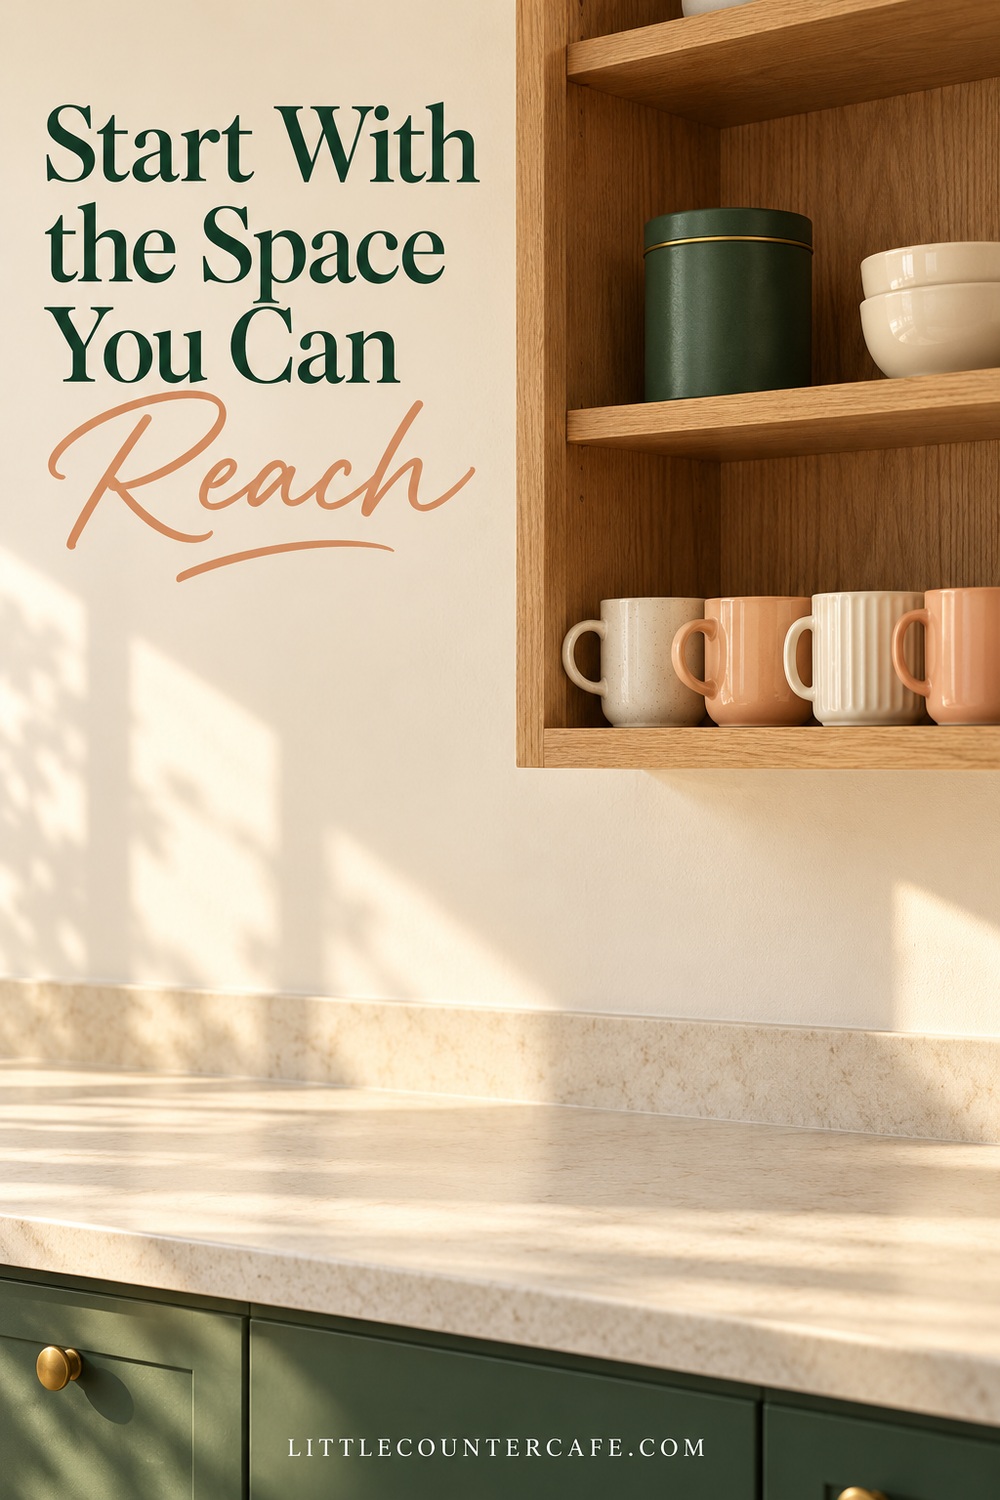
Before buying an organizer, clear one shelf and set out the things you actually use. A favorite mug, tea tin, coffee container, filters and measuring spoon are a better starting point than an attractive collection of empty baskets.
Divide your supplies by frequency. Put daily items where you can comfortably take them down and replace them. Give occasional serving pieces another home if reaching them would mean leaning over a hot appliance. Keep heavy canisters and breakable pieces on a lower, suitable shelf rather than placing them high simply because there is space.
Idea 1: Adjust an existing cabinet shelf. If your cabinet has adjustable shelves, check its instructions and supports before changing the spacing. Moving a shelf may create two useful rows without adding anything. Empty it first, support it while moving it, and make sure every support is properly seated. Leave enough headroom to lift a mug by its handle without scraping the shelf above.
Measure the cabinet’s usable inside width, depth and height. Hinges, shelf supports and the door opening can reduce usable room. Measure the actual mugs too, including their handles. An organizer that fits the cabinet may still make it difficult to remove a cup.
Use a simple paper plan before committing. Mark each item’s footprint and check how your hand will enter the shelf. For example, a hypothetical 15-inch-wide cabinet might accept a 12-inch organizer, but that does not prove the organizer will clear the hinges or leave comfortable hand space. This is a planning example, not a fit recommendation.
Protect the brewing area as a separate working space. Read your exact appliance manual for ventilation, overhead clearance, lid opening and water-tank access. Do not place shelving or baskets where they obstruct those functions. If the cabinet above the machine becomes damp during use, change the arrangement rather than accepting moisture as part of the setup.
For the counter itself, see How Much Counter Space Does a Coffee Station Need?. Use that working-space check alongside the storage measurements, not instead of them.
Add a Second Level Inside Your Cabinet
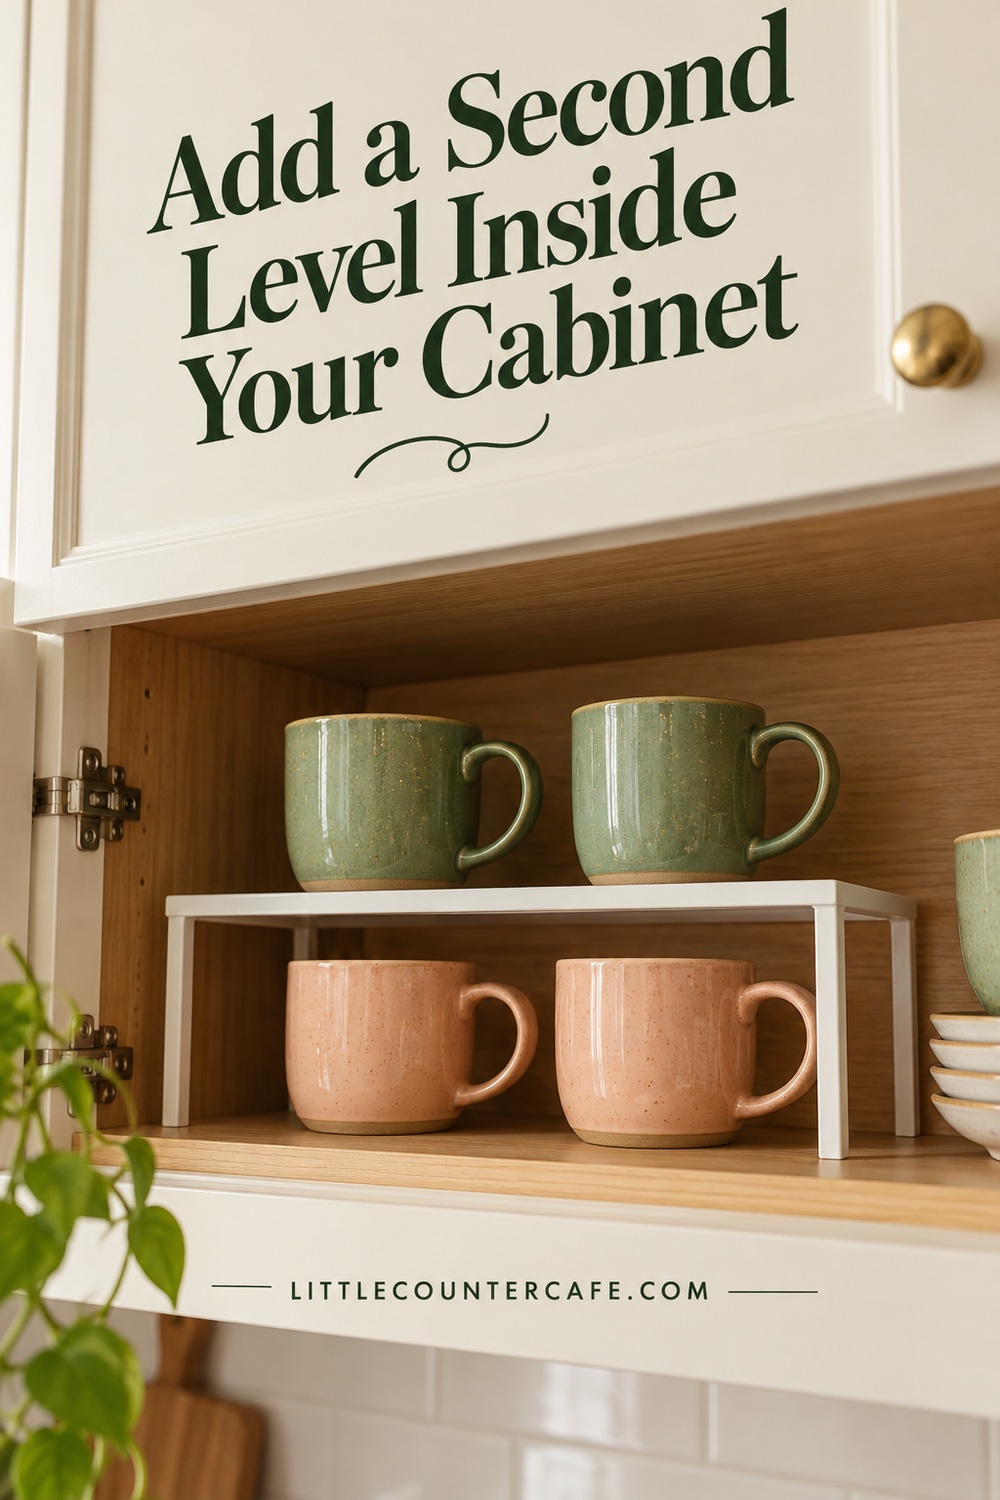
Cabinet organizers are a helpful first step because they can use space you already have. Choose one that solves a specific access problem rather than buying a matching set for every shelf.
Idea 2: Put a shelf riser above a short row of mugs. A stable insert can separate cups from small supplies, letting you remove one without unstacking everything. Keep all feet fully supported and check the insert’s instructions and load limit. A riser intended for dishes is not automatically suitable for supporting a coffee machine.
For a scale reference, IKEA lists the VARIERA shelf insert, article 601.366.23, at 12 5/8 inches wide, 11 inches deep and 6 1/4 inches high, approximately 32 × 28 × 16 cm. Those are the organizer’s outside dimensions, not a guarantee of clearance underneath. Measure the usable space between its legs and the height above it for your own cups. This is a researched size example, not a hands-on recommendation.
Idea 3: Try an under-shelf basket for light supplies. A basket that slips onto a shelf can hold filters, folded napkins or individually wrapped tea bags. Check the supported shelf thickness, the basket’s total depth, its rated load and whether the cabinet door can close. Do not use a basket that tilts, slips or blocks a hinge. Avoid putting glass jars above an exposed drink-making area in an unverified hanging organizer.
Idea 4: Use stepped storage for small tins. A shallow tiered organizer can make tea tins or short supply containers easier to identify. Put it inside a sufficiently deep cabinet and check that the back row is still reachable. If you must remove two front containers to get one from the back, a single row may be the better solution. Keep storage appropriate to the ingredients’ original label instructions; an attractive open container is not a substitute for suitable packaging.
Idea 5: Store lightweight flat items upright. A properly supported divider or narrow bin can give paper filters, menu cards or spare napkins their own vertical space. Keep them dry and separate from cleaning products. Avoid forcing items into an overfilled slot: you should be able to remove one without pulling the entire organizer forward.
Do a small trial with the supplies you already own. Place the organizer empty, open and close the door, then add a few items within its rating. Reach for each item and return it. If a container catches, move the shelf or simplify the contents before adding more. Extra capacity is useful only when you can use it comfortably.
Use Wall Storage Beside the Brewing Area
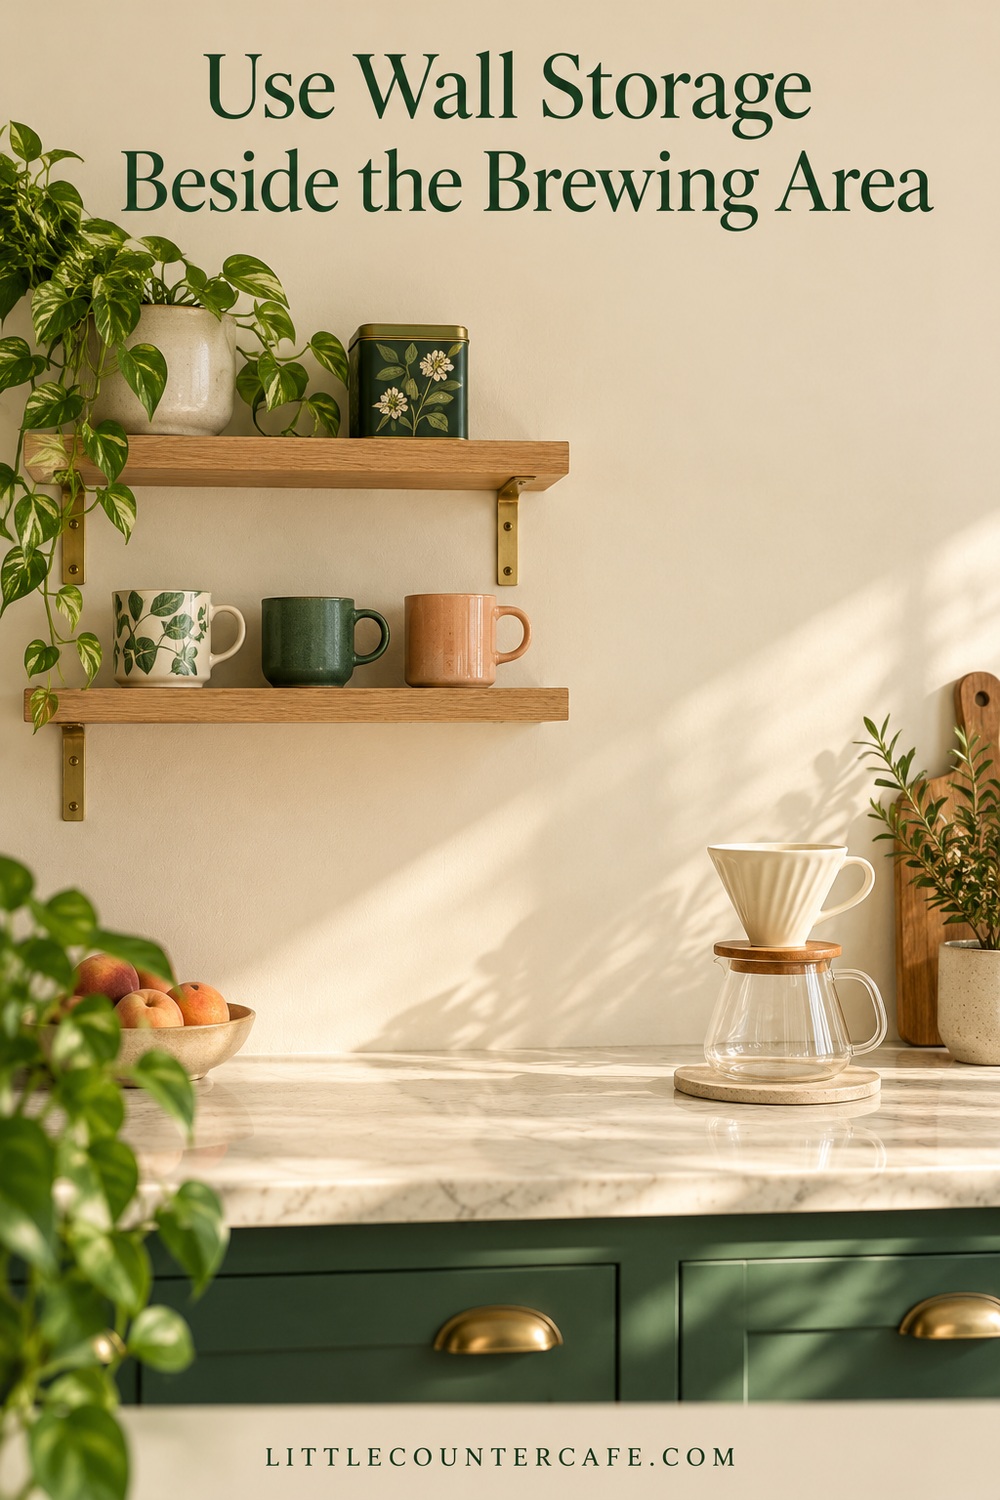
Wall storage can free cabinet space, but it needs a more deliberate plan than a countertop basket. A shelf’s appearance does not tell you its capacity, the correct fixings, or whether the wall can support it.
Idea 6: Choose one shallow shelf beside the machine. A side position can make it easier to reach mugs without reaching over the brewing area. Make a paper outline of the shelf’s full depth and consider doors, walkways and head space before installation. Keep the counter below useful rather than filling it with another row of decorations.
Follow the exact shelf and fixing instructions for your wall construction, and get qualified help if you cannot establish a suitable installation. Do not choose anchors from a generic photograph. IKEA’s LACK wall shelf unit information illustrates why the details matter: its stated capacity depends on orientation, and its safety information requires suitable screws and plugs. Ratings for that product do not apply to another shelf. The page also presents differing per-shelf figures in different sections, so resolve the exact current instructions with the manufacturer before loading that specific unit.
Idea 7: Give mugs a rated rail or hook system. Check the rail, hooks, fixings and installation surface together. Leave room between handles so mugs do not knock each other when you take one down. Keep the hanging cups clear of appliance controls and the food-preparation surface. A cabinet-door rail must also clear the interior shelves when the door closes.
Adhesive products need their own instructions for surface preparation, curing time, temperature, moisture and load. Do not assume that a hook’s advertised rating is suitable for a heavy ceramic mug in a steamy location. Where the surface or rating cannot be verified, store the mug on a stable shelf instead.
A freestanding tall unit is a different solution from a wall shelf. Follow its anchoring instructions and address tip-over risk, particularly around children. The U.S. Consumer Product Safety Commission’s Anchor It guidance emphasizes securing top-heavy furniture and following the manufacturer’s instructions. Do not use stacked countertop organizers to imitate a tall shelving unit.
For a quieter visual arrangement, choose one useful display group and leave some open space. How to Style Coffee Station Shelves focuses on that styling step; this guide is about selecting and checking the storage itself.
Build a Simple System You Can Keep Using

Idea 8: Give light backup supplies a labeled upper zone. Use a small, easy-to-handle bin for occasional napkins or spare filters if the shelf is within suitable reach. Keep heavy reserves lower. Do not create an upper zone that needs you to climb onto the counter or carry a hot drink while reaching. Someone with limited reach may find a lower drawer more practical than any vertical organizer.
Choose a layout around your main problem:
- Mugs stacked too high: try adjusting the cabinet shelf or adding one compatible riser.
- Small supplies disappearing behind jars: use a shallow stepped organizer or upright divider.
- No cabinet room for everyday mugs: consider a properly installed side shelf or rated rail.
- Too many supplies crowding the daily area: separate the small working supply from backup stock first.
For that last situation, How to Divide a Coffee Station Into Daily and Backup Supplies can help you decide what belongs near the brewer. Adding levels will not solve an unnecessarily large everyday collection.
Make your first change small. Rearrange one cabinet before buying wall storage. Reuse a suitable bin before ordering several sizes. A coordinated color palette can come later; comfortable access, stable support and a dry location matter more than matching containers.
Watch for the warning signs of an unhelpful setup: cups scraping the shelf above, a basket sagging, doors refusing to close, supplies becoming damp, or a daily item needing two hands and several moves to retrieve. Reduce the load and correct the fit or installation. Do not tighten, drill or alter a product in ways its manufacturer has not authorized.
Once the arrangement works, make the reset obvious. Return mugs to one row, refill the small working supply when it runs low, and check that feet, supports and fixings remain secure as instructed. Revisit the layout when you change machines or buy taller mugs; the old fit check does not carry over automatically.
Use the free Vertical Coffee Storage Fit Worksheet to record your cabinet measurements, everyday items, organizer dimensions, reach check and installation questions. It includes a short trial checklist so you can compare two options before buying. Fill in your actual measurements rather than treating any pictured setup as a template.
The best result is a little more usable space and a little less shuffling. One well-chosen extra level can be enough to make the morning coffee or tea routine feel easier.
As an Amazon Associate I earn from qualifying purchases. The optional storage shopping list below contains paid links.
LITTLE COUNTER CAFE · Coffee & Tea Storage Favorites
A calmer counter starts with a place for everything.
Canisters, tea storage, shelf organizers, and small accessories to keep everyday café supplies easy to reach.
As an Amazon Associate I earn from qualifying purchases. This is a paid link.