
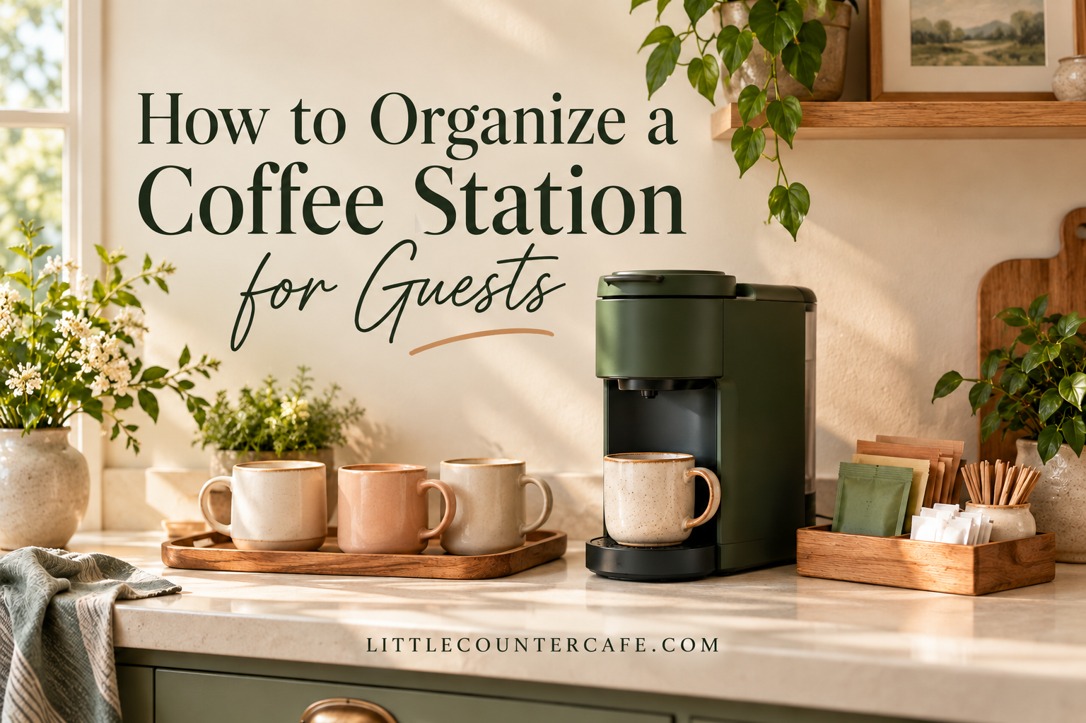
A welcoming coffee station answers the little questions before anyone has to ask: Which mugs can I use? Where is the tea? Do I press this button, or should I wait for the host? You do not need a bigger counter or a collection of matching dispensers. You need a clear place to begin, enough room to make a drink, and a few supplies that are easy to recognize.
Start with the equipment and cups you already own. Organize them for someone who has never used your kitchen, then put the less obvious details on a short instruction card. This guide focuses on a guest-friendly supply setup rather than planning a full coffee menu or calculating party quantities. The pictured setups are concept inspiration; check the fit and operating instructions for your own equipment.
Use the free Guest Coffee Station Planner below to map your setup, write your own welcome card, and prepare a refill and closing checklist.
Choose a Clear Guest Route

Stand where a guest will approach the counter. Follow the journey from picking up an empty mug to walking away with a finished drink. If you need to reach across the machine, move a decoration, or open three cabinets, change the arrangement before adding anything new.
Think in four small stops: pick up a cup, make or receive the drink, add any extras, then leave the working area. These do not need to form a perfectly straight line. In a corner kitchen, the cups might sit on one side while tea and sweeteners sit on a nearby shelf. The useful part is avoiding repeated trips across the hot-drink area.
Keep a clear landing place beside the brewer. A guest should be able to put down a mug while opening a packet or adding sugar. Do not fill this space with a tray merely because the tray fits. Check that the mug can stand flat and the handles of nearby cups do not crowd it. If your counter is narrow, move spare mugs and dry extras to a stable nearby table; leave the appliance where its manufacturer says it can operate safely.
Before deciding on the final location, check your machine’s manual for its surface, ventilation, water-filling and power requirements. Open the reservoir lid and remove the drip tray to confirm that ordinary tasks remain possible. A machine that fits while closed may still be awkward to refill or maintain. Keep cords away from heat and from the counter edge; ESFI’s kitchen safety guidance is a useful reminder to keep cords away from hot surfaces.
For a group, decide whether guests will operate the equipment or the host will make drinks. A familiar simple brewer may suit self-service after an introduction. An unfamiliar espresso machine with a steam wand may work better as host-operated equipment. Make this decision explicit: a small card saying “I’ll make your coffee—please choose a mug” is friendlier than letting people guess.
Try this before guests arrive: carry an empty mug through the route, open the containers you plan to use, and return the mug to the counter. Ask whether each step can happen without leaning over hot equipment. Keep children away from hot drinks and operating appliances. Adapt the setup to your actual guests’ reach and access needs rather than assuming that a high shelf works for everyone.
If you are still deciding where the station belongs, start with our tea station guide for broader inspiration. Use only stable furniture and surfaces suited to the equipment and follow its instructions; a portable tray of dry supplies does not mean the appliance itself should be moved to a new location.
Put Supplies Where Guests Look First

Place the everyday guest supplies in the open or in one obvious drawer, not scattered through your own morning routine. A shallow basket, an existing plate and a clean utensil cup can be enough. Buy an organizer only after you know which items it needs to hold and have measured the available space.
Set out a modest working selection. Keep the rest nearby for refilling. For an illustrative four-adult visit where everyone will have a drink together, you might begin with four clean mugs, four clean teaspoons, napkins and the coffee or tea choices you have agreed to serve. This is a starting example, not a rule about how many cups each person will drink. Adjust for your group, washing arrangements and whether guests will return for another drink.
Use this placement guide to avoid a counter full of duplicates:
| Item | Guest-facing place | Refill location |
|---|---|---|
| Clean mugs | One accessible shelf, tray or short row | Same cabinet, with extras kept back |
| Teaspoons and napkins | Small holder beside the finishing space | One nearby drawer |
| Tea and sweeteners | Shallow divided caddy with readable labels | Original packages in dry storage |
| Coffee supplies | At the brewer, with compatibility clear | Nearby cupboard, away from splashes |
| Milk that needs refrigeration | Refrigerator, with its location explained | Original labeled container in refrigerator |
| Used cups and spoons | Separate return spot | Sink or dishwasher area |
Avoid making guests reach into a deep jar to find the last packet. Stand packets so the choices can be seen, but retain the original packaging or ingredient information where it is useful. If you decant a product, record what it is and follow its storage directions. Clear jars are not a reason to leave coffee or other ingredients in unsuitable light, heat or moisture.
Keep clean utensils separate from the return area. A small dish for used spoons prevents them from drifting back into the clean holder. Put the dish where it cannot be mistaken for a source of fresh spoons. For a longer visit, replace the supply of clean utensils as needed rather than asking everyone to share a used teaspoon.
Labels work best when they answer a real question. “Tea,” “Sugar,” “Clean spoons” and “Used spoons” are useful. A decorative phrase on every container can make the setup harder to read. Choose clear lettering and good contrast, and place labels where they remain visible when the basket is full.
For more storage ideas, see how to store coffee pods in a small kitchen. Choose containers for your actual supplies and equipment rather than trying to recreate every object in an inspiration image.
Make Drink Choices Easy to Understand

Guests should be able to tell what is available without opening every canister. Name the coffee and tea options plainly, and identify regular and decaf accurately. Decaf coffee is not the same as caffeine-free. Keep the original package available when a guest wants to check details rather than making a health or ingredient promise from memory.
Keep the instruction card specific to your machine. Do not write a universal set of brewing steps copied from a different model. Check the manual, then fill in only the actions a guest needs: which supplies to use, where water goes if guest refilling is appropriate, which control starts the chosen drink, and where the used item belongs. If you would rather handle a step yourself, say so.
A useful welcome card could read:
Welcome! Mugs and clean spoons are beside the brewer. Regular coffee is in the labeled container; tea is in the small caddy. Please ask me before using the machine and I’ll show you the controls. Milk is in the refrigerator. Leave used spoons in the small dish and used mugs by the sink. Help yourself to a comfortable seat.
Change every line to match your kitchen. A card that points to the wrong cabinet causes more confusion than no card at all. For overnight guests, explain the setup once when they arrive and leave the card as a reminder. Include the host’s preferred stopping point if they will be asleep when guests make their first drink.
Ask about allergies and dietary needs before choosing additions. Keep ingredient packaging available and use separate utensils as appropriate. A handwritten “dairy-free” label does not establish that shared equipment or a shared spoon is suitable for a person with a milk allergy. The FDA’s food allergy information explains ingredient labeling and allergen cross-contact. Let guests review information relevant to their own needs; if you cannot establish a suitable arrangement, discuss another serving option with them.
Keep perishable milk and creamer cold according to their labels. The FDA recommends holding cold foods at 40°F (4°C) or colder. Perishables left at room temperature for more than two hours should be discarded; the limit drops to one hour when the temperature is above 90°F (32°C), unless they are kept appropriately cold or hot. Do not keep topping up a jug that has been sitting out. A refrigerator note is often a simpler small-space solution than an unmonitored pitcher on the counter. Shelf-stable products still need to be handled according to the package directions, especially after opening.
Make one final distinction clear: self-service supplies do not oblige anyone to operate unfamiliar hot equipment. Offer to make the drink. A comfortable guest experience matters more than a perfectly independent coffee bar.
Prepare a Simple Refill and Reset Plan

Choose one place for the backup supplies and tell any co-host where it is. Keep unopened packets, extra napkins and clean cups together when practical. This prevents a guest from searching through unrelated food or a host from leaving a conversation to hunt for teaspoons.
Before the visit, check the station in this order:
- Confirm the appliance is clean, ready and set up according to its manual.
- Check that the intended mugs fit and that the working surface is stable and clear.
- Set out the clean guest supplies and identify the refill location.
- Read the welcome card from the guest’s approach and correct any unclear directions.
- Keep refrigerated additions cold and make their location easy to find.
- Put a separate return dish or used-cup location within easy reach.
During the visit, refill the small caddy when the choices stop being obvious. Replace dirty utensils and wipe spills using a method suited to the surface and appliance instructions. Do not spray cleaning products around exposed ingredients. If several people arrive together, invite one person to finish making a drink before the next steps into the same working space. You can hand out mugs or bring finished drinks to the table to reduce crowding.
Afterward, put refrigerated items away promptly, deal with anything that has exceeded its safe time out, and wash used drinkware. Turn off or unplug equipment as directed by its manual before cleaning. Return the counter to its normal daily setup rather than leaving a full guest station in the way all week.
Use the free two-page Guest Coffee Station Planner: page one maps the guest route and supply locations; page two gives you a welcome-card template and preparation, refill and reset checklists. Write in your own machine instructions and household details. The planner is an organizing aid, not a replacement for the appliance manual or ingredient labels.
If you are planning a longer gathering, our simple home cafe menu guide can help you explain the drinks you actually intend to serve. Start with a setup guests can understand, then add only the extras that make the visit easier.
Download the free Guest Coffee Station Planner (PDF)
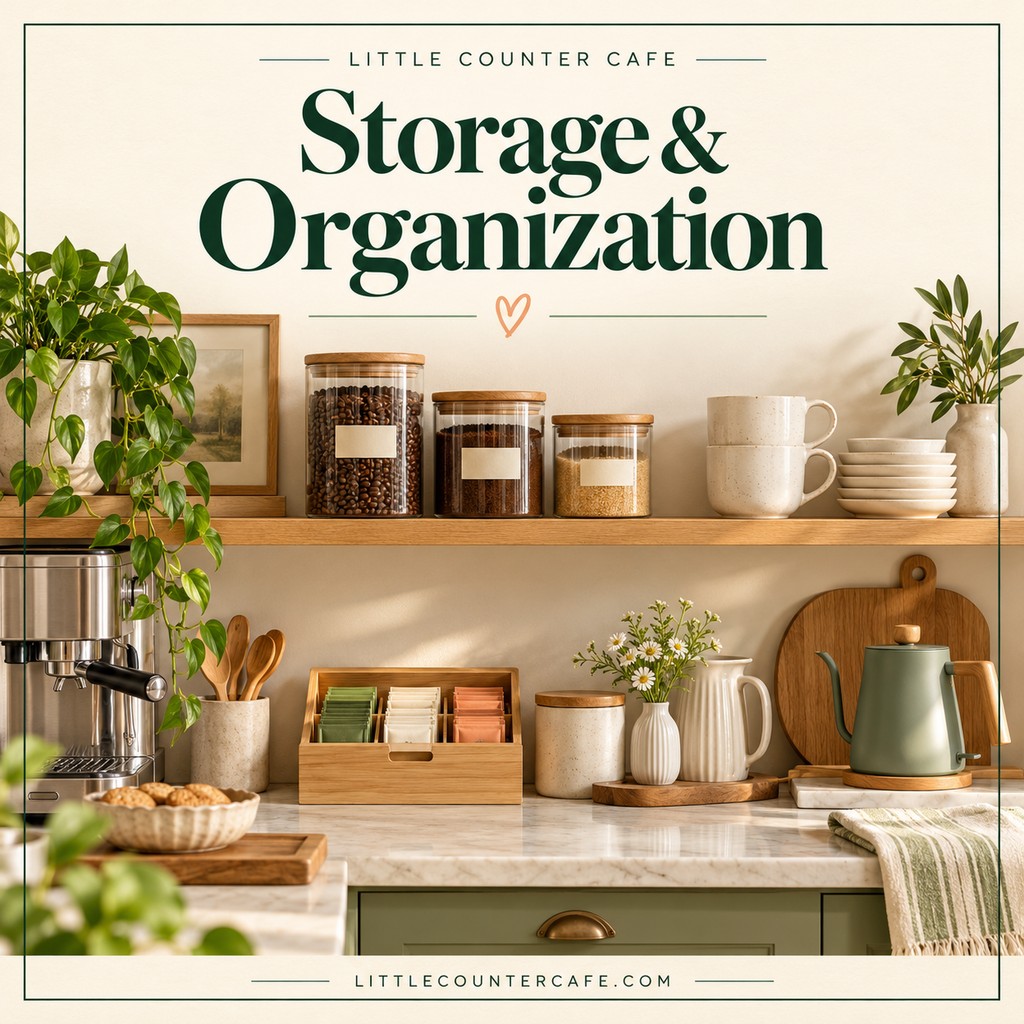
LITTLE COUNTER CAFE · Coffee & Tea Storage Favorites
A calmer counter starts with a place for everything.
Canisters, tea storage, shelf organizers, and small accessories to keep everyday café supplies easy to reach.
As an Amazon Associate I earn from qualifying purchases. This is a paid link.